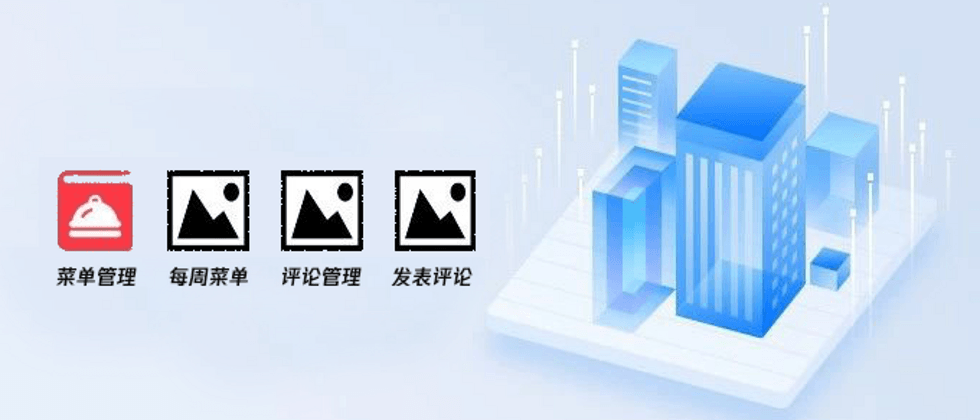
With the development of the Internet and technology, more and more organizations use small programs to serve internal employees. This article uses the low code to quickly create a daily recipe applet. The person in charge of the organization can maintain the weekly recipes, and the employees can view the weekly recipe information by paying attention to the applets.
One, define the data source
Any small program needs to store data. We generally store data in a database. provide us with an online document database, which can facilitate us to read and store data.
You can create our custom data sources and recipes in the data source management.
Second, create an application
After the data source is defined, we need to create an application. An application corresponds to a small program online. The basic version can create 50 small programs, which is enough for us to use. For specific methods, click Application Management and click the Create Blank Application button.
Enter the application name and logo and click OK
Third, page development
After the application is successfully created, we can click the Edit Application button to proceed to the specific development of the page
A homepage will be created by default, which is the first page we see when we open the applet
Generally, the homepage of a small program will place specific functions that can be operated. We guide users to click in the form of icons. First, we develop the function of recipe management. If the icons are available, we can download them from iconfont, which can be used for free.
Enter the recipe in the search box and click png to download
After the download is complete, we need to upload the icon to our material library for subsequent use. You can click on the resource management in the left menu bar to upload the downloaded material.
With the material, we need to consider the realization of the function. The function of the home page needs to choose a suitable layout. The layout stipulates the structure of the page. Because it is in the form of icons and text, we choose a grid layout. Four columns are enough. The specific operation method is to select the corresponding component, which can be clicked or dragged into the editing area
Beginners may not have a special understanding of slots. In fact, they are like building blocks. Where there are slots, other components can be placed. Here we put a container component in the first slot. My general habit is to switch to Outline view, and then select the slot and place the components in it, which is more accurate.
The purpose of placing the container component is to arrange the image and the text description vertically, so we need to set the container style to flex layout, the main axis direction is vertical, and the main axis and the minor axis are aligned in the center.
Then place the picture component in the container component. After the picture component is placed, we change the width and height of the picture to 100 each
Then add a text component and modify the content to recipe management
In the same way, we place pictures and text components in the remaining slots, and modify the title to weekly recipes, comment management, and post comments.
Now the picture is the default picture, we can modify the picture to use the picture in the material library, select the picture component and click on the picture of the cloud to use the picture in the material library.
After the icon is defined, we need to define events for the icon. We select the container component, define the click event, select tap, and we select the navigation method in the platform method
Navigation events need to select the page to navigate, we need to create a page, create a new page in the page management
After the page is created successfully, we return to the home page, select our container component, switch to the event tab and select the page we just created, so that the event is defined
IV. Preview release
After the page is built, the page jump is not visible in the editor. In order to test whether our settings are correct, we click the preview release button and submit the code to the production environment to see the effect
Just choose real-time preview
We can scan the code to visit or open it directly in the browser
product description
Tencent Cloud Microcode is an efficient and high-performance drag-and-drop low-code development platform that connects up to the front-end industry business and down to the massive capabilities of cloud computing to help enterprises go to the cloud vertically. Tencent Cloud's low-code build abstracts the cumbersome underlying architecture and infrastructure into a graphical interface, and quickly builds multi-terminal applications (small programs, H5 applications, Web applications, etc.) through industry-based templates, drag-and-drop components, and visual configuration. In order to write the code, you can fully focus on the business scenario. Tencent Cloud's low code uses cloud development as the underlying support. The cloud native capability opens up the full link of application construction, provides a highly open development environment, and escorts your applications at all times.
Open WeChat: https://cloud.tencent.com/product/weda?tdl_anchor=techsite
Product documentation: https://cloud.tencent.com/product/weda/details?from=12763
Technical exchange group, latest information, follow WeChat public account [Tencent cloud low code]


**粗体** _斜体_ [链接](http://example.com) `代码` - 列表 > 引用。你还可以使用@来通知其他用户。