
Introduction to Cilium
Cilium is an open source project used in the field of container networking. It is mainly used for containers to provide and transparently protect network connections and load balancing between application workloads (such as application containers or processes).
Cilium runs on layer 3/4 to provide traditional network and security services, and also runs on layer 7 to protect the use of modern application protocols (such as HTTP, gRPC and Kafka). Cilium is integrated into common container orchestration frameworks such as Kubernetes and Mesos.
The underlying foundation of Cilium is BPF, and Cilium's working mode is to generate kernel-level BPF programs to directly interact with the container. Different from creating an overlay network for containers, Cilium allows each container to be assigned an IPv6 address (or IPv4 address), using container labels instead of network routing rules to complete the network isolation between containers. It also includes the integration of an orchestration system that creates and implements Cilium rules.

The above introduction comes from oschina
Readers who are interested in the performance of Cilium can refer to this article: strongest CNI benchmark: Cilium network performance analysis
System Requirements
Linux Kernel >= 4.9.17
For more information, please see Cilium System Requirements
surroundings
Take an Ubuntu Server 20.04.1 LTS 64bit as an example
| name | ip | role |
|---|---|---|
| node1 | 10.160.6.136 | etcd, master, worker |
Download the installation package
sudo wget https://github.com/kubesphere/kubekey/releases/download/v1.1.0/kubekey-v1.1.0-linux-64bit.debUse cilium as a network plug-in to deploy KubeSphere
1. Install KubeKey
sudo dpkg -i kubekey-v1.1.0-linux-64bit.deb2. Generate configuration files
sudo kk create config --with-kubernetes v1.19.83. Modify the configuration file, modify the network plug-in to cilium
Note that the value of is modified to 160b9f9b3b1d68 cilium
sudo vi config-sample.yamlapiVersion: kubekey.kubesphere.io/v1alpha1
kind: Cluster
metadata:
name: sample
spec:
hosts:
- {name: node1, address: 10.160.6.136, internalAddress: 10.160.6.136, user: ubuntu, password: ********}
roleGroups:
etcd:
- node1
master:
- node1
worker:
- node1
controlPlaneEndpoint:
domain: lb.kubesphere.local
address: ""
port: 6443
kubernetes:
version: v1.19.8
imageRepo: kubesphere
clusterName: cluster.local
network:
plugin: cilium
kubePodsCIDR: 10.233.64.0/18
kubeServiceCIDR: 10.233.0.0/18
registry:
registryMirrors: []
insecureRegistries: []
addons: []4. Deployment dependencies
sudo kk init os -f config-sample.yaml5. Deploy KubeSphere
sudo kk create cluster -f config-sample.yaml --with-kubesphere v3.1.0See the following prompt to indicate that the installation is complete
#####################################################
###              Welcome to KubeSphere!           ###
#####################################################

Console: http://10.160.6.136:30880
Account: admin
Password: P@88w0rd

NOTES:
  1. After you log into the console, please check the
     monitoring status of service components in
     "Cluster Management". If any service is not
     ready, please wait patiently until all components
     are up and running.
  2. Please change the default password after login.

#####################################################
https://kubesphere.io             2021-05-18 17:15:03
#####################################################
INFO[17:15:16 CST] Installation is complete.
6. Log in to the KubeSphere console

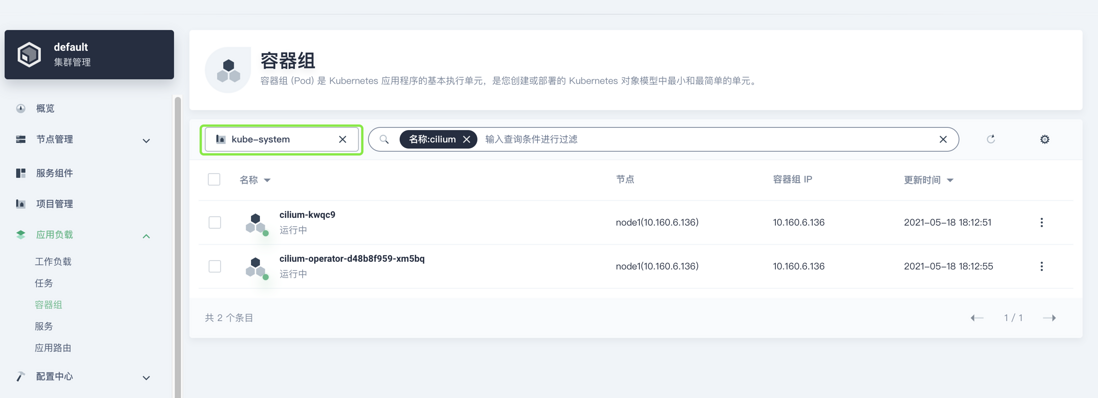
7. Check the status
Install hubble UI
Hubble is specifically designed for network visualization. It can use the eBPF data path provided by Cilium to gain in-depth visibility into the network traffic of Kubernetes applications and services. These network traffic information can be connected to Hubble CLI and UI tools, and can quickly diagnose DNS-related problems in an interactive way. In addition to Hubble's own monitoring tools, it can also be connected to the mainstream cloud-native monitoring systems-Prometheus and Grafana to implement scalable monitoring strategies.
The installation of Hubble is very simple, directly execute the following commands:
kubectl apply -f https://raw.githubusercontent.com/cilium/cilium/1.9.7/install/kubernetes/quick-hubble-install.yaml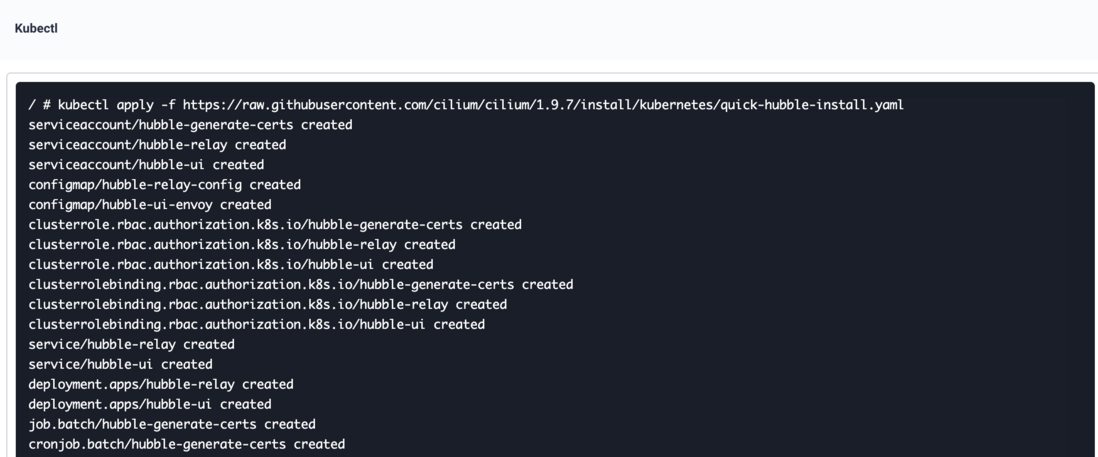
Check status

Install the demo service and view the service dependencies in the hubble UI
1. Install demo
kubectl create -f https://raw.githubusercontent.com/cilium/cilium/1.9.7/examples/minikube/http-sw-app.yaml
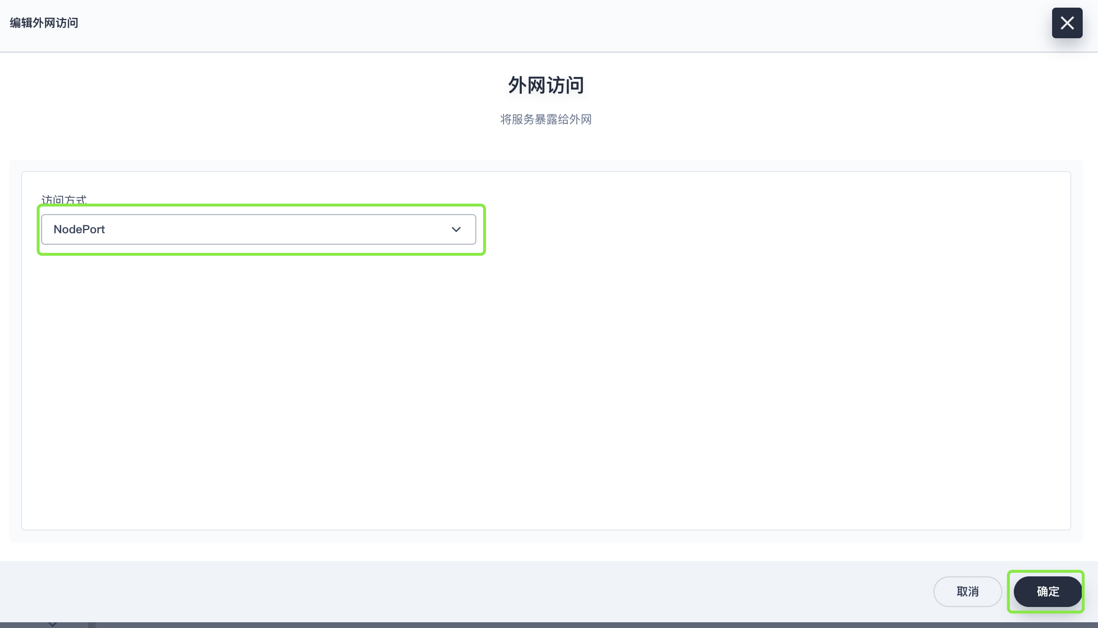
2. Modify hubble UI service type to NodePort

3. Visit the demo
kubectl exec xwing -- curl -s -XPOST deathstar.default.svc.cluster.local/v1/request-landing
Ship landed
kubectl exec tiefighter -- curl -s -XPOST deathstar.default.svc.cluster.local/v1/request-landing
Ship landed
4. View service dependencies on hubble

If you want to enable the visual observation of the 7th layer of the network, you need to perform annotations on the target Pod. If you are interested, please see Cilium’s official document .
to sum up
From the perspective of user experience, Cilium can already meet most of the container network needs, especially Hubble uses a native way to realize the visualization of the data plane, which is much better than Istio. I believe it will not be long before Cilium will become the most used network solution in the Kubernetes community.
This article is published by the blog one article multi-posting OpenWrite


**粗体** _斜体_ [链接](http://example.com) `代码` - 列表 > 引用。你还可以使用@来通知其他用户。