beginning
Ben Caiji has been doing related entry tasks since joining the company, task1 pointed out in the previous article. This article records my whimsy in task2.
Task2 is a project that implements a vue2+ts from 0 to 1. To be honest, vue2+ts is really difficult to use, do you feel the same? .
I am a reactist. This time I must use vue because of the project team relationship. As a vue Xiaobai, I will record some thoughts during the development process.
text
1. For routing operations
Students who may have used umi know that umi has a set of convention routing system. During the development process, you can avoid manually importing it into the routing array every time you write a page. You only need to follow the rules to automatically add routing.
Perfect, we simply implement a conventional routing function today.
First comment out vue's own routing
// const routes: Array<RouteConfig> = [
//   {
//     path: "/login",
//     name: "login",
//     component: Login,
//   },
//   // {
//   //   path: "/about",
//   //   name: "About",
//   //   // route level code-splitting
//   //   // this generates a separate chunk (about.[hash].js) for this route
//   //   // which is lazy-loaded when the route is visited.
//   //   component: () =>
//   //     import(/* webpackChunkName: "about" */ "../views/About.vue"),
//   // },
// ];
You can see that there is a lot of code, and there will be more and more as the page increases. Of course, this way of vue also has many advantages: such as support for webpack magic annotations, support for lazy loading
Next, let's implement our agreed routing!
The API we used this time is require.context. You may think that you need to install some package, no need to use it! This is webpack stuff! The introduction of the specific API, you can Baidu by yourself
First use this thing to match the pages of the corresponding rules, and then create our routing array in advance for use.
const r = require.context("../views", true, /.vue/);
const routeArr: Array<RouteConfig> = [];
The next step is to traverse, matches the page under the ../views file, traverse the matching results, if it is a page created according to our rules, add it to the routing array
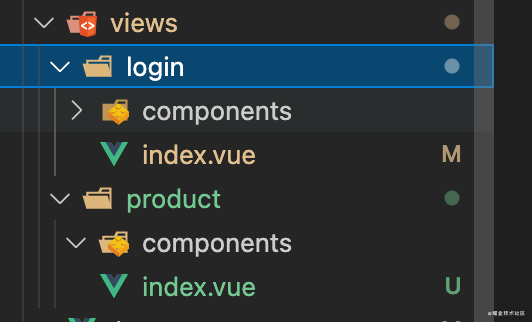
For example, it looks like this in my current views folder
// 遍历
r.keys().forEach((key) => {
  console.log(key) //这里的匹配结果就是 ./login/index.vue  ./product/index.vue
  const keyArr = key.split(".");
  if (key.indexOf("index") > -1) {
    // 约定式路由构成方案,views文件夹下的index.vue文件都会自动化生成路由
    // 但是我不想在路由中出现index,我只想要login,product,于是对path进行改造。
    // 这部其实是有很多优化空间的。大家可以自己试着用正则去提取
    const pathArr = keyArr[1].split("/");
    routeArr.push({
      name: pathArr[1],
      path: "/" + pathArr[1],
      component: r(key).default, // 这是组件
    });
  }
});
Let's take a look at what the automatically matched routing array looks like
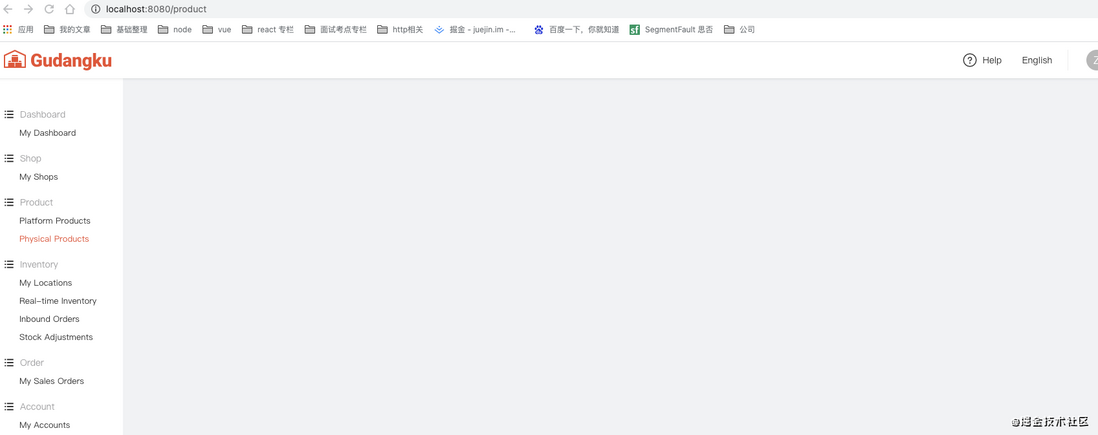
Perfect 🚖 fulfilled our needs. Go to the page to have a look!
Perfectly realized! Finally, send all the codes. In this way, the agreed automatic registration route is realized, and the trouble of manual addition is avoided, which is a must for lazy people.
import Vue from "vue";
import VueRouter, { RouteConfig } from "vue-router";
const r = require.context("../views", true, /.vue/);
const routeArr: Array<RouteConfig> = [];
r.keys().forEach((key) => {
  const keyArr = key.split(".");
  if (key.indexOf("index") > -1) {
    // 约定式路由构成方案,views文件夹下的index.vue文件都会自动化生成路由
    const pathArr = keyArr[1].split("/");
    routeArr.push({
      name: pathArr[1],
      path: "/" + pathArr[1],
      component: r(key).default, // 这是组件
    });
  }
});
Vue.use(VueRouter);

const router = new VueRouter({
  mode: "history",
  base: process.env.BASE_URL,
  routes: routeArr,
});

export default router;
2. Components
After the operations in the previous chapter, we can write the page, and then write the component. I found that every time I use a component, I have to import it on the page I use, which is very troublesome.
Based on the ideas in the previous chapter, can we also import components automatically?
My opinion is:
- Unified management of all components under the components file in one method
- The required page can use this method to pass in the corresponding rules and return the components uniformly
- This method can be imported manually or mounted globally.
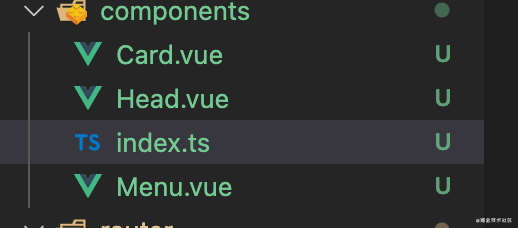
Let me show you my components folder first
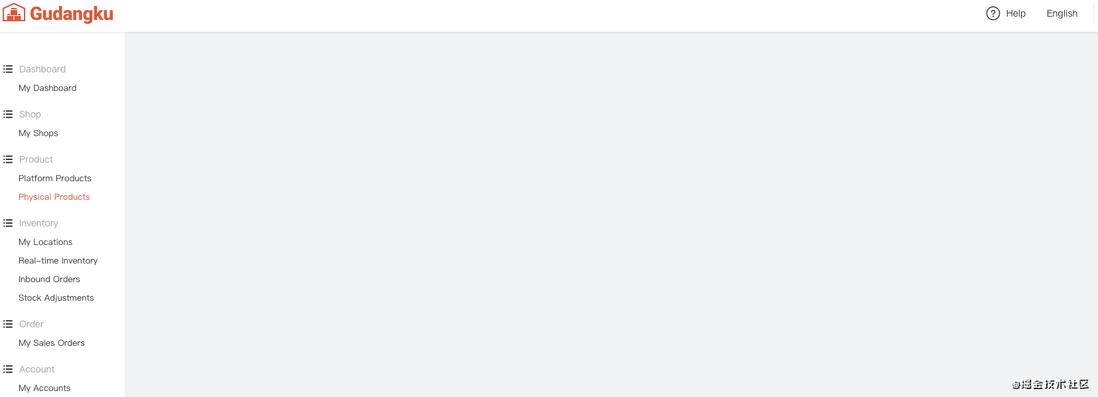
Take a look at the current page appearance
ok. Let's start coding in index.ts
First, the first step is the same to match, here only all vue files in the current folder need to be matched
const r = require.context("./", true, /.vue/);Then declare a method, this method can do fn ('rule') to return the corresponding component, the code is as follows.
function getComponent(...names: string[]): any {
  const componentObj: any = {};
  r.keys().forEach((key) => {
    const name = key.replace(/(\.\/|\.vue)/g, "");
    if (names.includes(name)) {
      componentObj[name] = r(key).default;
    }
  });
  return componentObj;
}
export { getComponent };
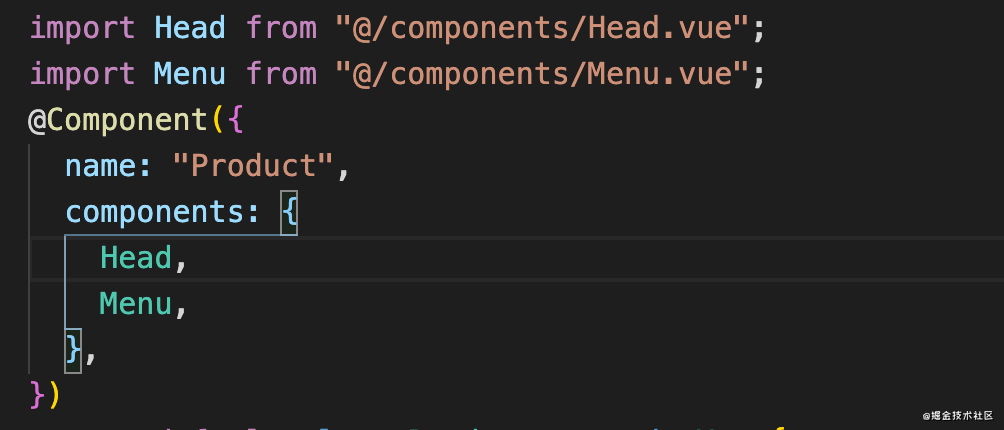
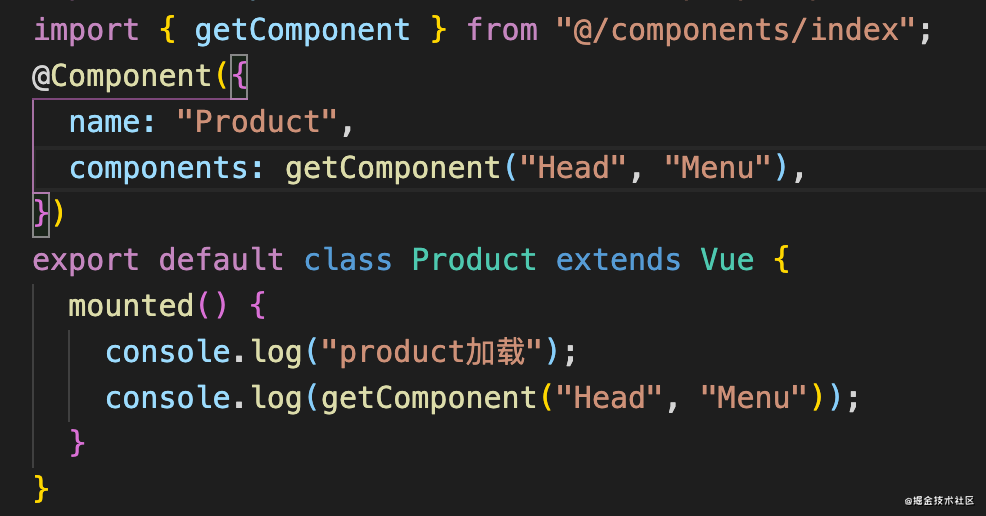
Let's take a look at the result of the call together
Print result:
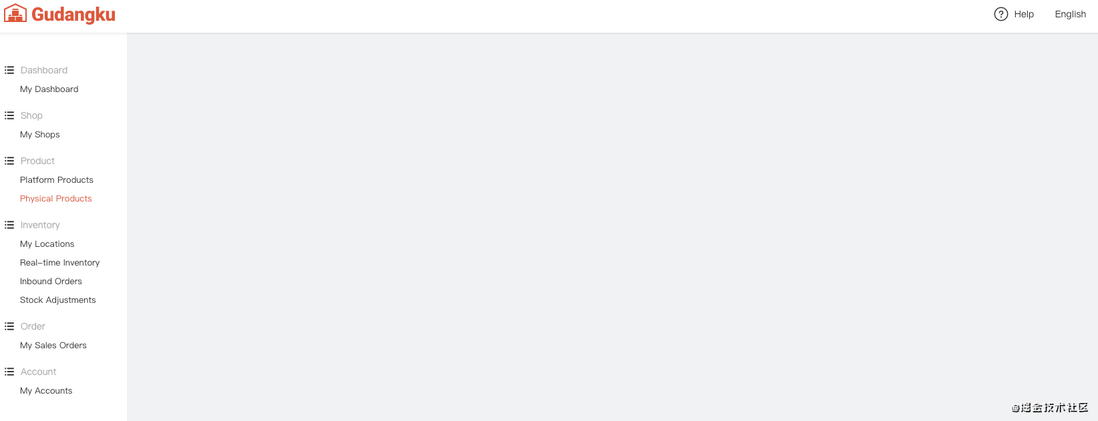
Seeing this result, it is not difficult to imagine what the page looks like! Of course it's the same as before! Of course it is!
It's perfect!
At last
Since the project is relatively urgent, I still have some ideas and don’t have time to sort out the information and realize it. Let’s do this for now~
If there is an error in the article, please help me to point it out! (I don’t necessarily change it anyway, haha)
Finally! Thank you! Bye bye!





**粗体** _斜体_ [链接](http://example.com) `代码` - 列表 > 引用。你还可以使用@来通知其他用户。