Software used in the article:
- Mac: 11.4 (macOS Big Sur), processor: Intel Core.
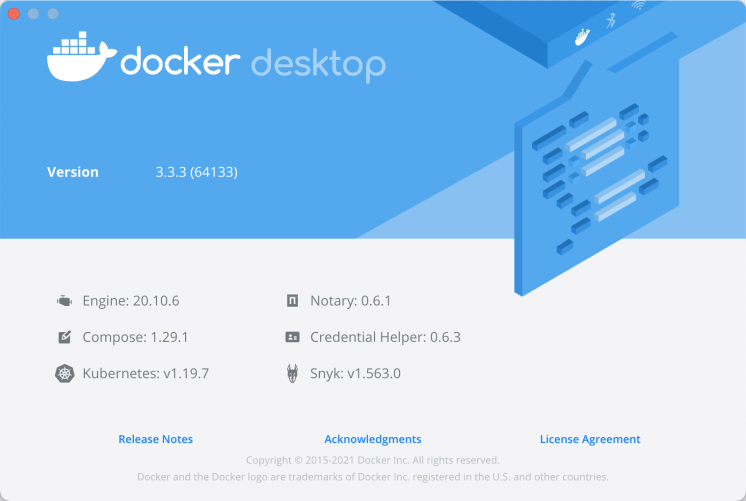
- Docker:3.3.3
the goal
- Support PHP 5.6.x environment
- Support PHP 7.2.x environment
download
Download and install the Docker software, without explaining too much, just install it step by step.
Download : 160e003f7f2cdd https://www.docker.com/products/docker-desktop
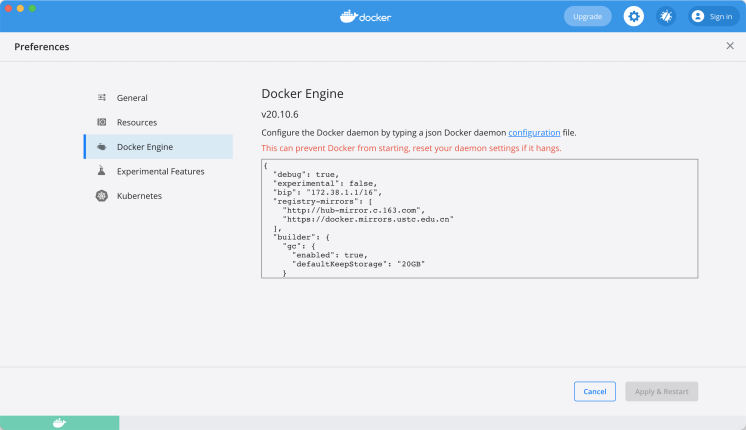
Proxy settings
"registry-mirrors" : [
    "http://registry.docker-cn.com",
    "http://hub-mirror.c.163.com"
  ],
Configuration Environment
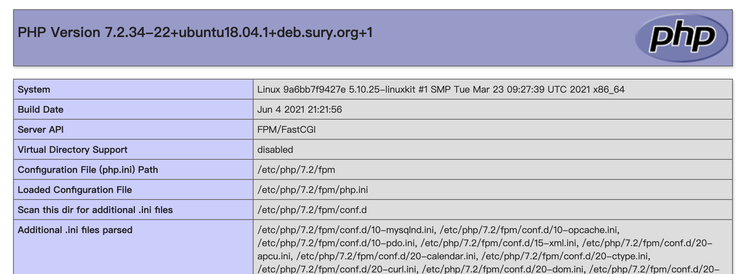
PHP 7.2.x, occupies local port 8081
- Start docker;
- Download the compressed package: php7-2-x.zip and unzip it;
- Enter the php7-2-x directory and run
docker-compose updirectly; - Browser input: http://127.0.0.1:8081/;
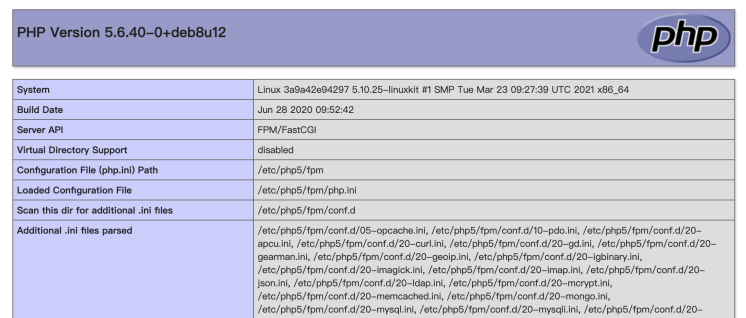
PHP 5.6.x, occupies local port 8082
- Start docker;
- Download the compressed package: php5-6-x.zip and unzip it;
- Enter the php5-6-x directory and run
docker-compose updirectly; - Browser input: http://127.0.0.1:8082/;
Port Mapping
local.php72.com -> 127.0.0.1:8081
Because port mapping cannot be done in the /etc/hosts file, other tools are needed.
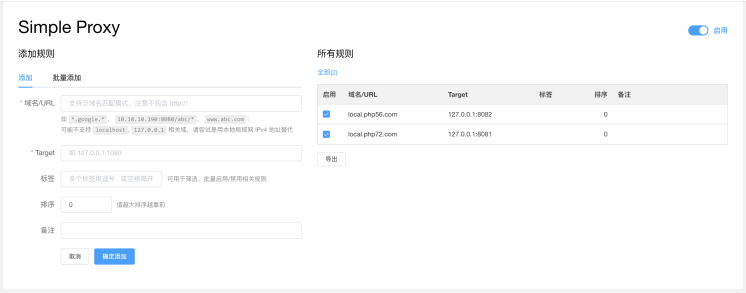
The tool I used is the Chrome browser plug-in: Simple Proxy .
Download method:
- Download from the Chrome App Store and search for
Simple Proxy. - Load the local extension program, download address: chrome-simply-proxy
Take a look at the installed interface:
After the configuration is successful, visit http://local.php72.com/
local.php56.com -> 127.0.0.1:8082
Same as above.
Remarks
docker-compose related commands
- docker-compose up build container parameter [-d] is running in the background
- docker-compose start to enable the container
- docker-compose stop stop the container
- docker-compose restart restart the container
- docker-compose down delete container
- docker-compose ps View the current container status
php7-2-x directory introduction
.
├── docker-compose.yml
├── log
│   └── nginx
│       └── local.php72.com_access.log
├── phpdocker
│   ├── README.html
│   ├── README.md
│   ├── nginx
│   │   └── default.conf
│   └── php-fpm
│       ├── Dockerfile
│       └── php-ini-overrides.ini
└── web
    └── phpinfo
        └── index.php
1. docker-compose.yml, the configuration file for container orchestration. The file does not need to be changed.
version: "3.1"
services:

    webserver:
      image: nginx:alpine
      container_name: php7-2-x-webserver
      working_dir: /application
      volumes:
          - .:/application
          - ./phpdocker/nginx:/etc/nginx/conf.d
      ports:
       - "8081:80"

    php-fpm:
      build: phpdocker/php-fpm
      container_name: php7-2-x-php-fpm
      working_dir: /application
      volumes:
        - .:/application
        - ./phpdocker/php-fpm/php-ini-overrides.ini:/etc/php/7.2/fpm/conf.d/99-overrides.ini
2. log/nginx is the log directory, including _access.log and _php_errors.log, * is the configured virtual domain name.
3. phpdocker/nginx is the virtual domain name configuration directory, where the virtual domain name configured by default.conf is local.php72.com, but it is explained more, everyone will understand at a glance, other directories and files do not need to be adjusted.
server {
    listen 80;

    server_name local.php72.com;

    client_max_body_size 108M;

    access_log /application/log/nginx/${server_name}_access.log;


    root /application/web/phpinfo;
    index index.php;

    # try to serve file directly, fallback to index.php
    location / {
        try_files $uri /index.php$is_args$args;
    }

    if (!-e $request_filename) {
        rewrite ^.*$ /index.php last;
    }

    location ~ \.php$ {
        fastcgi_pass php-fpm:9000;
        fastcgi_index index.php;
        fastcgi_param SCRIPT_FILENAME $document_root$fastcgi_script_name;
        fastcgi_param PHP_VALUE "error_log=/application/log/nginx/${server_name}_php_errors.log";
        fastcgi_buffers 16 16k;
        fastcgi_buffer_size 32k;
        include fastcgi_params;
    }

}
4. web is the code warehouse directory, where phpinfo is the code directory pointed to by the domain name local.php72.com.
If you want to add a new virtual domain name (local.abc.com) configuration, only 3 steps are required:
- Put the code folder abc in the web directory;
- Add a new file local.abc.com.conf, point the code directory to the abc directory in the configuration file;
- Restart the container docker-compose restart;
php5-6-x directory introduction
Same as above.
How is the zip file generated?
You may have questions, how is the zip file generated? What if I want to build another version of the environment?
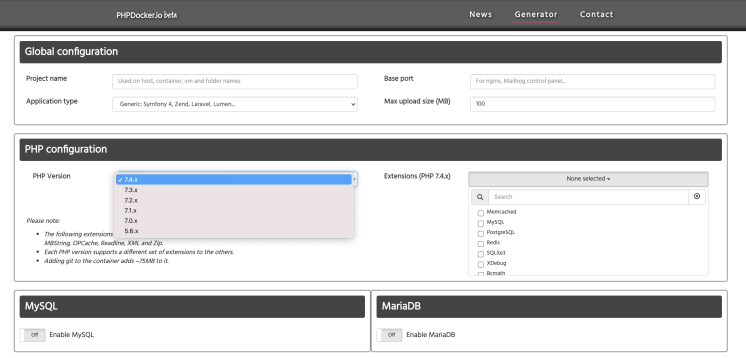
These files are generated online at: https://phpdocker.io/generator
The supported PHP versions are: 5.6.x , 7.0.x , 7.1.x , 7.2.x , 7.3.x , 7.4.x etc.
At the same time, it also supports MySQL , MariaDB , Elasticsearch etc.
After selecting as needed, click Generate project archive to generate a compressed package.
The above php5-6-x.zip and php7-2-x.zip are generated in this way, just fine-tuning them, such as configuring the log directory, web directory, etc.
More features, let’s explore.
To download the zip file used in the article, please reply in the "Xinliang Notes" public account: phpdocker.

**粗体** _斜体_ [链接](http://example.com) `代码` - 列表 > 引用。你还可以使用@来通知其他用户。