Preface
Front-end engineering is something that people often mention, and its purpose is basically to improve development efficiency, reduce costs and ensure quality. The scaffolding tool is a very important part of the front-end engineering. A useful web engineering general scaffolding tool can do the above mentioned to a large extent.
We will not only use many mature scaffolds on the market, but also realize some scaffolds suitable for our projects based on the actual project situation. This article will work with you to implement a basic general-purpose scaffolding tool, which can be expanded at will in the follow-up.
Project structure
The overall structure of the project is as follows, we will write code step by step later, and finally realize the entire scaffolding tool.
xman-cli
├─ bin
│  └─ xman.js
├─ command
│  ├─ add.js
│  ├─ delete.js
│  ├─ init.js
│  └─ list.js
├─ lib
│  ├─ remove.js
│  └─ update.js
├─ .gitignore
├─ LICENSE
├─ package.json
├─ README.md
└─ templates.json
Implementation
Initialize the project
It can npm init or modified according to package.json listed below.
{
  "name": "xman-cli",
  "version": "1.0.0",
  "description": "web通用脚手架工具",
  "bin": {
    "xman": "bin/xman.js"
  },
  "scripts": {
    "test": "echo \"Error: no test specified\" && exit 1"
  },
  "repository": {
    "type": "git",
    "url": "https://github.com/XmanLin/xman-cli.git"
  },
  "keywords": [
    "cli"
  ],
  "author": "xmanlin",
  "license": "MIT",
  "bugs": {
    "url": "https://github.com/XmanLin/xman-cli/issues"
  },
  "homepage": "https://github.com/XmanLin/xman-cli#readme",
  "dependencies": {
    "chalk": "^4.1.2",
    "clear": "^0.1.0",
    "clui": "^0.3.6",
    "commander": "^8.2.0",
    "figlet": "^1.5.2",
    "handlebars": "^4.7.7",
    "inquirer": "^8.1.5",
    "update-notifier": "^5.1.0"
  }
}
Here are two points:
binfield: You can customize the scaffolding tool's command, such asxmanabove, and the following is the command execution script forxman- The dependencies in the project will be used later, and will be introduced when they are used.
Write bin/xman.js
To make the script executable, you need to add the following code at the top of xman.js:
#!/usr/bin/env nodeAfter writing, introduce commander (a complete solution for the node.js command line interface). You can click the link or go to the npm official website to view the specific API usage. The following dependencies are the same.
#!/usr/bin/env node

const { program } = require('commander');
At this point, we can define the current version of the scaffolding and the command for version viewing.
#!/usr/bin/env node

const { program } = require('commander');

program
    .version(require('../package').version, '-v, --version');

program.parse(process.argv); // 这里是必要的

if (!program.args.length) {
    program.help();
}
In the current xman-cli directory, npm link , you can debug the scaffolding tool locally.
Then execute in the current directory
xman -vYou can see the version number we defined, and it also proves that the scaffolding tool was initially successfully built.
Use scaffolding tools to initialize and build the project
This is the core function of the scaffolding tool. You can quickly select and pull through the scaffolding tool command, and build the basic project template in the git repository in advance. We can customize the project template according to actual needs, and formulate relevant development specifications and conventions in the project.
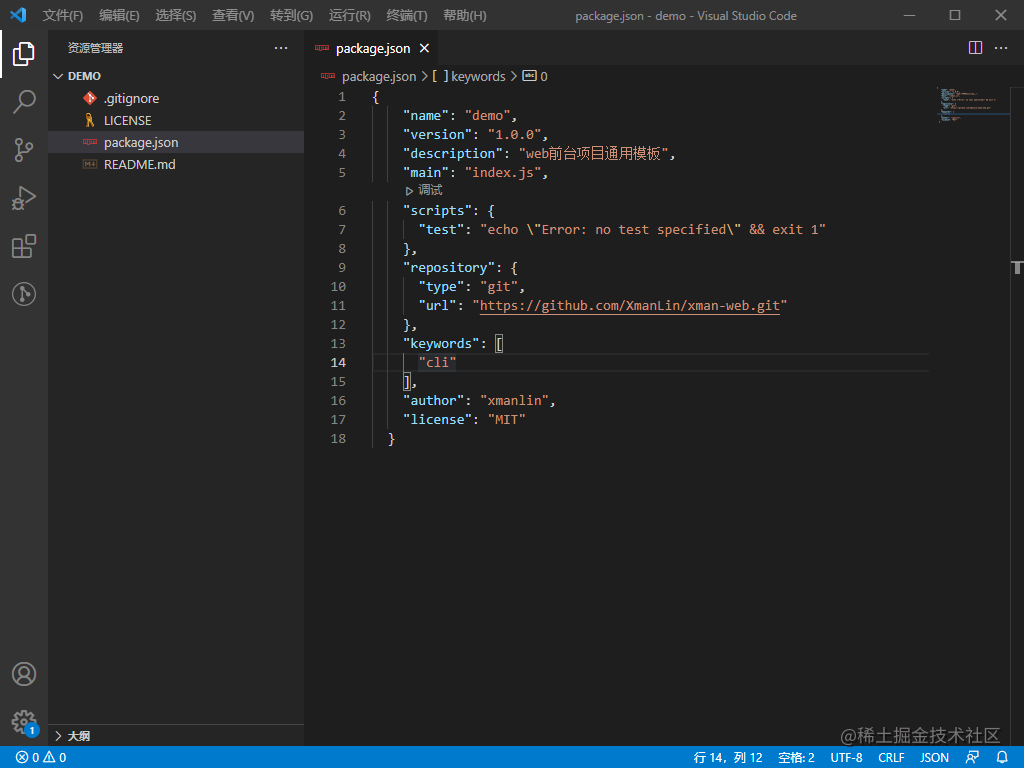
First, build your own basic project on git. What you need to pay attention to here is: when building the basic project template, the name package.json should be written in the following form:
{
    "name": "{{name}}",
}
As for why it is written this way, it will be reflected in the code behind.
templates.json in the root directory:
{
    "templates": {
        "xman-manage": {
            "url": "https://github.com/XmanLin/xman-manage.git",
            "branch": "master"
        },
        "xman-web": {
            "url": "https://github.com/XmanLin/xman-web.git",
            "branch": "master"
        }
    }
}
The above xman-manage and xman-web respectively represent different projects, which can be customized according to the actual situation. url is the address of the basic project, and branch is the branch during automatic pull.
init.js in the command folder (this folder will put the implementation logic of the subsequent series of commands):
const fs = require('fs'); // node.js文件系统
const exec = require('child_process').exec; // 启动一个新进程,用来执行命令
const config = require('../templates'); // 引入定义好的基础项目列表
const chalk = require('chalk'); // 给提示语添加色彩
const clear = require('clear'); // 清除命令
const figlet = require('figlet'); // 可以用来定制CLI执行时的头部
const inquirer = require('inquirer'); // 提供交互式命令行
const handlebars = require('handlebars'); // 一种简单的模板语言,可以自行百度一下
const clui = require('clui'); // 提供等待的状态
const Spinner = clui.Spinner;
const status = new Spinner('正在下载...');
const removeDir = require('../lib/remove'); // 用来删除文件和文件夹

module.exports = () => {
    let gitUrl;
    let branch;
    clear();
    // 定制酷炫CLI头部
    console.log(chalk.yellow(figlet.textSync('XMAN-CLI', {
        horizontalLayout: 'full'
    })));
    inquirer.prompt([
        {
            name: 'templateName',
            type: 'list',
            message: '请选择你需要的项目模板:',
            choices: Object.keys(config.templates),
        },
        {
            name: 'projectName',
            type: 'input',
            message: '请输入你的项目名称:',
            validate: function (value) {
                if (value.length) {
                    return true;
                } else {
                    return '请输入你的项目名称';
                }
            },
        }
    ])
    .then(answers => {
        gitUrl = config.templates[answers.templateName].url;
        branch = config.templates[answers.templateName].branch;
        // 执行的命令,从git上克隆想要的项目模板
        let cmdStr = `git clone ${gitUrl} ${answers.projectName} && cd ${answers.projectName} && git checkout ${branch}`;
        status.start();
        exec(cmdStr, (error, stdou, stderr) => {
            status.stop();
            if (error) {
                console.log('发生了一个错误:', chalk.red(JSON.stringify(error)));
                process.exit();
            }
            const meta = {
                name: answers.projectName
            };
            // 这里需要注意:项目模板的 package.json 中的 name 要写成 "name": "{{name}}"的形式
            const content = fs.readFileSync(`${answers.projectName}/package.json`).toString();
            // 利用handlebars.compile来进行 {{name}} 的填写
            const result = handlebars.compile(content)(meta);
            fs.writeFileSync(`${answers.projectName}/package.json`, result);
            // 删除模板自带的 .git 文件
            removeDir(`${answers.projectName}/.git`);
            console.log(chalk.green('\n √ 下载完成!'));
            console.log(chalk.cyan(`\n cd ${answers.projectName} && yarn \n`));
            process.exit();
        })
    })
    .catch(error => {
        console.log(error);
        console.log('发生了一个错误:', chalk.red(JSON.stringify(error)));
        process.exit();
    });
}
lib/remove.js
const fs = require('fs');
let path = require('path');

function removeDir(dir) {
    let files = fs.readdirSync(dir); //返回一个包含“指定目录下所有文件名称”的数组对象
    for (var i = 0; i < files.length; i++) {
        let newPath = path.join(dir, files[i]);
        let stat = fs.statSync(newPath); // 获取fs.Stats 对象
        if (stat.isDirectory()) {
            //判断是否是文件夹,如果是文件夹就递归下去
            removeDir(newPath);
        } else {
            //删除文件
            fs.unlinkSync(newPath);
        }
    }
    fs.rmdirSync(dir); //如果文件夹是空的,就将自己删除掉
};

module.exports = removeDir;
Finally, continue to define the command xman.js
#!/usr/bin/env node

const { program } = require('commander');

...

program
    .command('init')
    .description('Generate a new project')
    .alias('i')
    .action(() => {
        require('../command/init')()
    });


...
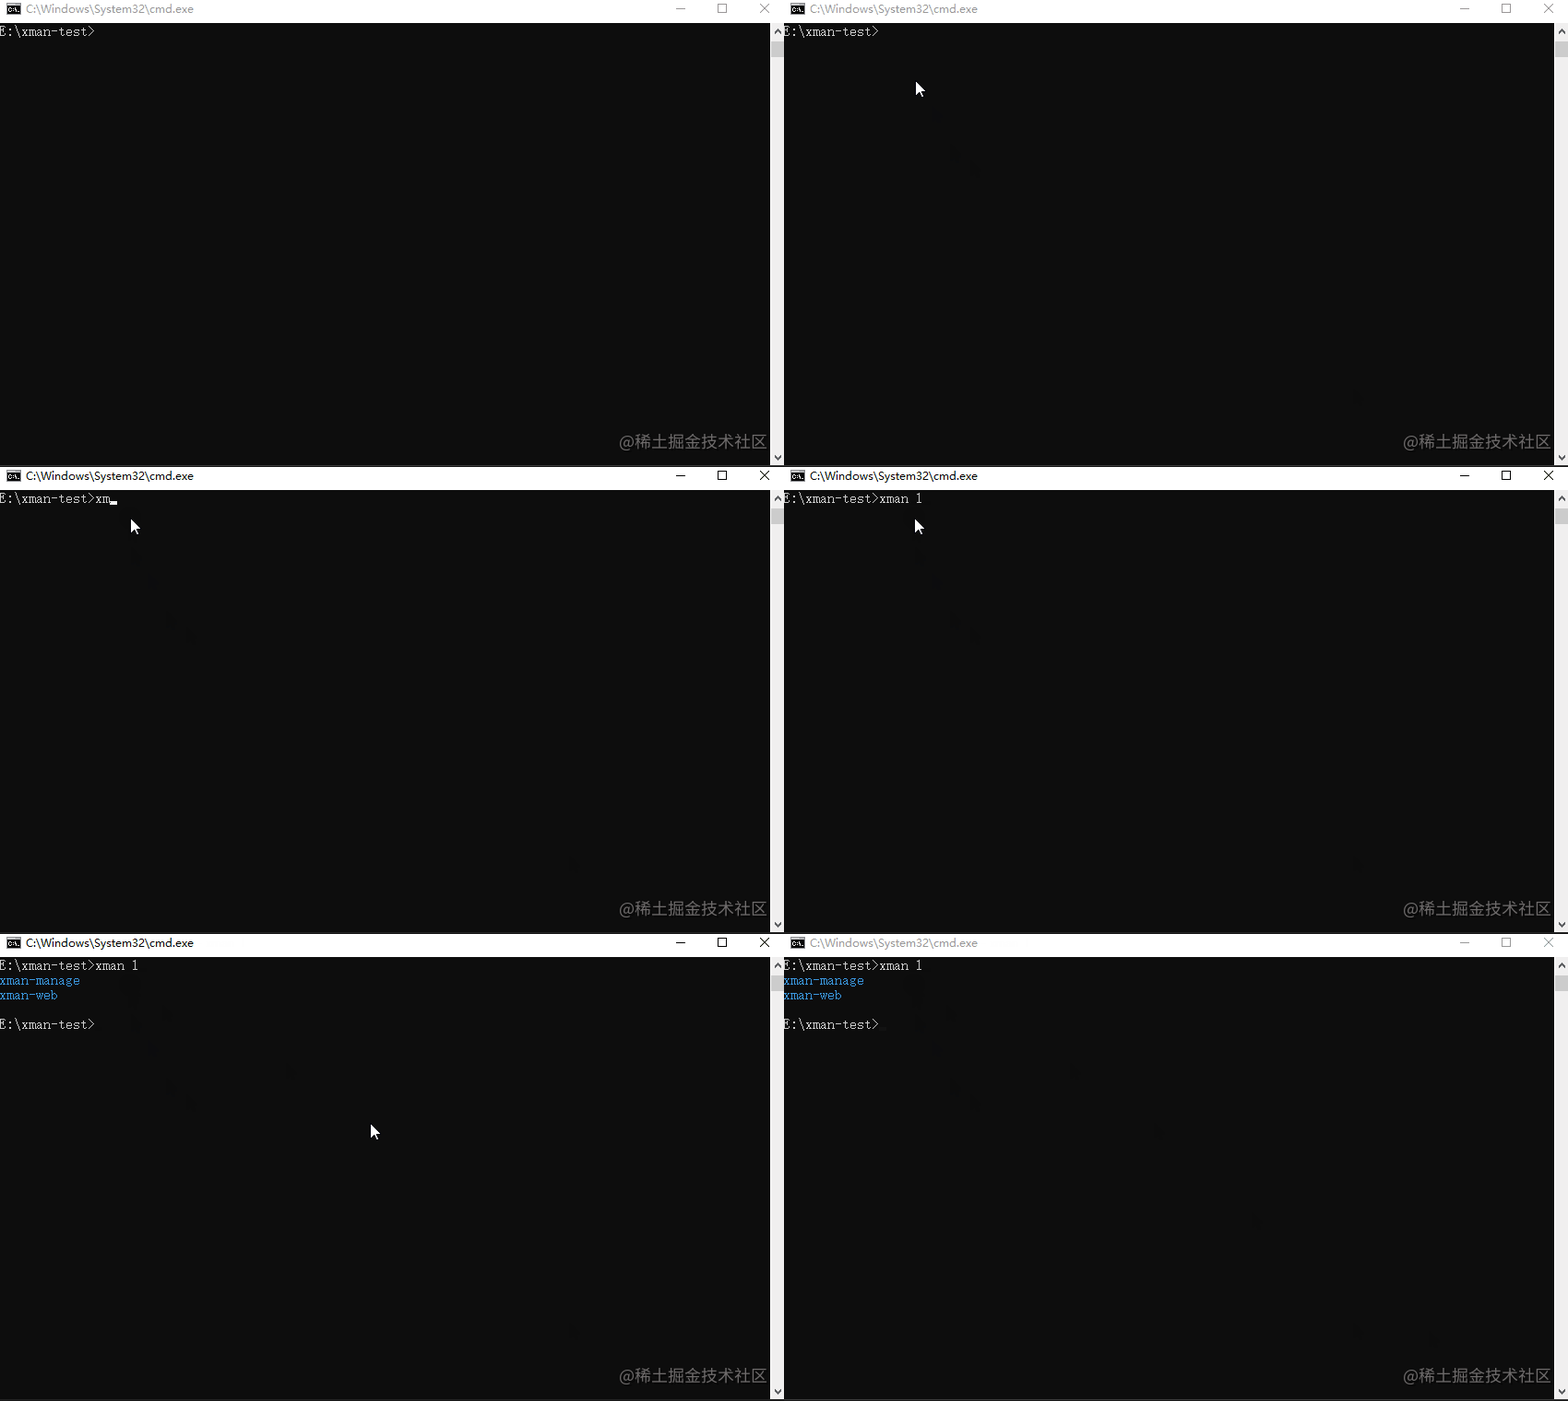
Just find another folder to execute the defined command:
xman iOpen the template project we downloaded and have a look:
Add project template configuration via command
Now we can pull and build the project by command, but what if we have a new project template in the future? Do you manually modify templates.json every time? This is of course unreasonable, so next we have to implement adding project templates through commands.
First, create a new project template in the git repository, whatever it is called, my name here is xman-mobile , and then start to write the logic and commands added to the project template, create a new command/add.js:
const config = require('../templates.json');
const chalk = require('chalk');
const fs = require('fs');
const inquirer = require('inquirer');
const clear = require('clear');

module.exports = () => {
    clear();
    inquirer.prompt([
        {
            name: 'templateName',
            type: 'input',
            message: '请输入模板名称:',
            validate: function (value) {
                if (value.length) {
                    if (config.templates[value]) {
                        return '模板已存在,请重新输入';
                    } else {
                        return true;
                    }
                } else {
                    return '请输入模板名称';
                }
            },
        },
        {
            name: 'gitLink',
            type: 'input',
            message: '请输入 Git https link:',
            validate: function (value) {
                if (value.length) {
                    return true;
                } else {
                    return '请输入 Git https link';
                }
            },
        },
        {
            name: 'branch',
            type: 'input',
            message: '请输入分支名称:',
            validate: function (value) {
                if (value.length) {
                    return true;
                } else {
                    return '请输入分支名称';
                }
            },
        }
    ])
    .then(res => {
        config.templates[res.templateName] = {};
        config.templates[res.templateName]['url'] = res.gitLink.replace(/[\u0000-\u0019]/g, ''); // 过滤unicode字符
        config.templates[res.templateName]['branch'] = res.branch;
        fs.writeFile(__dirname + '/../templates.json', JSON.stringify(config), 'utf-8', (err) => {
            if (err) {
                console.log(err);
            } else {
                console.log(chalk.green('新模板添加成功!\n'));
            }
            process.exit();
        })
    })
    .catch(error => {
        console.log(error);
        console.log('发生了一个错误:', chalk.red(JSON.stringify(error)));
        process.exit();
    });
}
Continue to add commands in bin/xman.js
#!/usr/bin/env node

const { program } = require('commander');

...

program
    .command('add')
    .description('Add a new template')
    .alias('a')
    .action(() => {
        require('../command/add')()
    });

...
Execute npm link --force , and then execute the configured command xman a :
You can see that in templates.json , the new template information has been added.
Delete project template configuration by command
Since there is an addition, there must be a delete command. Similarly, create a new command/delete.js:
const fs = require('fs');
const config = require('../templates');
const chalk = require('chalk');
const inquirer = require('inquirer');
const clear = require('clear');

module.exports = () => {
    clear();
    inquirer.prompt([
        {
            name: 'templateName',
            type: 'input',
            message: '请输入要删除的模板名称:',
            validate: function (value) {
                if (value.length) {
                    if (!config.templates[value]) {
                        return '模板不存在,请重新输入';
                    } else {
                        return true;
                    }
                } else {
                    return '请输入要删除的模板名称';
                }
            },
        }
    ])
    .then(res => {
        config.templates[res.templateName] = undefined;
        fs.writeFile(__dirname + '/../templates.json', JSON.stringify(config), 'utf-8', (err) => {
            if (err) {
                console.log(err);
            } else {
                console.log(chalk.green('模板已删除!'));
            }
            process.exit();
        });
    })
    .catch(error => {
        console.log(error);
        console.log('发生了一个错误:', chalk.red(JSON.stringify(error)));
        process.exit();
    });
}
Continue to add commands:
#!/usr/bin/env node

const { program } = require('commander');

...

program
    .command('delete')
    .description('Delete a template')
    .alias('d')
    .action(() => {
        require('../command/delete')()
    });

...
Execute npm link --force , and then execute the configured command xman d . Check templates.json , we have deleted the template information we want to delete.
Quickly view existing templates through commands
Generally speaking, it is impossible to remember all the templates that have been added, and sometimes we need to quickly check them. So next we will implement a simple command to quickly view the list of templates:
New command/list.js
const config = require('../templates');
const chalk = require('chalk');

module.exports = () => {
    let str = '';
    Object.keys(config.templates).forEach((item, index, array) => {
        if (index === array.length - 1) {
            str += item;
        } else {
            str += `${item} \n`;
        }
    });
    console.log(chalk.cyan(str));
    process.exit();

}
Add command:
#!/usr/bin/env node

const { program } = require('commander');

...

program
    .command('list')
    .description('show temlpate list')
    .alias('l')
    .action(() => {
        require('../command/list')()
    });

...
Execute npm link --force , and then execute the configured command xman l :
Check whether the CLI version is the latest version by command
A general-purpose scaffolding tool is definitely not used by oneself. The person who uses it may need to know whether the CLI has the latest version, so it also needs to have the function of checking the CLI version.
New bin/update.js:
const updateNotifier = require('update-notifier');  // 更新CLI应用程序的通知
const chalk = require('chalk');
const pkg = require('../package.json');

const notifier = updateNotifier({
    pkg,
    updateCheckInterval: 1000 * 60 * 60, // 默认为 1000 * 60 * 60 * 24(1 天)
})

function updateChk() {
    if (notifier.update) {
        console.log(`有新版本可用:${chalk.cyan(notifier.update.latest)},建议您在使用前进行更新`);
        notifier.notify();
    } else {
        console.log(chalk.cyan('已经是最新版本'));
    }
};

module.exports = updateChk;
Add command:
#!/usr/bin/env node

const { program } = require('commander');

...

program
    .command('upgrade')
    .description("Check the js-plugin-cli version.")
    .alias('u')
    .action(() => {
        updateChk();
    });

...
Execute npm link --force , and then execute the configured command xman u :
So far, we have implemented a basic but very complete general scaffolding tool for web engineering. You can modify and expand it according to your actual needs.
Summarize
The essential function of a web engineering universal scaffolding is actually the following:
- Quickly create a basic project structure;
- Provide specifications and agreements for project development;
- According to actual project requirements, we can customize different functions to improve our efficiency.


**粗体** _斜体_ [链接](http://example.com) `代码` - 列表 > 引用。你还可以使用@来通知其他用户。