Typecho is a set of blog programs developed in PHP language, and also supports multiple databases (Mysql, PostgreSQL, SQLite). This article will demonstrate the process of deploying Typecho to aws.
Need to know the required dependencies before deploying
- EC2 (Amazon Elastic Cloud Compute, Elastic Cloud Compute, EC2 for short)
- RDS (Amazon Relational Database Service, Relational Database Service, RDS for short)
- LNMP (Linux, Nginx, MySQL, PHP. No separate MySQL installation is required here)
Open EC2
In the AWS console, start an EC2 instance of the Linux system, I chose the image of Ubuntu .
The eligible free tier is the AWS overseas regional account free tier, you can sign up through this link to explore over 100 products and start building on AWS with the free tier.By default, only 22 ports are enabled in the security group. During testing, you can choose to enable all security groups by default, or add commonly used ports to the security group.
If there is no problem after review, click Start
Then you need to choose an existing key pair or create a new key pair to connect using ssh, otherwise you can only connect through the AMI built-in password or EC2 Instance Connect.
You can use an existing key pair. I created a new one here, fill in the key pair name, click Download key pair, and you can get a key name.pem file.
Click Start again. At this point, the instance we created is being started.
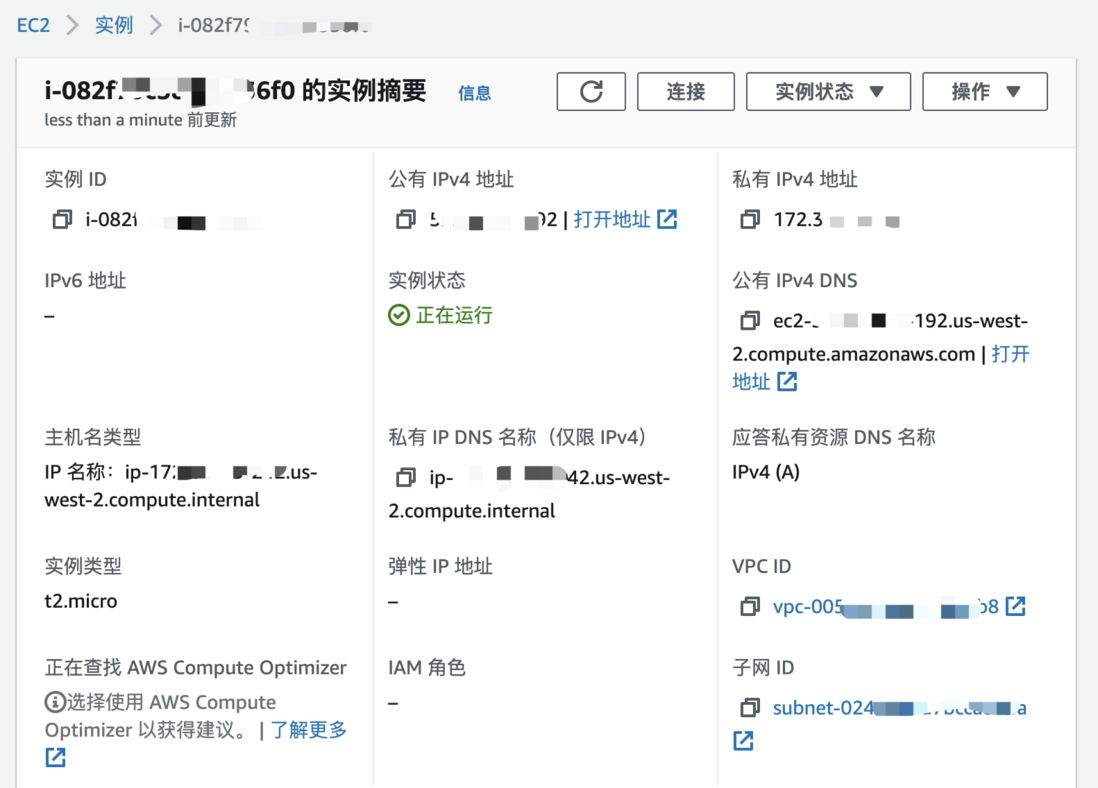
Click to view the instance details and get the public IPv4 DNS to connect:
For example, if the public DNS name of the instance is ec2-a-b-c-d.us-west-2.compute.amazonaws.com and the key pair is my_ec2_private_key.pem , use the following command to connect to the instance via SSH:
ssh -i my_ec2_private_key.pem ubuntu@ec2-a-b-c-d.us-west-2.compute.amazonaws.comFor more specific practical procedures, please refer to "Teach you how to deploy dynamic websites on the cloud"
Install LNMP
I chose to use the LNMP one-click installation package directly
wget http://soft.vpser.net/lnmp/lnmp1.8.tar.gz -cO lnmp1.8.tar.gz && tar zxf lnmp1.8.tar.gz && cd lnmp1.8 && ./install.sh lnmpThe script needs to be executed by the root user, so we need to set the root user's password first
sudo passwd rootUse su root to switch to the root user, and execute ./install.sh lnmp again.
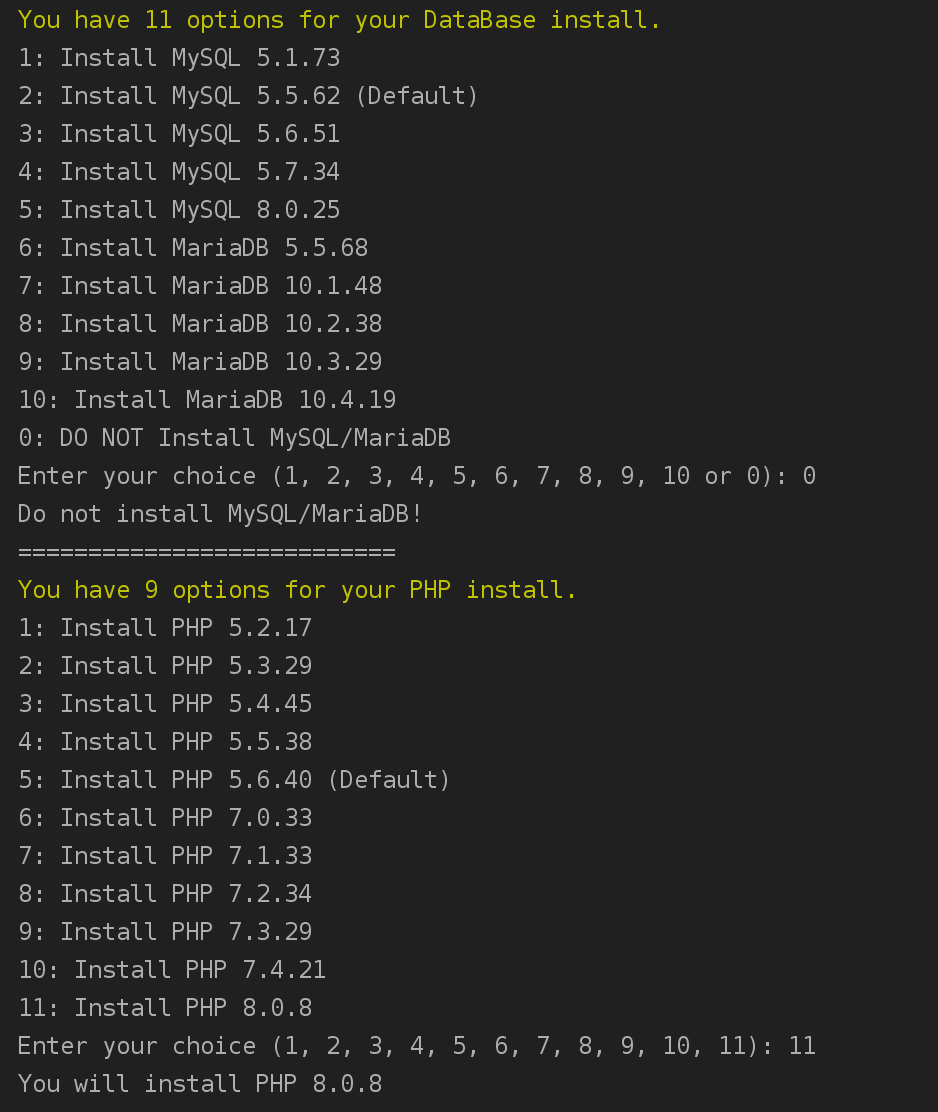
Installation of MySQL was skipped during installation, since we need to use RDS, there is no need to install it.
Wait for the installation to complete...
After the installation is complete, you can visit http://IP/phpinfo.php to view the PHP information.
Install Typecho
The official stable version of Typecho has not been released for a long time, and I am also contributing some code to Typecho recently, so here we will install the code of the development version first.
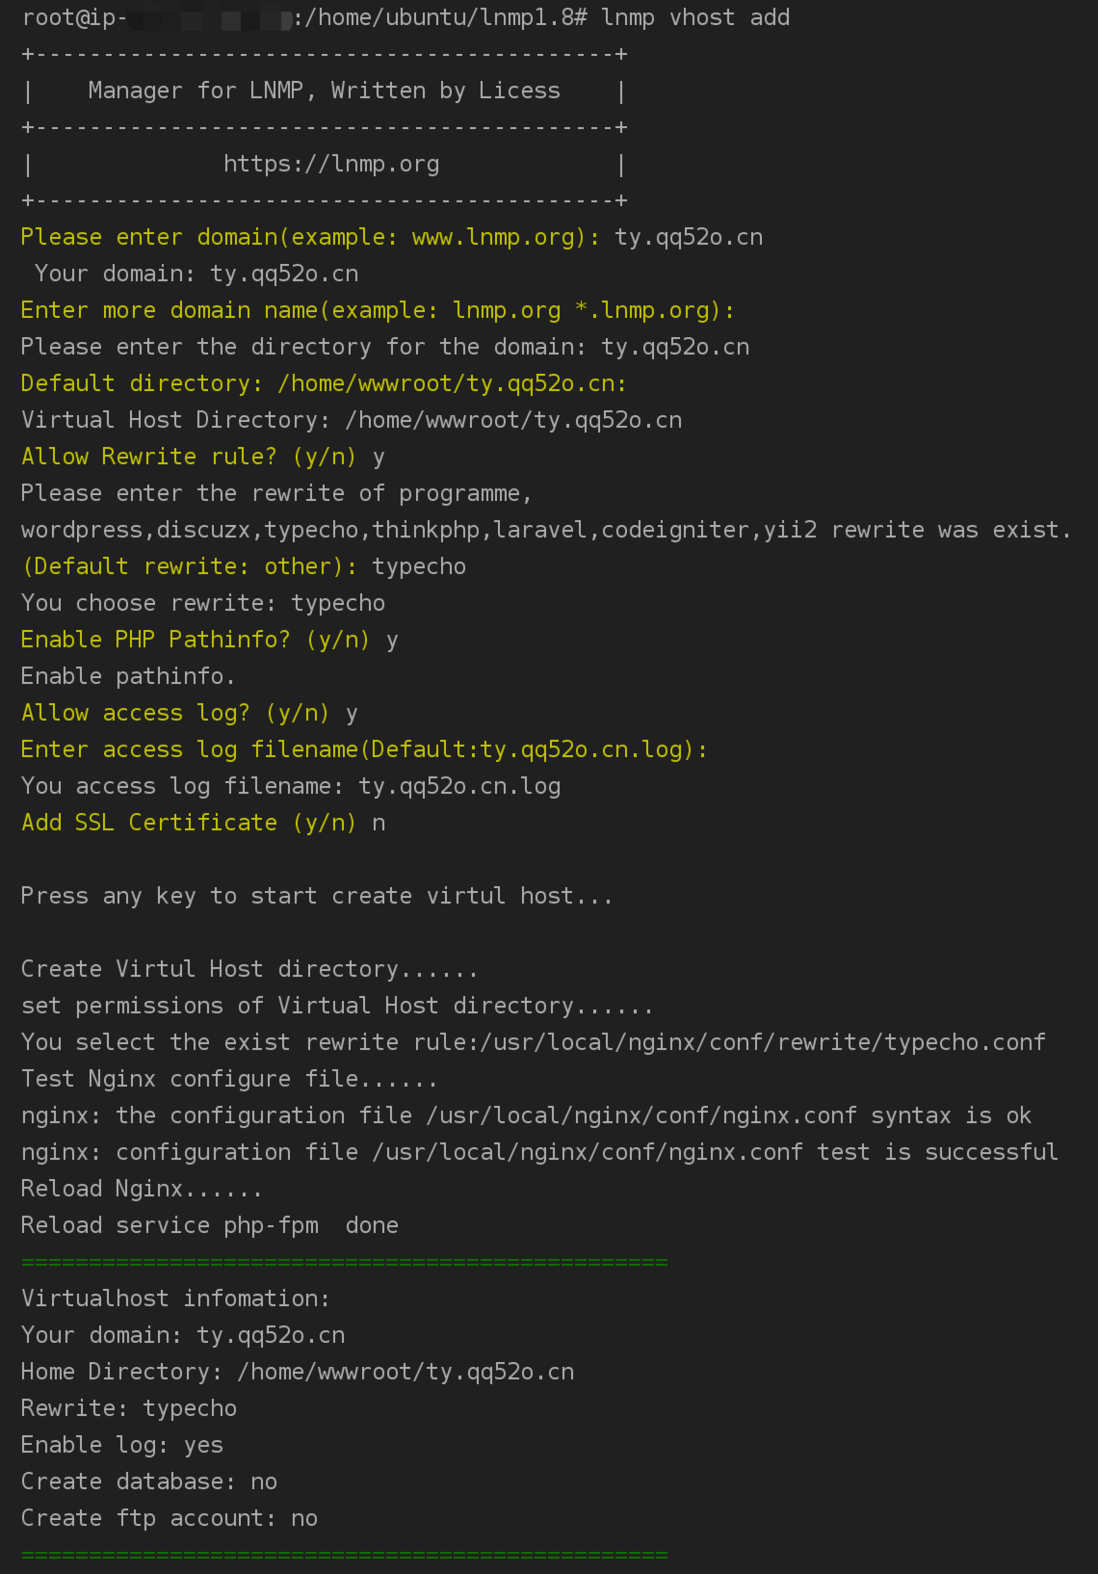
First use the lnmp vhost add command to create a site:
After the creation is completed, there is a .user.ini that prohibits cross-directory access by default, which can be removed by the tools/remove_open_basedir_restriction.sh script in the lnmp1.8 directory
./remove_open_basedir_restriction.shGo to the /home/wwwroot/ty.qq52o.cn directory to download the source code of the development version:
cd /home/wwwroot/ty.qq52o.cn
wget https://github.com/typecho/typecho/releases/download/ci/typecho.zip
unzip typecho.zip
chown -R www:www ./*
In order to access the installer normally, the domain name needs to be resolved to the IP of EC2, so go to the service provider where the domain name is located to add resolution, add a cname resolution to the corresponding domain name, and the record value is public IPv4 DNS.
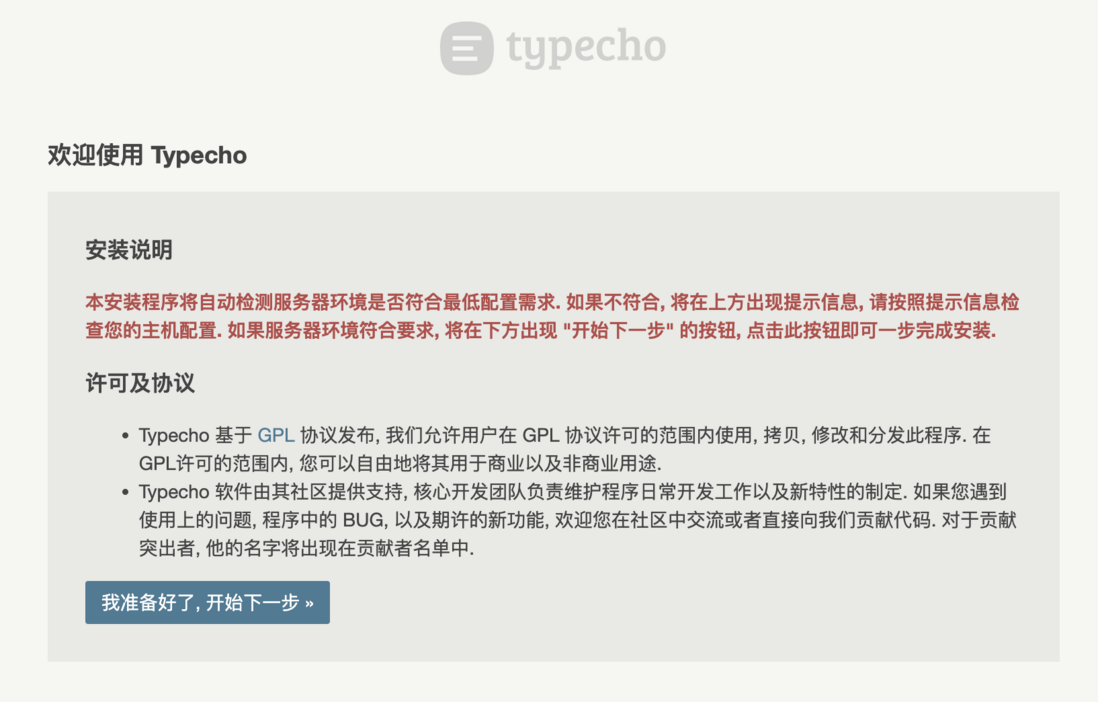
After the parsing is successful, you can see the installation interface provided by Typecho.
Click to start the next step, we need to configure the database information, but since there is no installation at present, we can use SQLite to create it first, and a SQLite database file address will be generated by default, click to install.
The next step is to add an administrator account and password.
After clicking Continue Installation, the installation steps are completed.
Default home page
console
Seeing this, it's not over yet, because we are using SQLite storage, we need to replace it with MySQL storage, keep reading
Open RDS
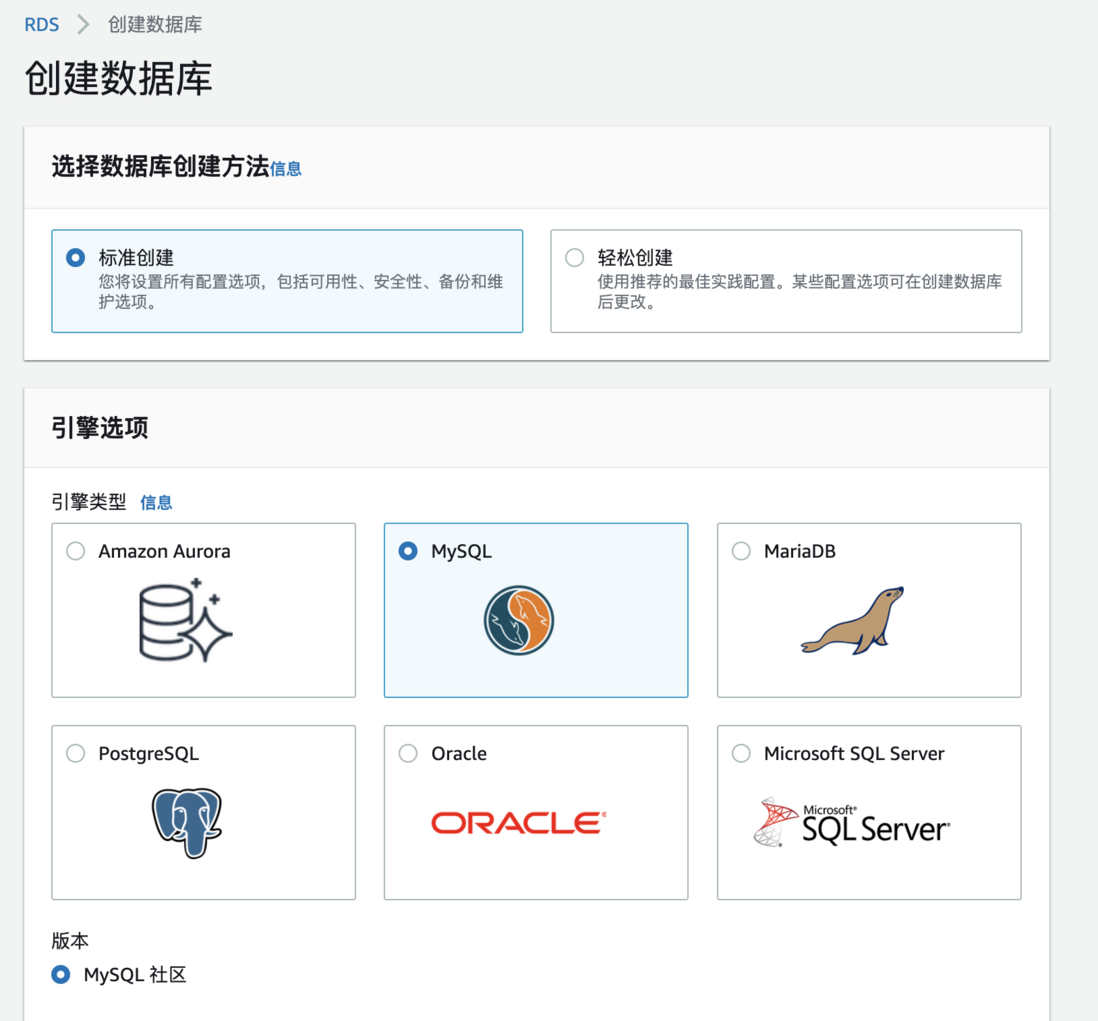
Go to the RDS service of the aws console and create a MySQL engine database
Select the instance configuration in the configuration below, set the account password, click Create database, and wait for the database to be successfully created to obtain the endpoint and port.
Note that the database needs to be in the same VPC security group as EC2.
Since we are using SQLite just now, we need to use MySQL, so we need to delete the file to reinstall:
cd /home/wwwroot/ty.qq52o.cn
#filename为刚才创建时自动生成的SQLite文件
rm usr/filename.db config.inc.php
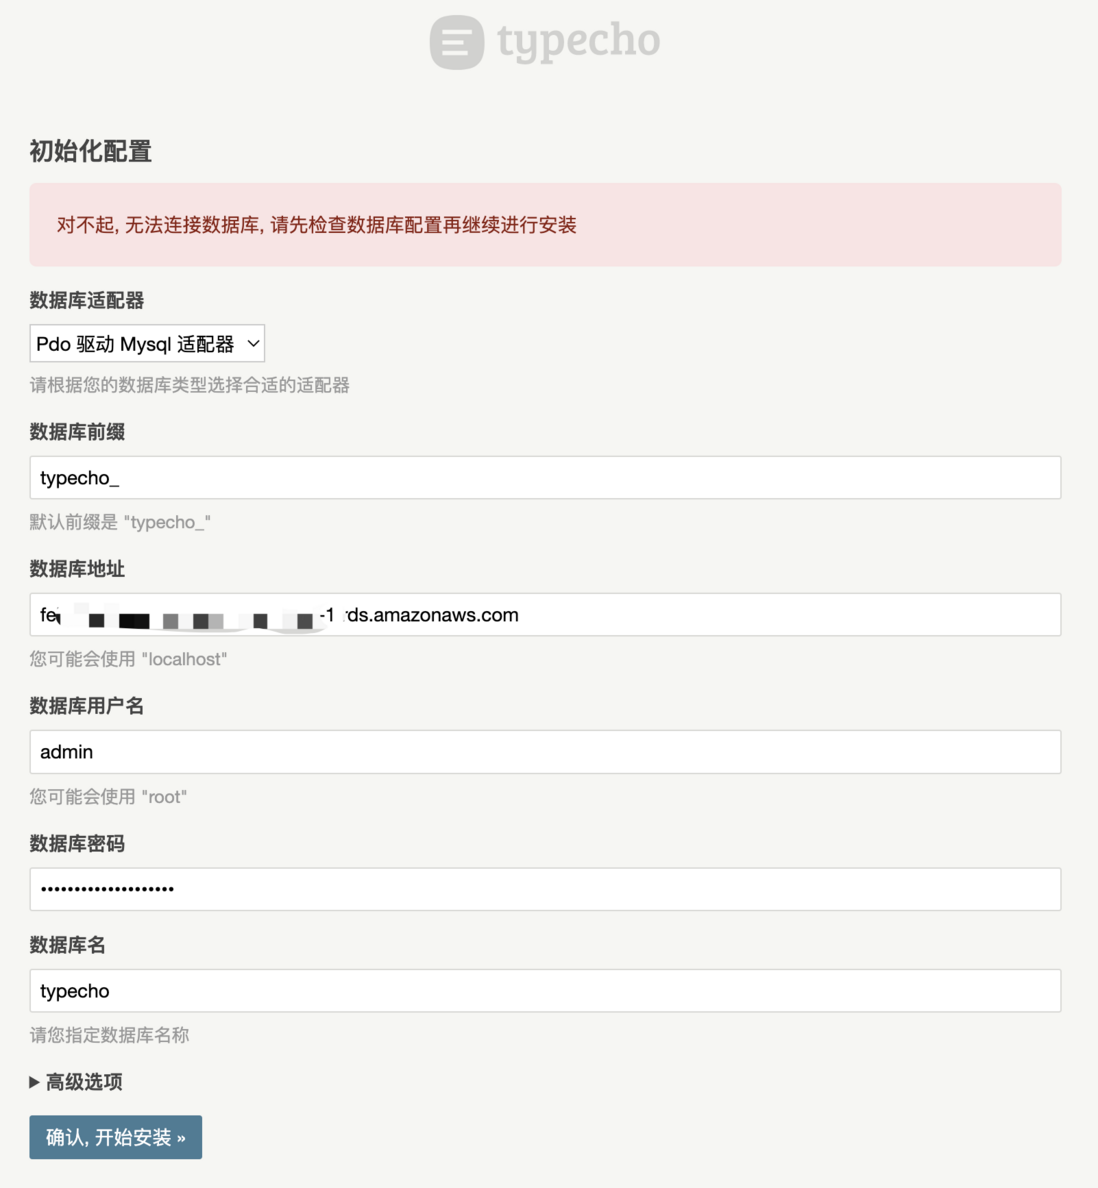
Re-visit the domain name, and the installation interface you just saw will appear again. Enter the terminal node and port just obtained, and the configured account password:
When we clicked to start the installation, an error was reported: Sorry, the database cannot be connected, please check the database configuration before proceeding with the installation
This means that the database named typecho does not exist, so we need to manually create it
#安装mysql client
apt install mysql-client-core-5.7

#连接数据库 将终端节点替换为实际的 回车后输入密码再次回车进入数据库
mysql -uadmin -h终端节点 -p

#执行
create database typecho;
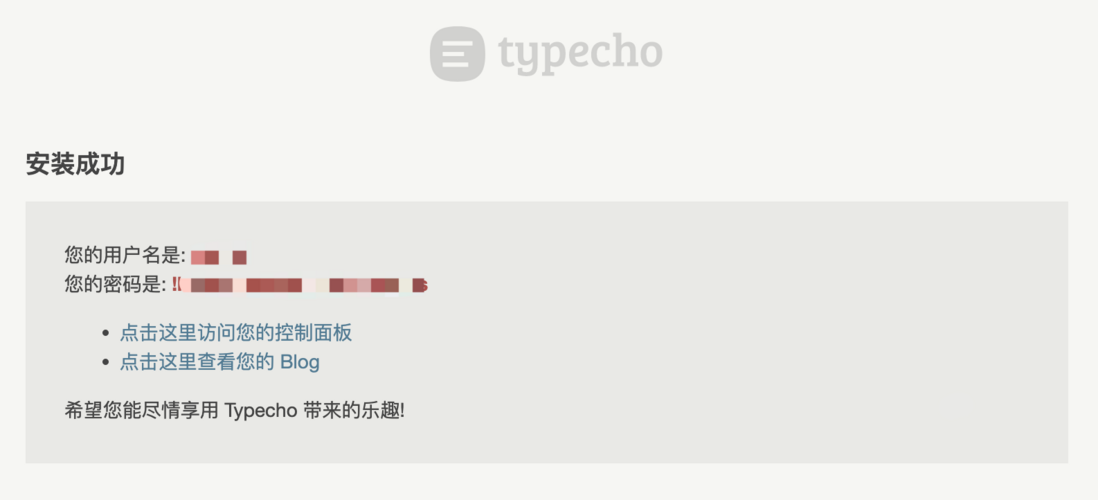
After the execution is successful, click Start Installation again and you will see the Create Your Administrator Account page again, and fill in according to the previous steps.
After the installation is successful, you can enjoy the fun brought by Typecho~
Typecho is not only lightweight and efficient, but with only 7 data sheets and less than 400KB of code, a complete plug-in and template mechanism is realized. And native support for Markdown typesetting syntax, easy to read and easier to write.
Coupled with the use of EC2 + RDS, even in the face of sudden high traffic, it can easily cope with the required fast performance, high availability, and security.
Get more tutorials: AWS Getting Started Fundamentals Course








**粗体** _斜体_ [链接](http://example.com) `代码` - 列表 > 引用。你还可以使用@来通知其他用户。