1.Three.js series: write a first/third person perspective game
2.Three.js series: build an ocean ball pool to learn physics engine
The gihtub address of this article: https://github.com/hua1995116/Fly-Three.js
The concept of the metaverse is very popular recently, and due to the impact of the epidemic, our travel is always limited, and the cinema is always closed, but there is no atmosphere for watching blockbusters at home. At this time, we can create a universe by ourselves. And watch it in VR devices (Oculus, cardboard).
Today I plan to use Three.js to implement a personal VR movie exhibition hall. The whole process is very simple, even if you don't know programming, you can easily master it.
If you want a top-level visual feast, the most important thing is to have a large screen. First of all, we will realize a large screen.
There are mainly two kinds of geometry for the realization of large screen, one is PlaneGeometry and BoxGeometry, one is plane, and the other is hexahedron. In order to make the screen more three-dimensional, I chose BoxGeometry.
As usual, before adding objects, we need to initialize some basic components such as our camera, scene, and lights.
 const scene = new THREE.Scene();

// 相机
const camera = new THREE.PerspectiveCamera(
    75,
    sizes.width / sizes.height,
    0.1,
    1000
)
camera.position.x = -5
camera.position.y = 5
camera.position.z = 5
scene.add(camera);

// 添加光照
const ambientLight = new THREE.AmbientLight(0xffffff, 0.5)
scene.add(ambientLight)

const directionalLight = new THREE.DirectionalLight(0xffffff, 0.5)
directionalLight.position.set(2, 2, -1)

scene.add(directionalLight)

// 控制器
const controls = new OrbitControls(camera, canvas);
scene.add(camera);
Then write our core code to create a 5 * 5 ultra-thin cuboid
 const geometry = new THREE.BoxGeometry(5, 5, 0.2);
const cubeMaterial = new THREE.MeshStandardMaterial({
    color: '#ff0000'
});
const cubeMesh = new THREE.Mesh(geometry, cubeMaterial);
scene.add(cubeMesh);
The effect is as follows:
Then we add our video content. To put the video into the 3d scene, we need to use two things, one is the video tag of html, and the other is the video texture VideoTexture in Three.js
The first step is to put the video tag into html, and set up custom playback and prevent it from being displayed on the screen.
 ...
<canvas class="webgl"></canvas>
<video
  id="video"
  src="./pikachu.mp4"
  playsinline
  webkit-playsinline
  autoplay
  loop
  style="display:none"
  ></video>
...
The second step is to get the content of the video tag and pass it to VideoTexture, and assign the texture to our material.
 +const video = document.getElementById( 'video' );
+const texture = new THREE.VideoTexture( video );

const geometry = new THREE.BoxGeometry(5, 5, 0.2);
const cubeMaterial = new THREE.MeshStandardMaterial({
-    color: '#ff0000'
+    map: texture
});
const cubeMesh = new THREE.Mesh(geometry, cubeMaterial);
scene.add(cubeMesh);
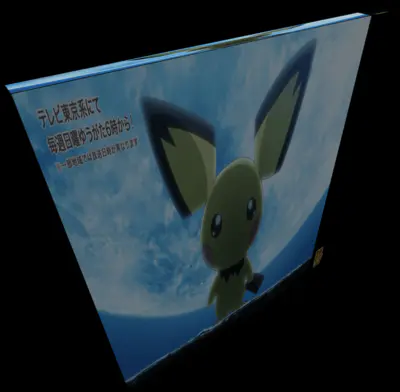
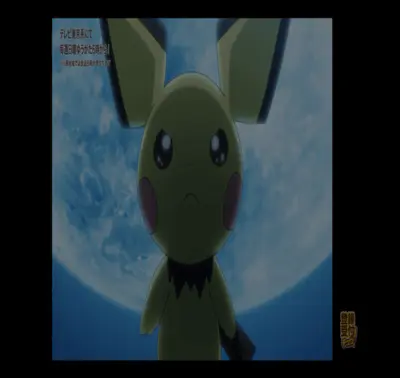
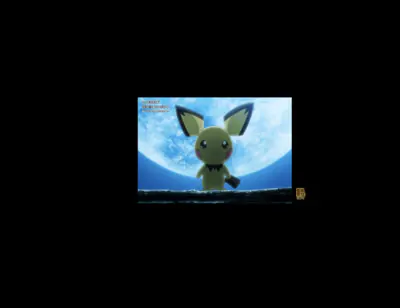
We see that the skin god is obviously stretched, and a problem here is the stretching of the texture. This is also understandable, our screen is 1:1, but our video is 16:9. It is actually very easy to solve it, either to change the size of our screen, or to change the scale when our video texture is rendered.
The first option is simple
By modifying the shape of the geometry (also in time the scale of our display)
 const geometry = new THREE.BoxGeometry(8, 4.5, 0.2);
const cubeMaterial = new THREE.MeshStandardMaterial({
    map: texture
});
const cubeMesh = new THREE.Mesh(geometry, cubeMaterial);
scene.add(cubeMesh);
The second scheme is a bit more complicated, and requires some knowledge about texture maps
Picture 1-1
First of all, we need to know that the texture coordinates are composed of two directions, u and v, and the values are 0 - 1. The entire image is rendered by querying the uv coordinates in the fragment shader to get the pixel value of each pixel.
So if the texture map is a 16:9 and you want to map it to a rectangular face, then the texture map must be stretched, just like our video above, the above image is to show the thickness of the TV so Not so obvious, you can look at the picture. (The first one is darker because the default texture of Three.js calculates the lighting, ignore this for now)
Let's take a look first, assuming that the mapping of our image is according to Figure 1-1, in the case of stretching (80,80,0) is mapped to uv(1,1), but in fact we expect a point ( 80, 80 9/16, 0) maps uv(1,1), so the problem becomes how the uv value of the pixel position (80, 80 9/16, 0) becomes (80, 80, 0) The uv value of , it is simpler to make 80 9 / 16 become 80. The answer is obvious, that is to multiply the v value of 80 9 / 16 pixels by 16 / 9, so that we can find the uv (1,1) Pixel values. Then we can start writing shaders.
 // 在顶点着色器传递 uv
const vshader = `
varying vec2 vUv;

void main() {
  vUv = uv;

  gl_Position = projectionMatrix * modelViewMatrix * vec4( position, 1.0 );
}
`

// 核心逻辑就是 vec2 uv = vUv * acept;
const fshader = `
varying vec2 vUv;

uniform sampler2D u_tex;
uniform vec2 acept;

void main()
{
  vec2 uv = vUv * acept;
  vec3 color = vec3(0.3);
  if (uv.x>=0.0 && uv.y>=0.0 && uv.x<1.0 && uv.y<1.0) color = texture2D(u_tex, uv).rgb;
  gl_FragColor = vec4(color, 1.0);
}
`
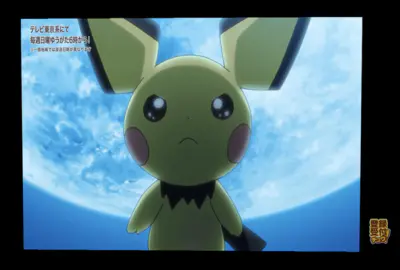
Then we see that our picture is normal, but at the bottom of the overall screen, so a little bit we need to move it to the center of the screen.
The idea of moving to the center is similar to the above, we only need to pay attention to the boundary point. Suppose the boundary point C is to make 80 ( 0.5 + 9/16 0.5 ) become 80 , and soon we may also calculate it as C 16/9 - 16/ 9 0.5 + 0.5 = 80
Then to modify the shader, the vertex shader does not need to be changed, we only need to modify the fragment shader.
 const fshader = `
varying vec2 vUv;

uniform sampler2D u_tex;
uniform vec2 acept;

void main()
{
  vec2 uv = vec2(0.5) + vUv * acept - acept*0.5;
  vec3 color = vec3(0.0);
  if (uv.x>=0.0 && uv.y>=0.0 && uv.x<1.0 && uv.y<1.0) color = texture2D(u_tex, uv).rgb;
  gl_FragColor = vec4(color, 1.0);
}
`
Ok, so far, our images are displayed normally~
So how does textureVideo in Three.js realize video playback?
By looking at the source code ( https://github.com/mrdoob/three.js/blob/6e897f9a42d615403dfa812b45663149f2d2db3e/src/textures/VideoTexture.js ) the source code is very small, VideoTexture inherits Texture, the biggest point is that through the requestVideoFrameCallback method, we Let's take a look at its definition and find that there is no related example in mdn, we came to the w3c specification to find https://wicg.github.io/video-rvfc/
This property is mainly to obtain the graphics of each frame, which can be understood through the following small demo
 <body>
  <video controls></video>
  <canvas width="640" height="360"></canvas>
  <span id="fps_text"/>
</body>

<script>
  function startDrawing() {
    var video = document.querySelector('video');
    var canvas = document.querySelector('canvas');
    var ctx = canvas.getContext('2d');

    var paint_count = 0;
    var start_time = 0.0;

    var updateCanvas = function(now) {
      if(start_time == 0.0)
        start_time = now;

      ctx.drawImage(video, 0, 0, canvas.width, canvas.height);

      var elapsed = (now - start_time) / 1000.0;
      var fps = (++paint_count / elapsed).toFixed(3);
      document.querySelector('#fps_text').innerText = 'video fps: ' + fps;

      video.requestVideoFrameCallback(updateCanvas);
    }

    video.requestVideoFrameCallback(updateCanvas);

    video.src = "http://example.com/foo.webm"
    video.play()
  }
</script>
Through the above understanding, it is easy to abstract the whole process, obtain the picture of each frame of the video through requestVideoFrameCallback , and then use Texture to render it to the object.
Then let's add the VR code, Three.js provides them with a way to build VR by default.
 // step1 引入 VRButton
import { VRButton } from 'three/examples/jsm/webxr/VRButton.js';
// step2 将 VRButton 创造的dom添加进body
document.body.appendChild( VRButton.createButton( renderer ) );
// step3 设置开启 xr
renderer.xr.enabled = true;
// step4 修改更新函数
renderer.setAnimationLoop( function () {
    renderer.render( scene, camera );
} );
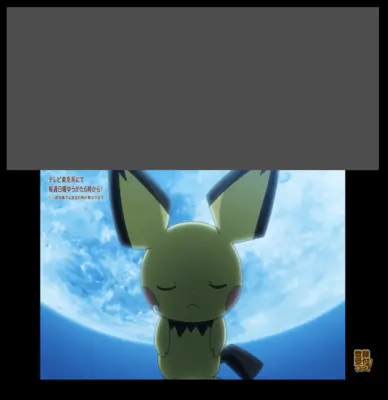
Since the iphone tara does not support webXR, I specially borrowed an Android machine (the Android machine needs to download Google Play, Chrome, and Google VR). After adding the above steps, it will display as follows:
After clicking the ENTER XR button, you can enter the VR scene.
Then we can buy a Google Glass cardboard for another 20 bucks. The experience address is as follows:
https://fly-three-js.vercel.app/lesson03/code/index4.html
Or buy an Oculus like I did and just lay back and watch the blockbuster




**粗体** _斜体_ [链接](http://example.com) `代码` - 列表 > 引用。你还可以使用@来通知其他用户。