- Three.js Series: Watch Movies in the Metaverse and Enjoy a VR Visual Feast
- Three.js series: Build an ocean ball pool to learn the physics engine
- Three.js series: first and third person perspective in games
- Three.js series: Several ways to realize panorama VR (panorama/cubemap/eac)
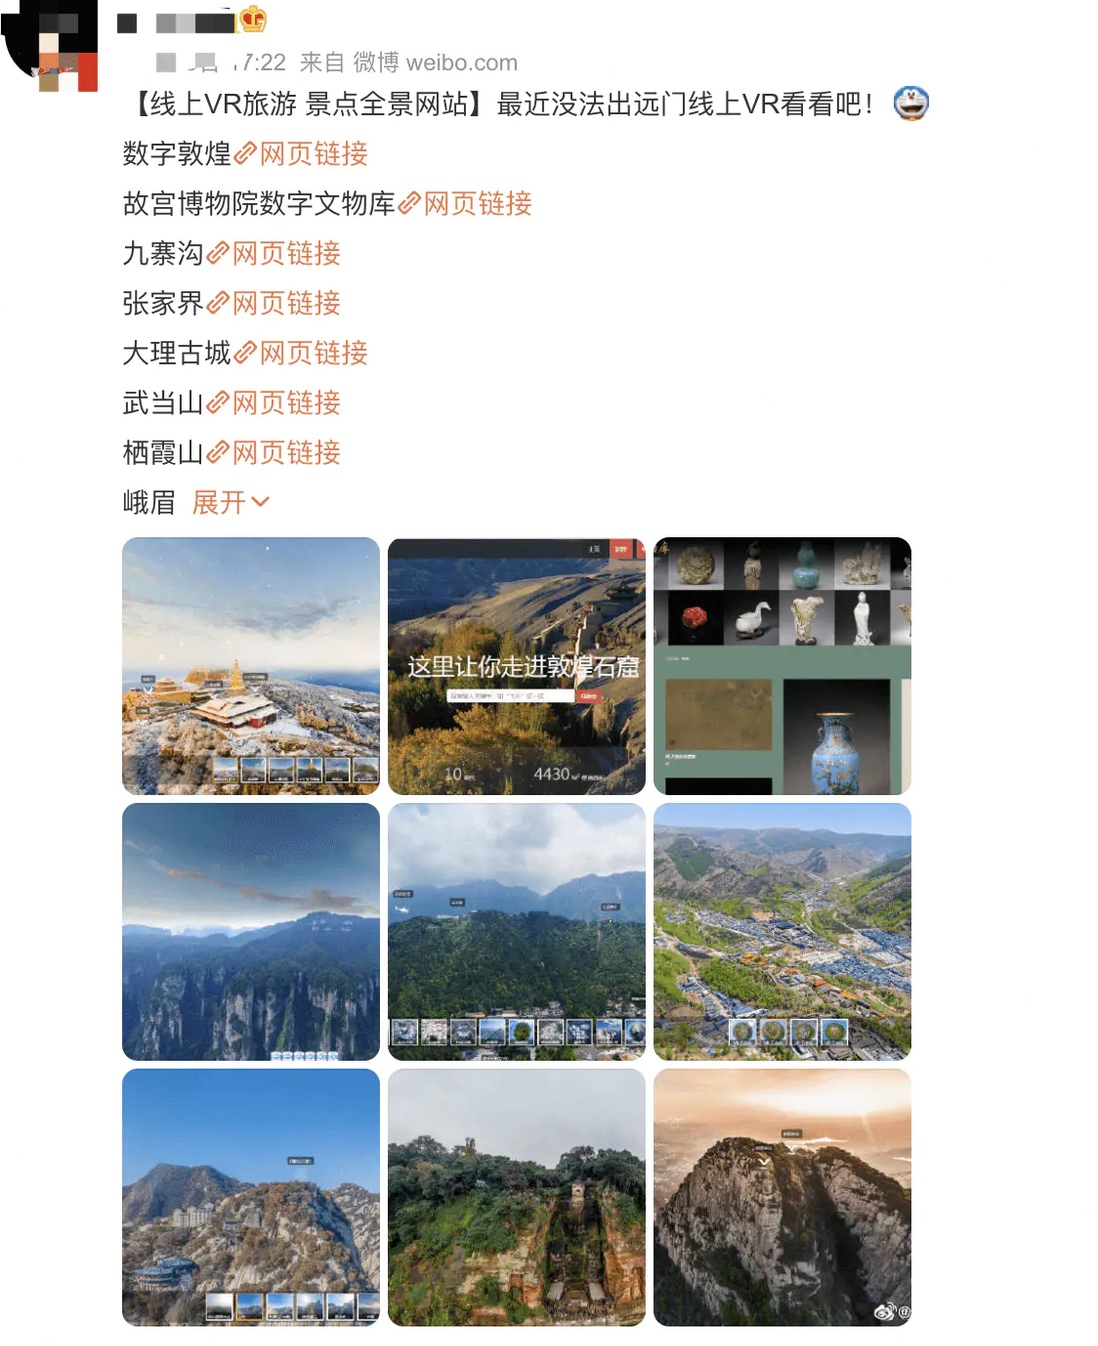
This is the fourth part of the Three.js series. If you want to see other content, you can see the above☝️. Today, I will introduce you to the knowledge related to panoramas. We know that due to the recent impact of the epidemic, everyone can’t go out. There are many Panorama projects are on fire. For example, various famous scenic spots have opened up VR.
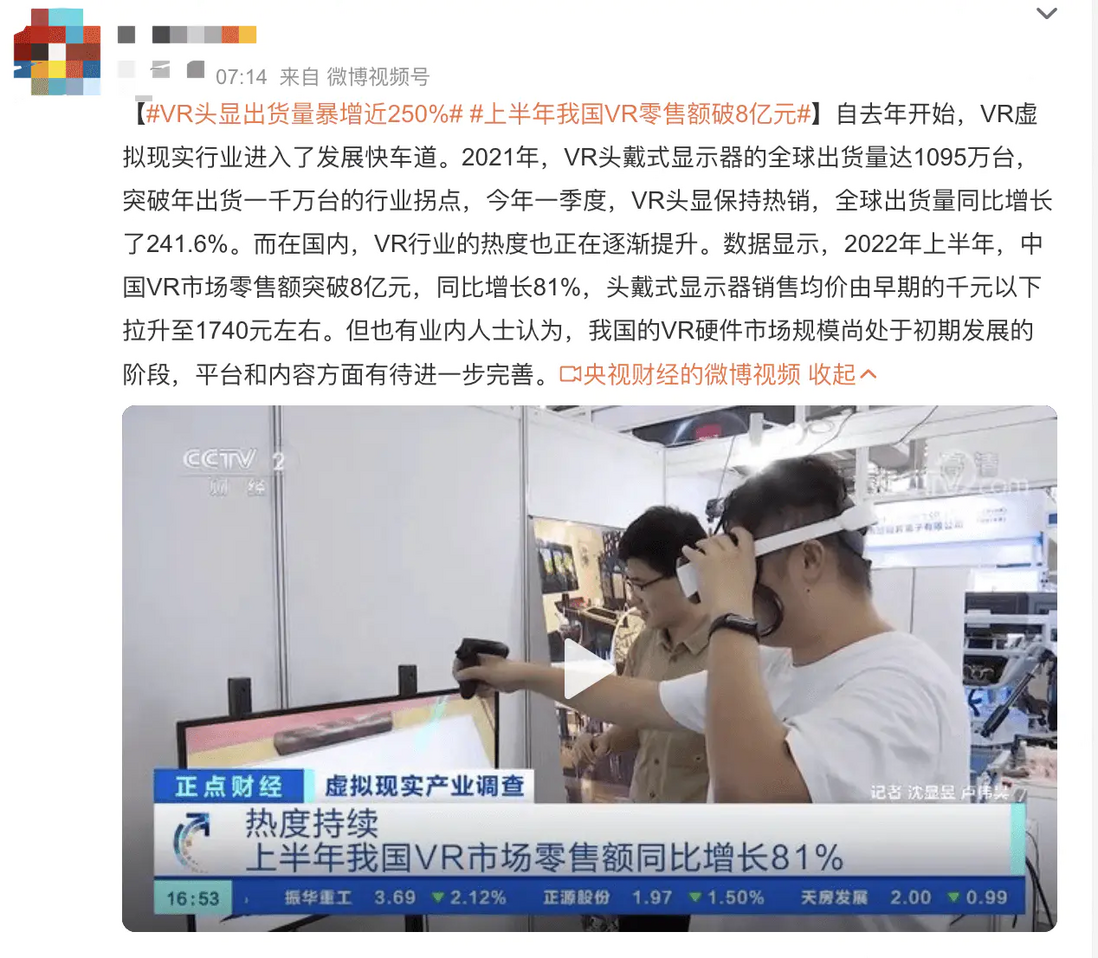
In addition, VR equipment is also very popular. In the first half of 2022 in my country, the VR market sales exceeded 800 million yuan, an increase of 81% year-on-year.
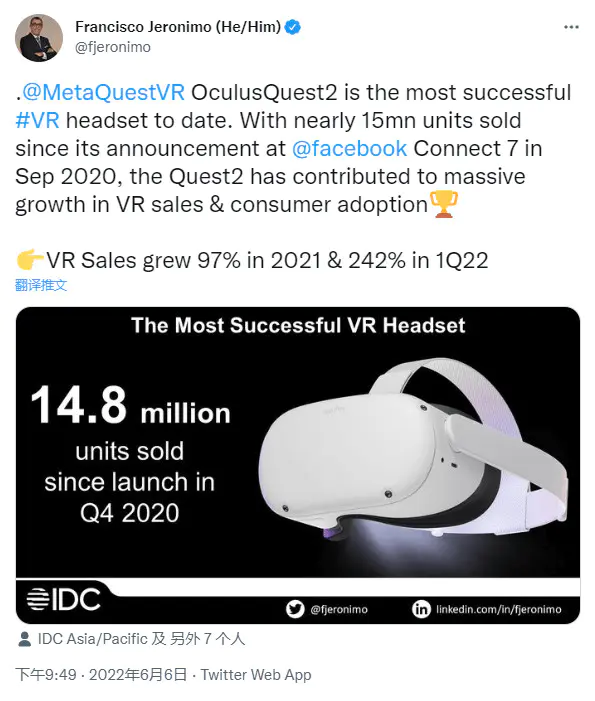
In foreign countries, as of Q1 2022, 14.8 million units have been sold!
Because we learn to make VR technology is to follow the trend. After all, Rebs said, "When you stand on the wind, pigs can fly."
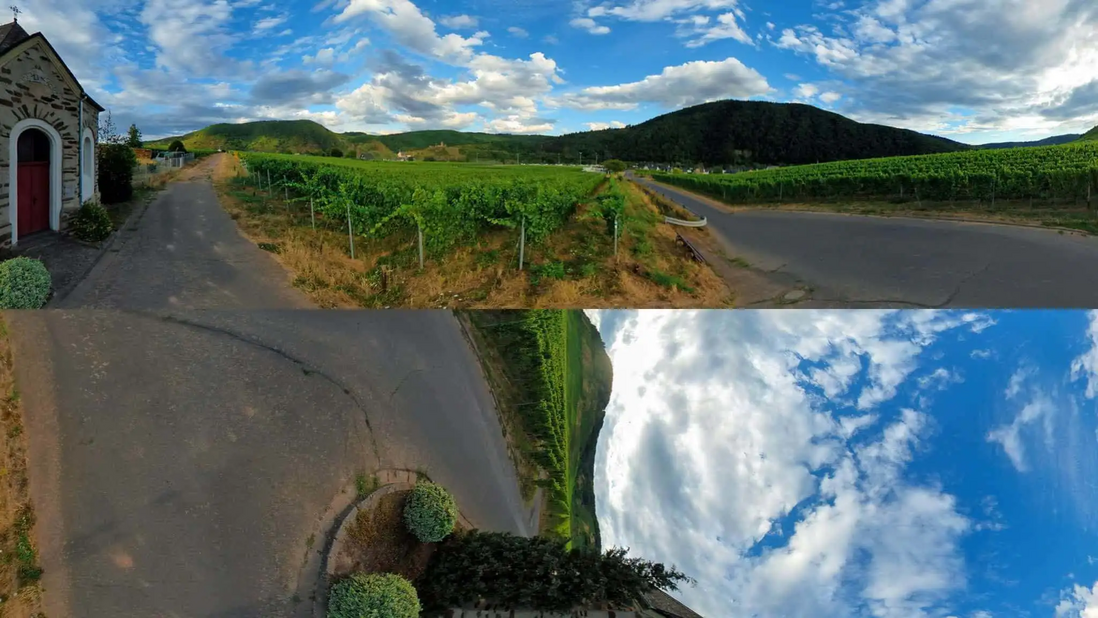
Next, I will talk about the main forms of display at present. At present, there are three main ways to display VR, namely modeling, modeling + panorama and panorama
| modeling | Modeling + Panorama | Panorama | |
|---|---|---|---|
| representative work | VR games | Shell series viewing | Ordinary cloud tour, cloud tour |
| experience | excellent | it is good | medium |
Let's actually experience their differences
The above is the experience of the VR game "The Hire Warrior". The perspective switching is very smooth, and the scene is very large. Friends who have played 3D games can understand. This kind of scene is done through modeling. Using modeling software such as blender, 3D Max, and maya, and then using game development platforms such as Unity and UE, the various effects can be said to be very good.
As for the shell, it is used in combination of modeling and panorama. The model and panorama are collected offline, but for this kind of viewing page, it is necessary to render fine model resources on the Web. The consumption is huge, so they adopted a compromise solution, that is, rough model + panorama, through the model to tween the sense of sudden change of scene switching, and the feeling of dropped frames during the change process. Although the effect is not as refined as pure manual modeling, the overall experience is also very good.
The last kind of cloud tour is obtained by directly switching between two panorama images. This method is the simplest. Of course, the effect is far better than the previous two, but the panoramic view of a single image is also higher than that of a static image. sense of space.
It can be summed up in the table as follows:
| modeling | Modeling + Panorama | Panorama | |
|---|---|---|---|
| representative work | VR game "The Mercenary Warrior" | Shell series viewing | Ordinary cloud tour, cloud tour |
| Difficulty to achieve | difficult | Disaster | Simple |
| transition effect | extremely real | it is good | generally |
| Model | Blender, 3D Max, maya | with optical sensor camera | Ordinary 360 camera |
Because the panorama is obtained by shooting one by one. Therefore, it cannot have position information, that is, the dependencies of each point, so when switching scenes, we cannot get an immersive transition effect; while the shell uses the tweening of the model to improve the transition; VR games Mercenary Soldiers is purely manual modeling, so the effect is very good.
Today we mainly explain the panorama mode (because it is relatively simple), of course, it is not as simple as imagined, but compared with the first two methods, the difficulty is reduced by a slope. After all, learning starts from interest. At the beginning, it was very difficult, and it was simply persuaded to quit.
First of all, let's understand some pre-knowledge first. What format does the current mainstream panorama have?
After I read the summary, the most commonly used ones are about the following three
- Equirectangular projection format (Equirectangular)
- Equi-Angular Cubemap
- Cube Map (Cube Map)
Equirectangular projection
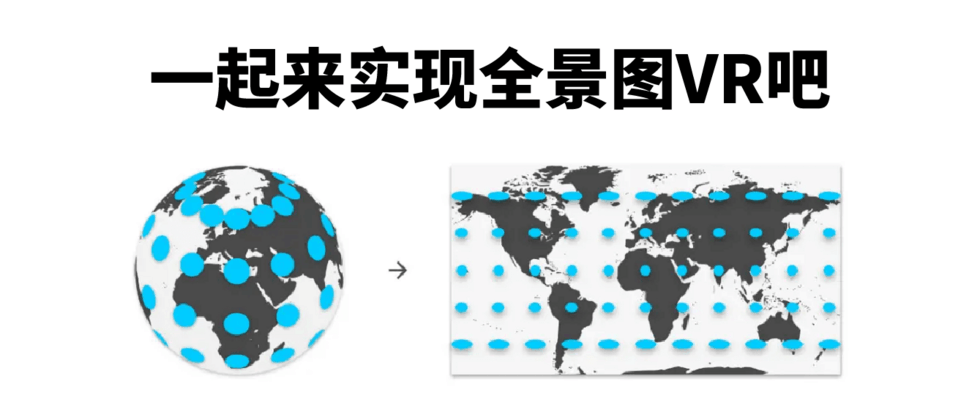
That is, the most common projection method of the world map, which is to project the meridians and latitudes equidistantly (or densely) onto a rectangular plane.
The advantage of this format is that it is more intuitive and the projection is rectangular. The shortcomings are also obvious. The number of pixels projected by the upper and lower poles of the sphere is large, while the number of pixels in the equatorial region with richer details is relatively small, resulting in poor clarity during restoration. In addition, the picture in this format is more distorted when it is not rendered.
cubemap
It is another storage format for panoramic images. The method is to project the content on the sphere outward onto a cube, and then expand it. The advantage of it compared to the equidistant cylindrical projection is that at the same resolution, its image volume is larger. Small, about 1/3 of the equirectangular projection
Isometric cubemap
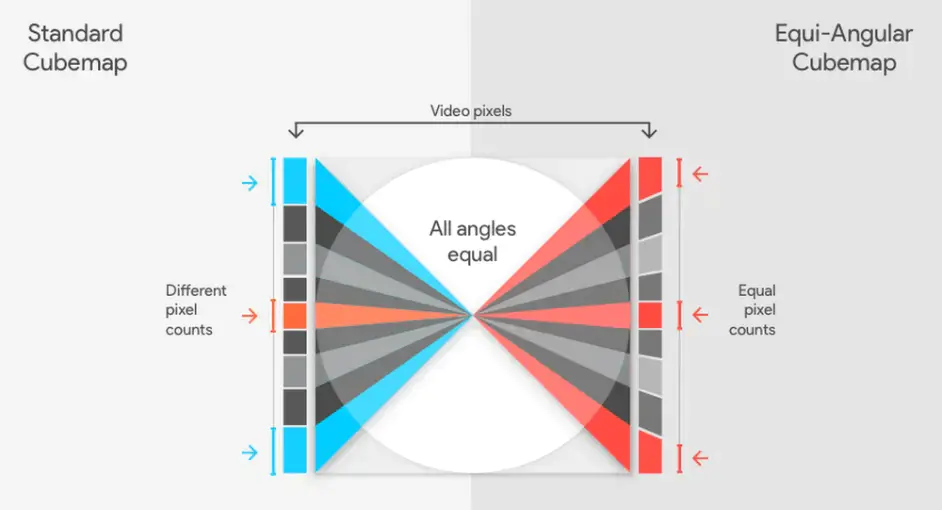
It is a further optimized format proposed by Google by changing the sampling point position when optimizing the projection, so that the pixel density of the corner and the center is equal.
The advantage of this is that the sharpness of the details can be improved at the same source video resolution. The layout is as follows:
Let's briefly summarize:
| Equirectangular projection | cubemap | Isometric cubemap | |
|---|---|---|---|
| Image source | Simple | generally | Disaster |
| Technical realization | Simple | Simple | generally |
| image size | V | 1/3 V | 1/3 ~ 1/4 V |
| Picture clarity | generally | it is good | better |
v is the reference volume
Then comes the moment when we use Three.js to achieve the above effect.
Equirectangular projection
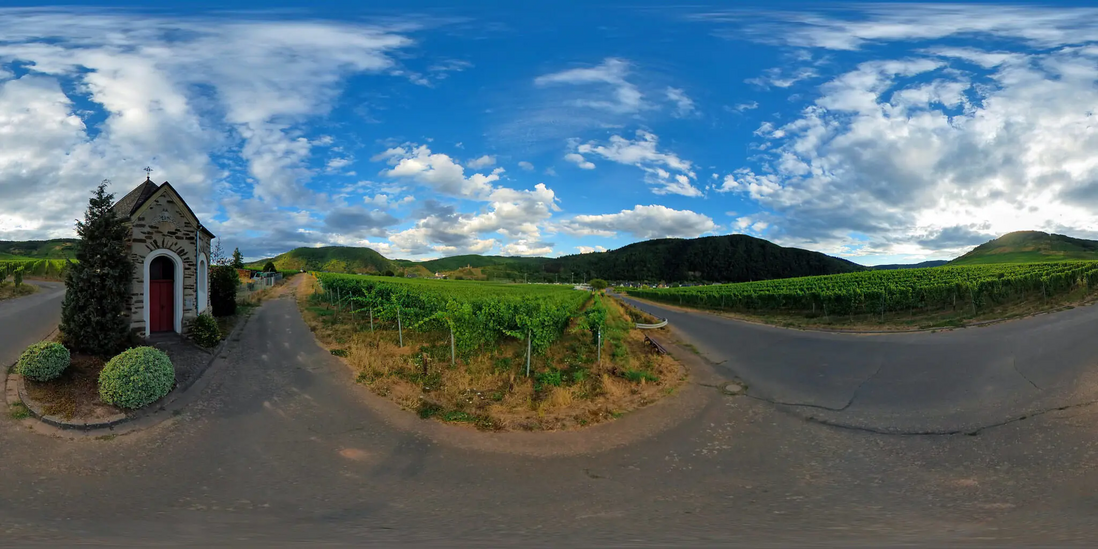
This method is relatively simple to implement. First we find a panorama at https://www.flickr.com/ .
In the previous introduction, we can get the geometry corresponding to the 2:1 equidistant projection panorama as a sphere. Remember that we learned how to create a sphere in the previous "Building an Ocean Ball", that's right **SphereGeometry** .
 ... 省略场景初始化等代码

// 创建一个球体
const geometry = new THREE.SphereGeometry(30, 64, 32);

// 创建贴图, 并设置为红色
const material = new THREE.MeshBasicMaterial({
    color: "red",
});

// 创建对象

const skyBox = new THREE.Mesh(geometry, material);

// 添加对象到场景中

scene.add(skyBox);

// 设置在远处观看
camera.position.z = 100
...
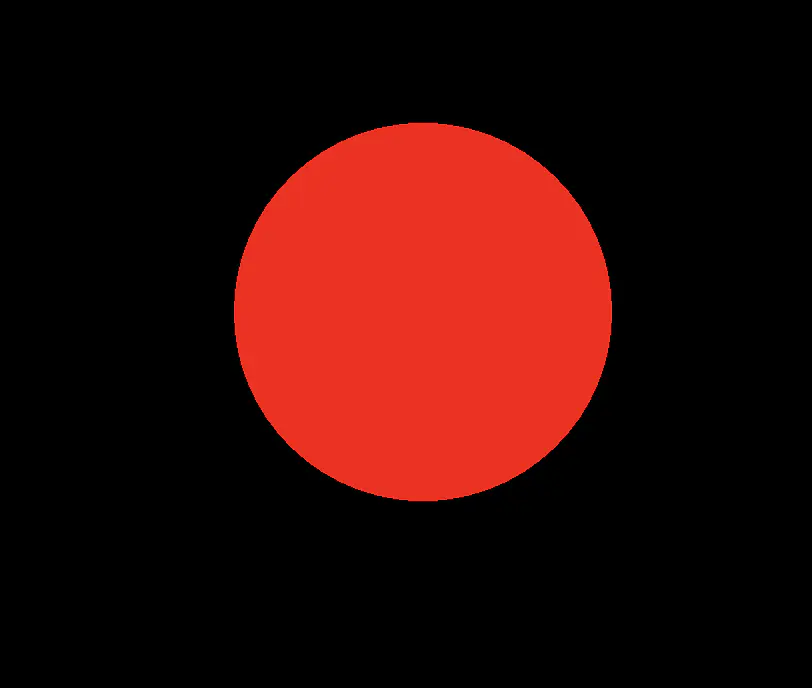
Then we get a little red ball:
Well, now that you have learned that if you create a little red ball, there are 2 more steps to go!
Next, we paste our 2:1 panorama onto our sphere
 const material = new THREE.MeshBasicMaterial({
-    //color: "red",
+    map: new THREE.TextureLoader().load('./images/panorama/example.jpg')
});
We get a globe like a globe.
Now what we have to do, is that we don't want to watch this content from a distance, but to be "immersive"!
So we need to move the camera to the inside of the sphere instead of looking from a distance
 - camera.position.z = 100
+ camera.position.z = 0.01
At this time, we found that it was suddenly dark.
Small problem, this is because in 3d rendering, the default object will only render one face, which is also to save performance. Of course, we can also make the object only render the interior by default, which requires declaring the normal direction of the texture. The process is not the scope of this lesson. Only one idea is provided here. Fortunately, Three.js provides us with a simple method THREE.DoubleSide , through this method, we can make our object render two faces. This way we can see the texture even inside the object.
 const material = new THREE.MeshBasicMaterial({
  map: new THREE.TextureLoader().load('./images/panorama/example.jpg'),
+    side: THREE.DoubleSide,
});
Now we only use **SphereGeometry** sphere to quickly achieve the panorama effect.
cubemap
The cube map is just like its name. We only need to use a cube to render a panorama effect, but the 2:1 panorama cannot be used directly. We first need to convert it through tools. There are currently two more convenient way.
- https://jaxry.github.io/panorama-to-cubemap/
- ffmpeg 5.x use command
ffmpeg -i example.jpg -vf v360=input=equirect:output=c3x2 example-cube.jpg
Finally, we can get the following 6 pictures
Let's start writing our code
 ... 省略场景初始化等代码
// 创建立方体
const box = new THREE.BoxGeometry(1, 1, 1);

// 创建贴图
function getTexturesFromAtlasFile(atlasImgUrl, tilesNum) {
    const textures = [];
    for (let i = 0; i < tilesNum; i++) {
        textures[i] = new THREE.Texture();
    }
    new THREE.ImageLoader()
        .load(atlasImgUrl, (image) => {
            let canvas, context;
            const tileWidth = image.height;
            for (let i = 0; i < textures.length; i++) {
                canvas = document.createElement('canvas');
                context = canvas.getContext('2d');
                canvas.height = tileWidth;
                canvas.width = tileWidth;
                context.drawImage(image, tileWidth * i, 0, tileWidth, tileWidth, 0, 0, tileWidth, tileWidth);
                textures[i].image = canvas;
                textures[i].needsUpdate = true;
            }
        });
    return textures;
}

const textures = getTexturesFromAtlasFile( './images/cube/example-cube.jpg', 6 );
const materials = [];

for ( let i = 0; i < 6; i ++ ) {
    materials.push( new THREE.MeshBasicMaterial( {
        map: textures[ i ],
        side: THREE.DoubleSide
    } ) );
}
const skyBox = new THREE.Mesh(box, materials);
scene.add(skyBox);
...
A note here is that if there are multiple textures in Three.js, they can be passed in in the form of an array. For example, in this example, the incoming order is "left, right, up, down, front, and back".
At this point we also get the same effect as above.
Isometric cubemap
Here, like cubemap, we need to convert the tool to get the image in the corresponding format. Only 5.x ffmpeg is needed here, because it comes with a 360 filter that can handle EAC conversion. First get a picture of eac by the following command.
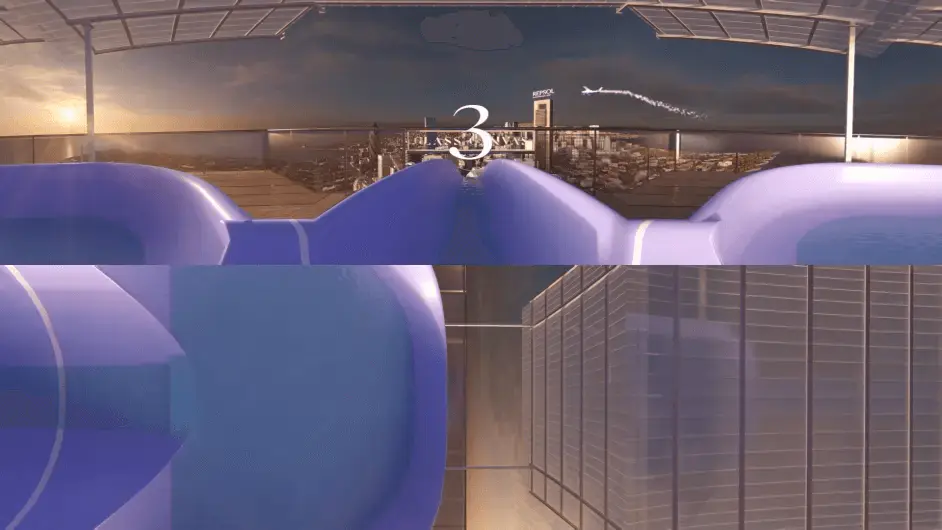
ffmpeg -i example.jpg -vf v360=input=equirect:output=eac example-eac.jpg Since Three.js does not support EAC rendering by default, we use a egjs-view360 for rendering. The principle is to write a shader by ourselves to deal with EAC. I will not explain it here for the time being, and the process is compared. It’s boring, and I will open a chapter to explain it later.
Use egjs-view360 to render the EAC diagram, which is relatively simple as a whole
 ...省略依赖库
<div class="viewer" id="myPanoViewer">
</div>

<script>

    var PanoViewer = eg.view360.PanoViewer;
    var container = document.getElementById("myPanoViewer");
    var panoViewer = new PanoViewer(container, {
        image: "./images/eac/example-eac.jpg",
        projectionType: "cubestrip",
        cubemapConfig: {
            order: "BLFDRU",
            tileConfig: [{ rotation: 0 }, { rotation: 0 }, { rotation: 0 }, { rotation: 0 }, { rotation: -90 }, { rotation: 180 }],
            trim: 3
        }
    });

    PanoControls.init(container, panoViewer);
    PanoControls.showLoading();
</script>
We can finally get the above result.
Here is another set of file volume data: (All pictures are uniformly compressed using tinypng to remove invalid information)
Finally came up with a ranking like this:
Experience: EAC > CubeMap > Equirectangular
File size: CubeMap < EAC < Equirectangular
Getting started: EAC < CubeMap < Equirectangular
So if you want high experience and high image quality, then you choose EAC, if you want small bandwidth, then choose CubeMap, if you are a beginner and want to achieve the effect quickly, then use Equirectangular!
All the above code can be found in: https://github.com/hua1995116/Fly-Three.js .
Here's a final tip. One of the benefits of spherical maps is that they can naturally be used as a display for asteroids, such as this special effect.
In this issue, we have explained the development status of VR, several implementation methods of VR, and the realization of VR through three panoramas of Equirectangular, CubeMap, and Equi-Angular Cubemap. I hope it will be helpful to you. See you in the next issue. . 👋🏻
References
https://www.bilibili.com/read/cv788511
https://www.trekview.org/blog/2021/projection-type-360-photography/
https://jiras.se/ffmpeg/equiangular.html
https://blog.google/products/google-ar-vr/bringing-pixels-front-and-center-vr-video/
https://jiras.se/ffmpeg/mono.html






**粗体** _斜体_ [链接](http://example.com) `代码` - 列表 > 引用。你还可以使用@来通知其他用户。