Let’s talk about the background first. The author developed a WeChat tool applet. At the beginning, the number of daily visits and users of the applet was OK, but later I found that it was limited by the rules of the WeChat applet platform. It is difficult to carry out more in-depth operations on users, and the problem of user churn will gradually become prominent. On the other hand, I have always wanted to develop an app of my own, but I have not mastered the native technology deeply enough, so I have not started to do it.
By chance, after seeing the relatively mature "Mini Program to App" tool in the technical community, they had the idea of converting the existing Mini Program to an App directly through the tool. I use FinClip's IDE to App function. The whole process is actually relatively simple and does not require too many technical requirements.
Below I will also briefly introduce myself to the steps of converting the FinClip applet to the App. For more details, you can directly check the official documentation .
1. Download the installation tool
First, go to the FinClip official website to download and install the latest version of the IDE tool.
2. App configuration
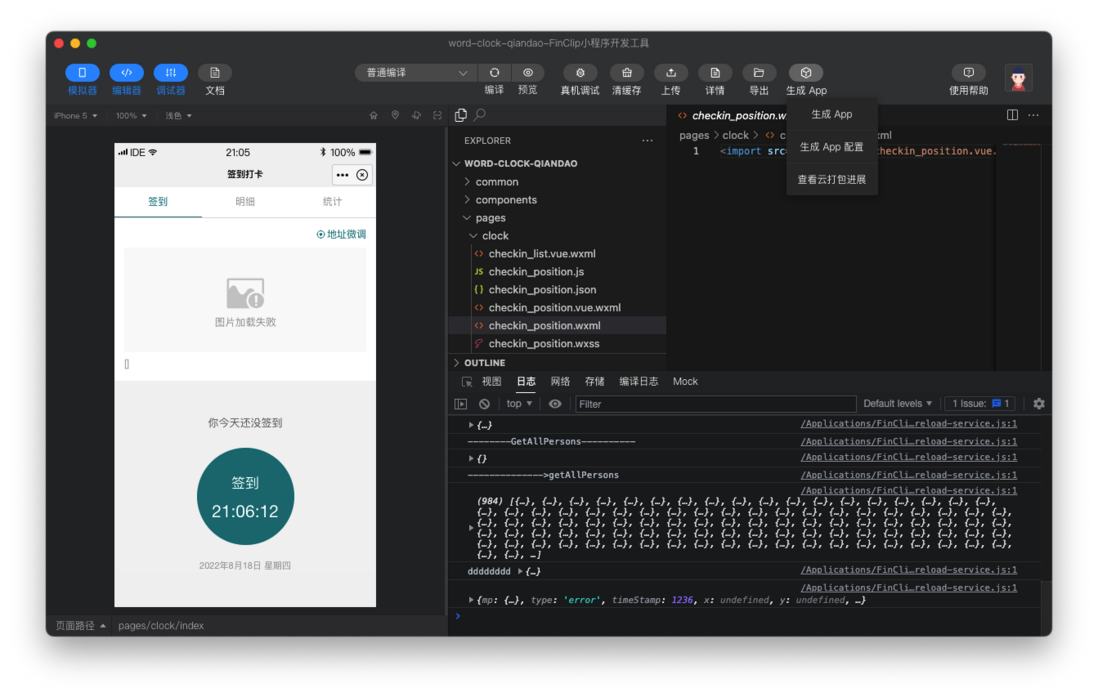
Open the FinClip IDE tool, and then we need to configure the logo, screen opening animation and permissions according to the Appp packaging rules. Open the App Configuration window, as shown in the figure below.
Basic configuration
App basic configuration: Configure the app name of the app to be packaged, the app version number, and the app build version number.
- Fill in the format of App version number installation xyz
- The IDE will automatically generate the application build version number
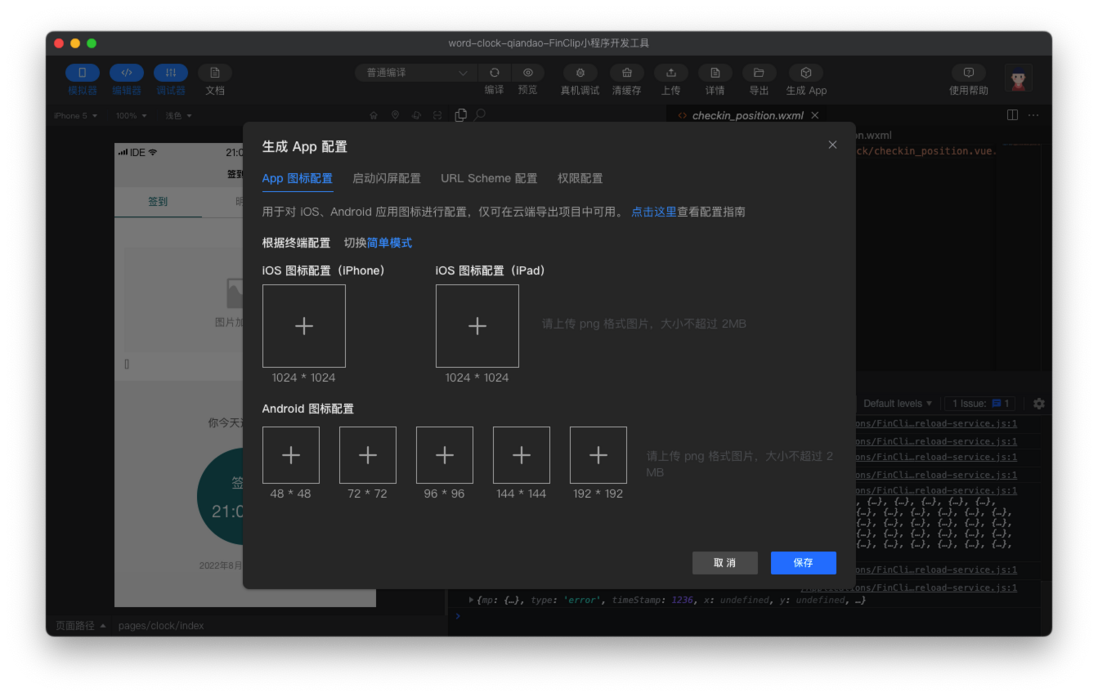
Icon configuration
App icon configuration is divided into two modes: simple mode and custom mode.
- In simple mode, users only need to configure one icon picture.
- In custom mode, users need to configure multiple pictures:
- iOS configuration iphone, ipad two sizes
- android needs to configure 48 48, 72 72, 96 96, 144 144, 192* 192 size icons
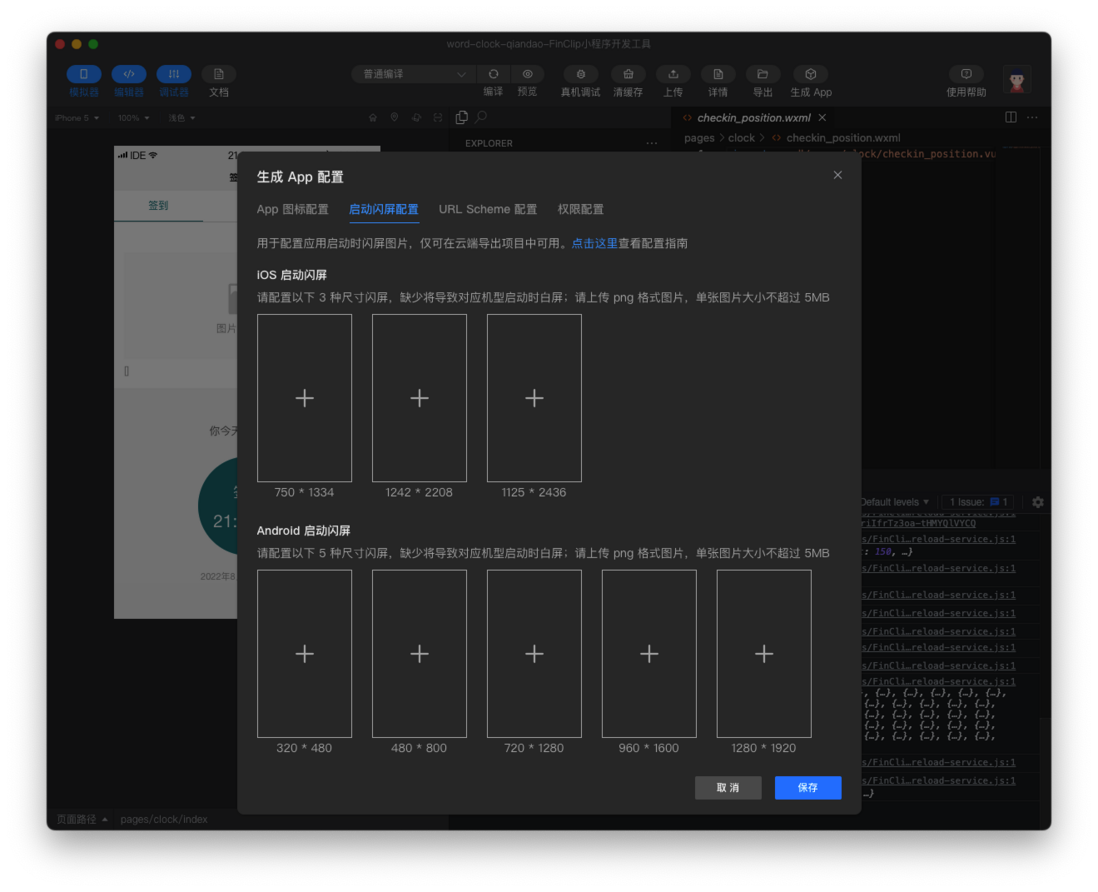
Splash screen configuration
Next, is the splash screen configuration, that is, the splash screen configuration for launching the App, you only need to upload a picture of the corresponding size according to the prompt.
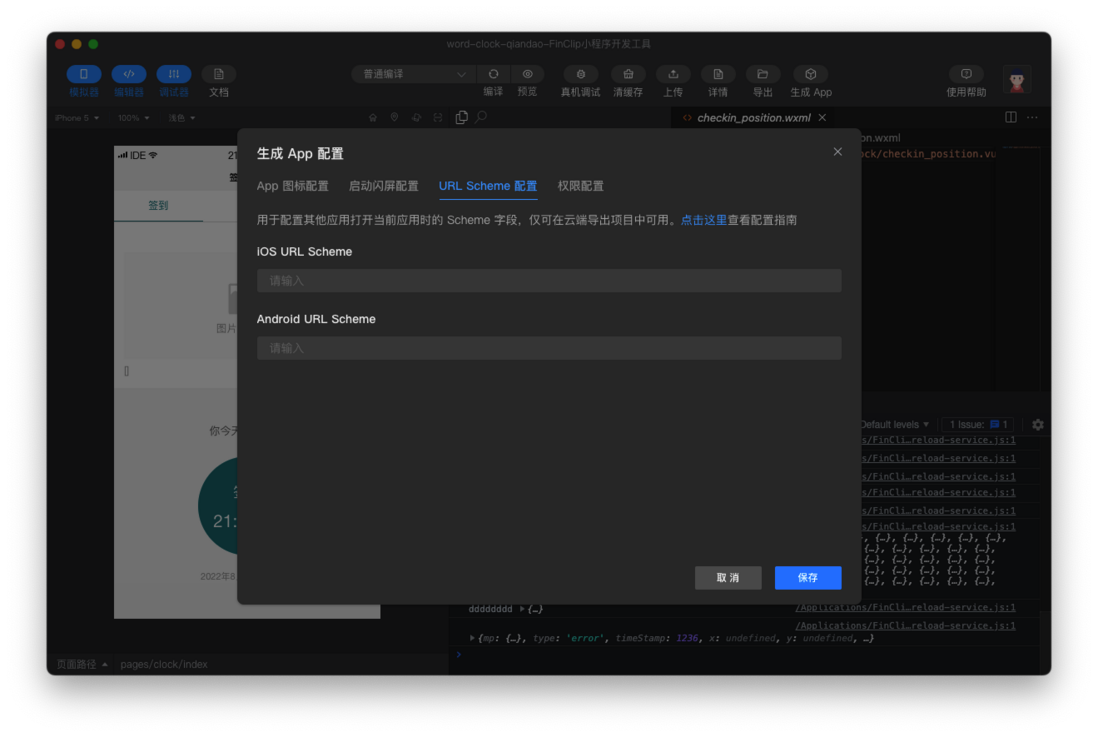
URL Scheme configuration
App URL Scheme is used as the identification information evoked between different apps, which can be used for you to open apps based on push and other channels. Currently, both iOS and Android only support one URL Scheme configuration.
Rights Profile
When you need to put an App on the App Store, you need to configure the usage permissions in it first. The currently supported configuration permissions are as follows:
- iOS: read photo album, use microphone, get location, use camera
- Location-related permissions: ACCESS_COARSE_LOCATION, ACCESS_FINE_LOCATION; Camera-related permissions: CAMERA; I/O-related permissions: READ_EXTERNAL_STORAGE, WRITE_EXTERNAL_STORAGE; Microphone-related permissions: RECORD_AUDIO
3. Generate App packaging
Currently FIDE provides two ways to generate apps:
- Cloud packaging (recommended option, complete mini program to App through FinClip, no need to compile it yourself)
- Local compilation (It is recommended that users with development foundation choose, and you need to compile locally by yourself.
If you have no experience in developing mobile apps, please select the "Cloud Packaging" option.
3.1 Cloud Packaging
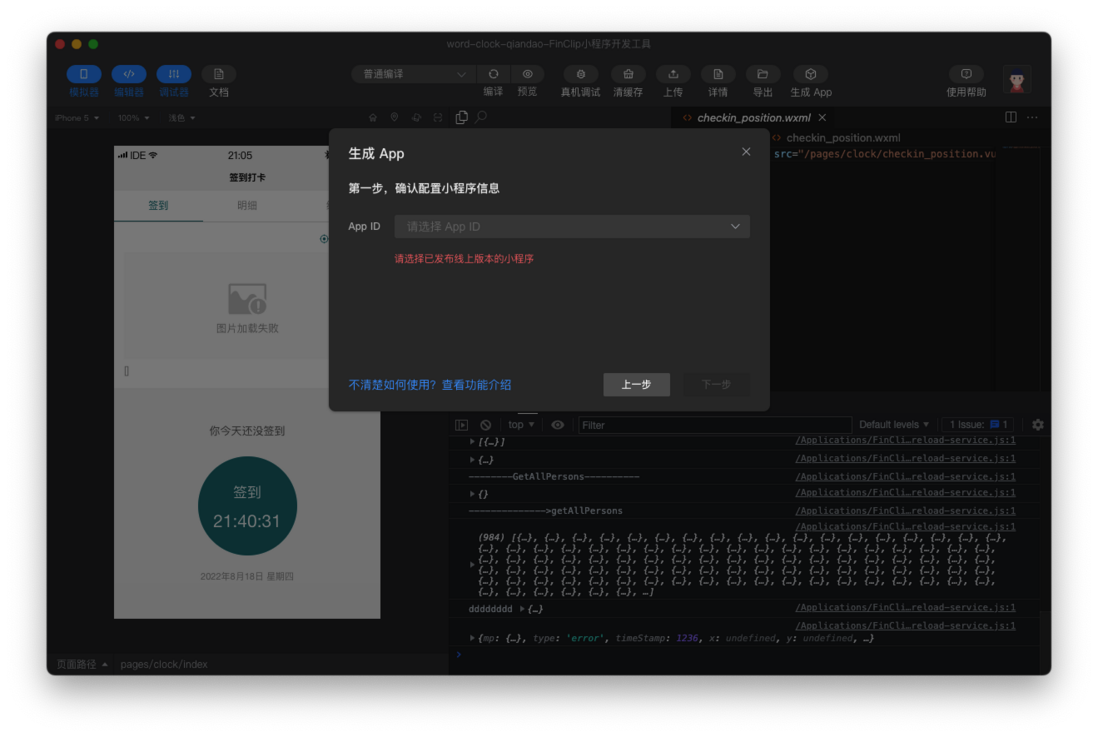
Cloud packaging needs to complete the following steps: The first step is to configure the applet information:
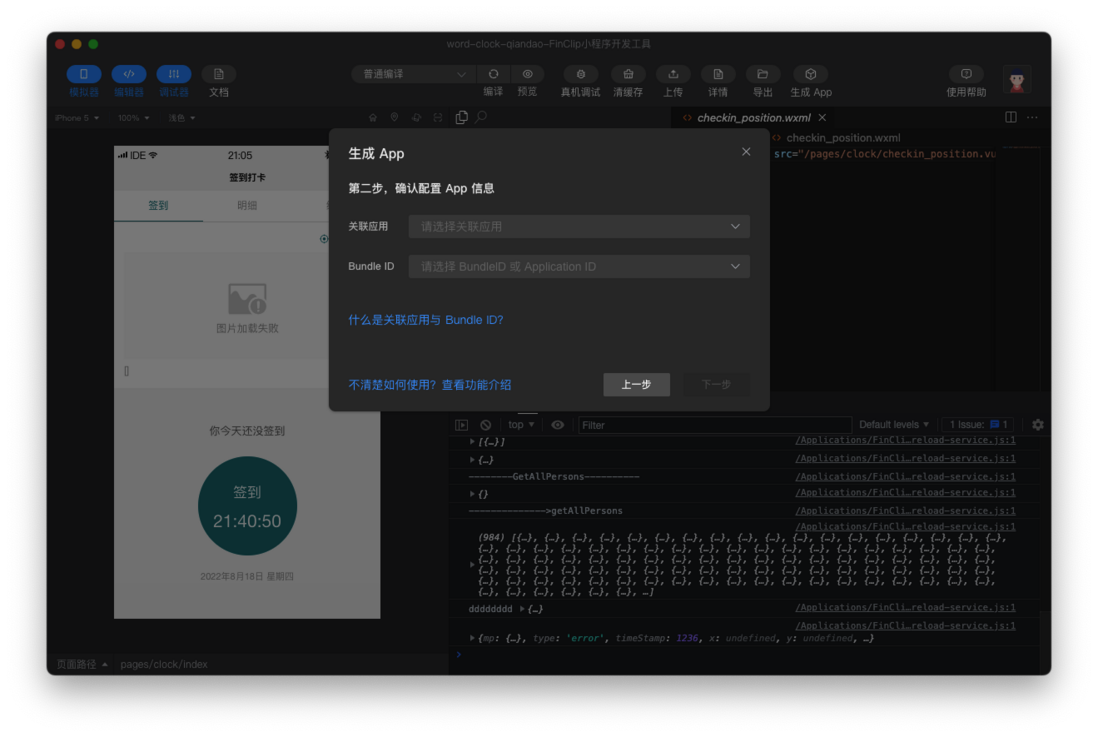
The second step, select the associated application and BundleID:
The third step is to upload the package certificate. Since there is a one-to-one correspondence between the certificate and the BundleID, you need to upload the required certificate:
| iOS certificate | Android certificate |
|---|---|
| Refer to iOS certificate configuration to export and upload certificates, certificate passwords, and description files for production and development environments. | Refer to Android Building Application , Certificate Private Key (Key password), File Private Key (Key store password). |
The fourth step is to submit the cloud packaging task.
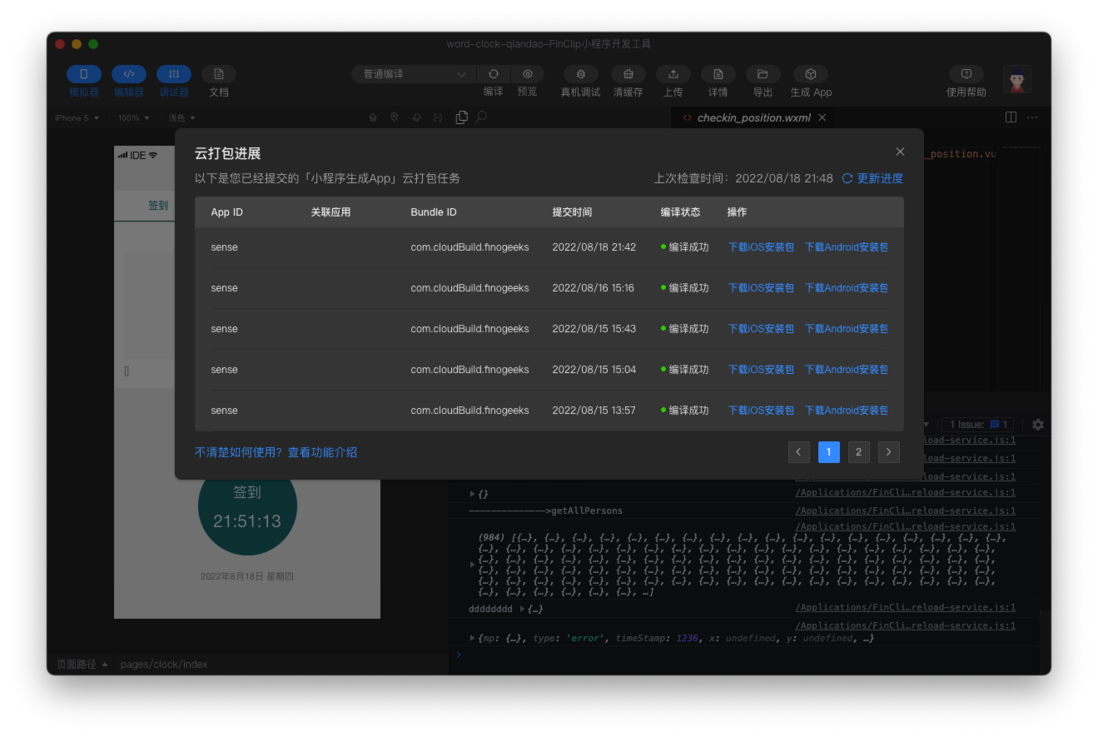
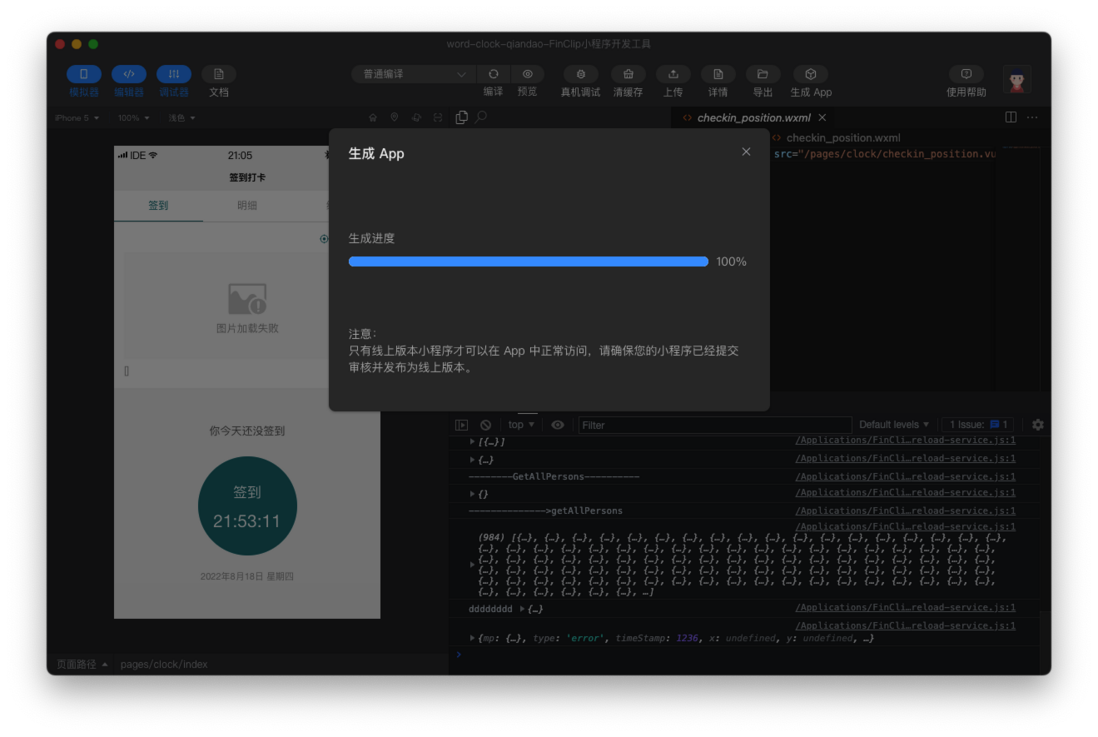
The fifth step, check the progress of the packaging task, download the installation package and click "Download Installation Package" on the right to obtain the corresponding installation file.
3.2 Local compilation (export project project)
The first step is to configure the applet information
The second step, select the associated application and BundleID
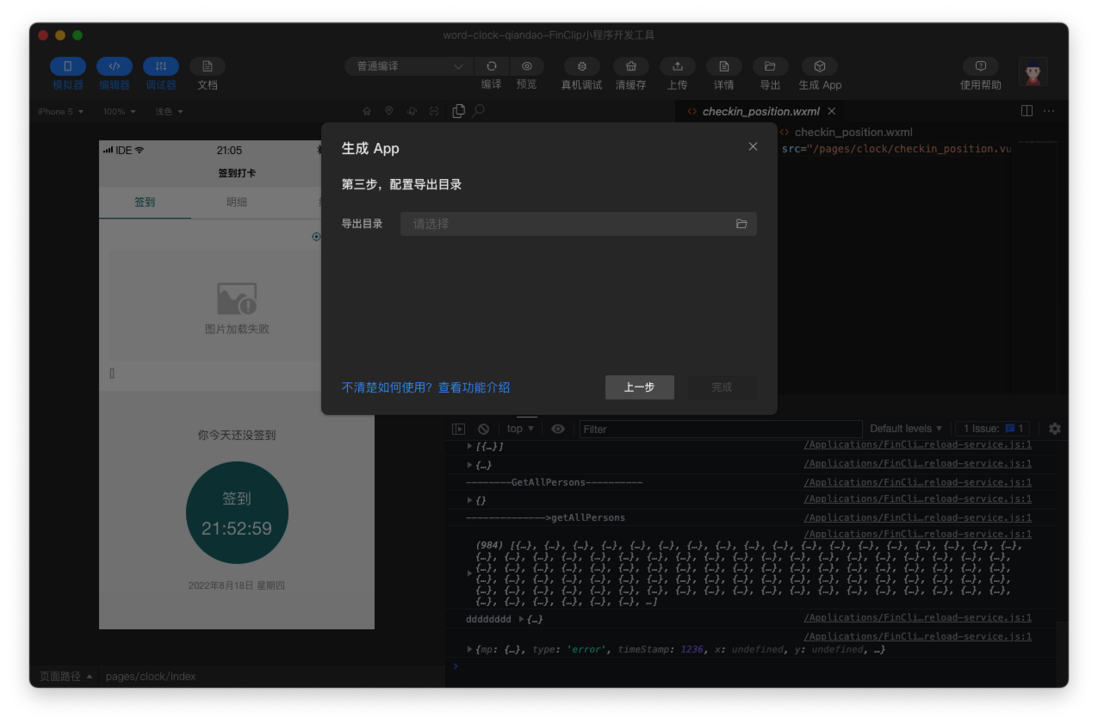
The third step, configure the export directory
The fourth step, the export is successful
If you are interested in local compilation, you can refer to: Local project file configuration #1. iOS project configuration# , if you are not very clear about the application launch process, you can also refer to: Application launch process guidelines






**粗体** _斜体_ [链接](http://example.com) `代码` - 列表 > 引用。你还可以使用@来通知其他用户。