这是一个关于如何用Java Sync Driver 4.1使用ArangoDB的简短教程。在不到10分钟的时间内,您将学会如何用Java 操作ArangoDB (ArangoDB on Github)。有关驱动程序的功能和性能的更多细节,请查看相应的博客文章。
*请注意: 本教程是针对 ArangoDB 3.1版本编写的,有可能不支持旧版本。
如果您使用的是旧版本的ArangoDB,请查看为旧版本设计的Java教程。*
安装Java驱动程序
本教程将在Eclipse中介绍Java驱动程序的用法。首先,通过maven将Java驱动程序添加到您的项目中:
1
2<dependencies>
3  <dependency>
4    <groupId>com.arangodb</groupId>
5    <artifactId>arangodb-java-driver</artifactId>
6    <version>4.1.0</version>
7  </dependency>
8    ....
</dependencies>
使用eclipse,您需要执行以下步骤:
首先 file,然后 new 然后点击 other
选择 Maven Project
选择工作区位置
选择默认的原型
最后选择一个Group id (mydb) 和一个Artifact id (firstProject) 然后点击完成
现在打开 pom.xml, 在标签 dependencies 然后点击添加
现在我们填写groupID (com.arangodb), artifactID(arangodb-java-driver) and version(4.0.0)
注意: 确保安装并运行ArangoDB 3.1或更高版本。
快速开始
创建一个名为 FirstProject 的文件并写入:
   1
   2 package mydb.firstproject;
   3
   4 import java.util.Map;
   5
   6 import com.arangodb.ArangoCollection;
   7 import com.arangodb.ArangoCursor;
   8 import com.arangodb.ArangoDB;
   9 import com.arangodb.ArangoDBException;
  10 import com.arangodb.entity.BaseDocument;
  11 import com.arangodb.entity.CollectionEntity;
  12 import com.arangodb.util.MapBuilder;
  13 import com.arangodb.velocypack.VPackSlice;
  14 import com.arangodb.velocypack.exception.VPackException;
  15
  16 public class FirstProject {
  17   public static void main(final String[] args) {
  18
  19   }
    }
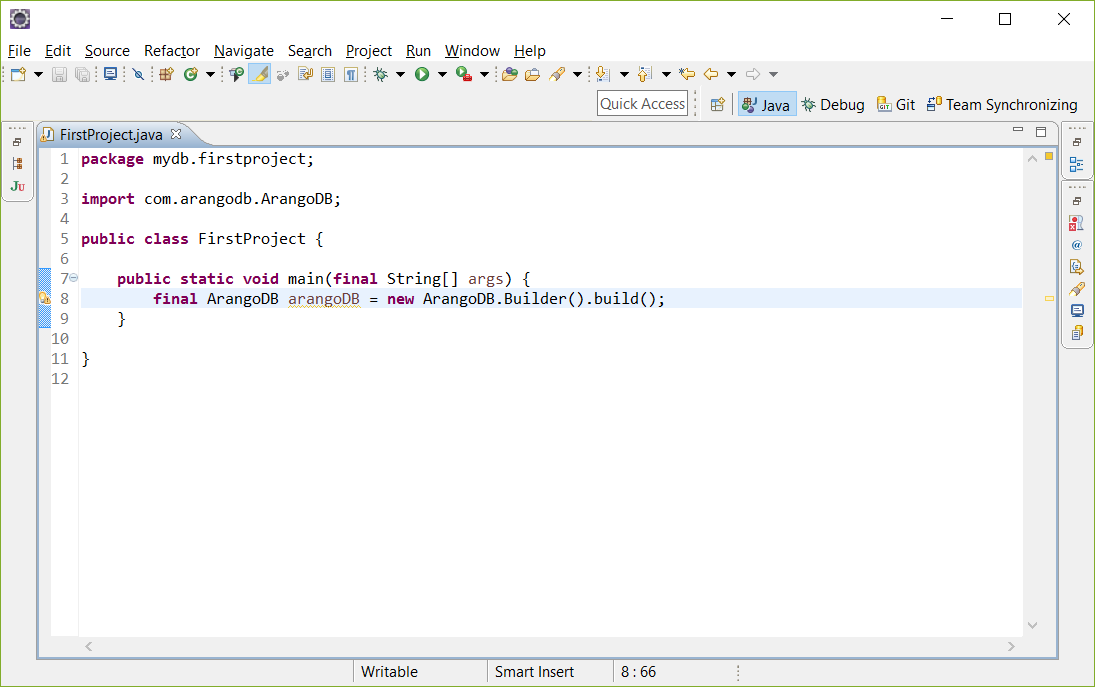
在eclipse中,您需要创建一个名为 FirstProject的新类,并将代码复制到其中。在本教程的过程中,将使用代码中给出的每个 import。
连接
配置和打开连接以启动ArangoDB。
1 ArangoDB arangoDB = new ArangoDB.Builder().build();
提示: 原始连接为 http://127.0.0.1:8529.
创建数据库
我们来创建一个新的数据库:
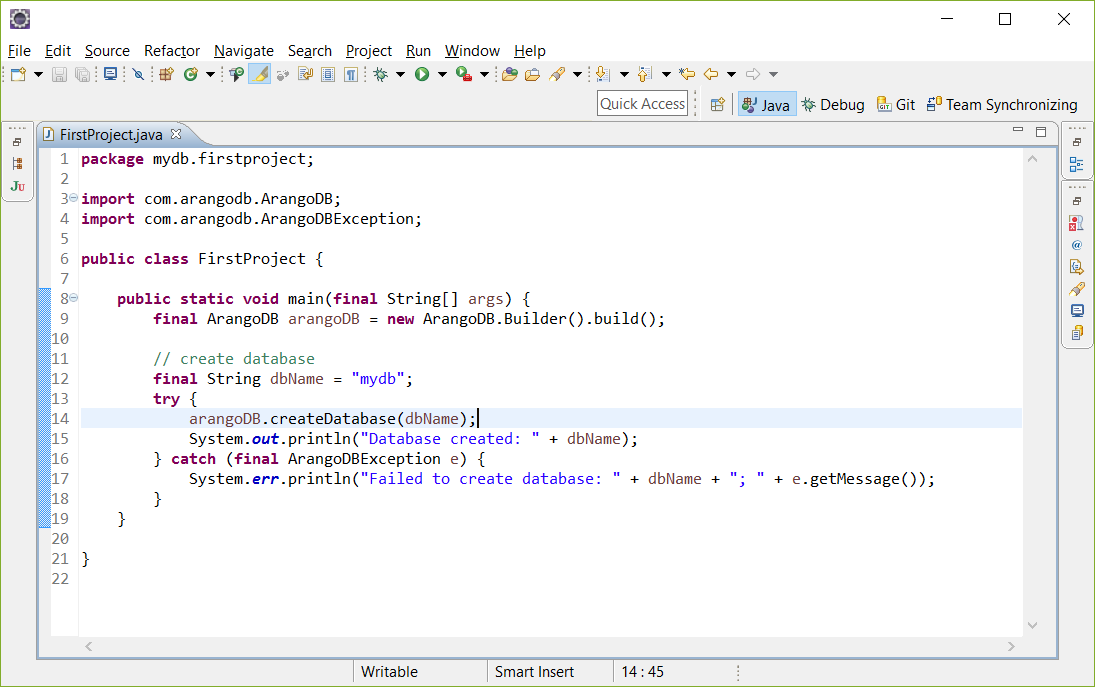
1
2   String dbName = "mydb";
3    try {
4     arangoDB.createDatabase(dbName);
5     System.out.println("Database created: " + dbName);
6
  } catch (ArangoDBException e) {
7      System.err.println("Failed to create database: " + dbName + "; " + e.getMessage());
    }
结果是应该是:
Database created: mydb
创建一个集合
现在让我们来创建我们的第一个集合:
1
2 String collectionName = "firstCollection";
3 try {
4  CollectionEntity myArangoCollection = arangoDB.db(dbName).createCollection(collectionName);
5  System.out.println("Collection created: " + myArangoCollection.getName());
6 } catch (ArangoDBException e) {
7  System.err.println("Failed to create collection: " + collectionName + "; " + e.getMessage());
  }
结果是应该是:
1 Collection created: firstCollection
您应该了解的一些细节代码:
createCollection()创建集合firstCollection是集合的名字
创建文档
现在我们在集合中创建一个文档。任何对象都可以作为文档添加到数据库中,并作为对象从数据库中检索。
这个例子中,我们使用驱动程序提供的BaseDocument类。文档的属性存储在映射中,作为键<String>/值<Object> 对:
1
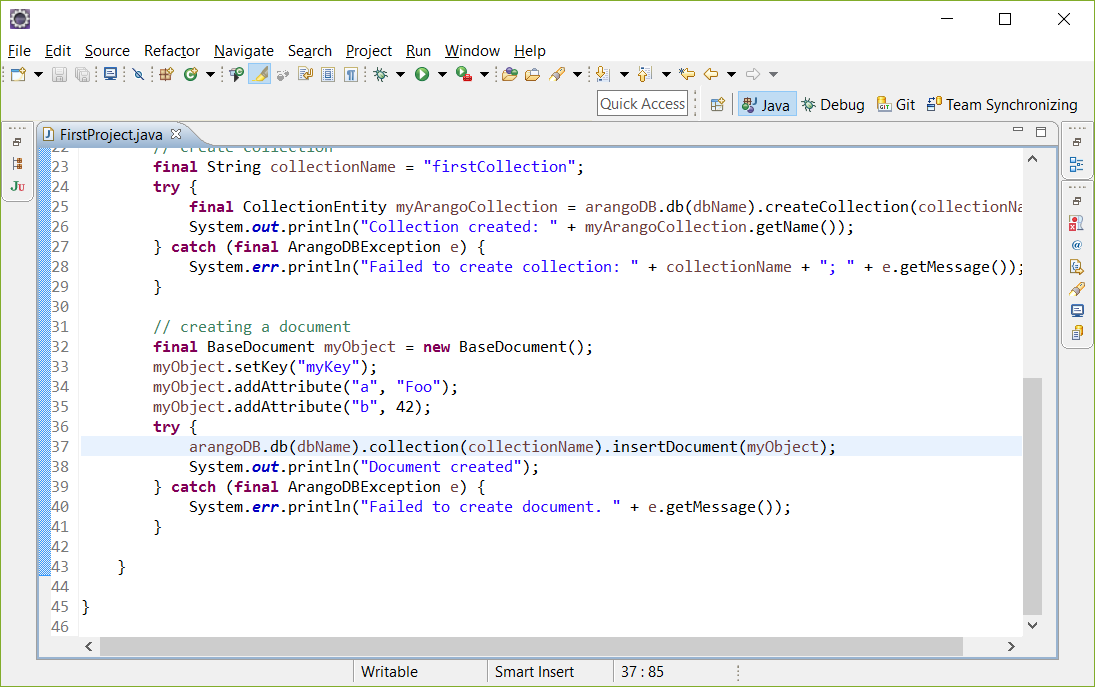
2 BaseDocument myObject = new BaseDocument();
3 myObject.setKey("myKey");
4 myObject.addAttribute("a", "Foo");
5 myObject.addAttribute("b", 42);
6 try {
7   arangoDB.db(dbName).collection(collectionName).insertDocument(myObject);
8   System.out.println("Document created");
9 } catch (ArangoDBException e) {
10  System.err.println("Failed to create document. " + e.getMessage());
结果应该是:
1 Document created
您应该了解的一些细节代码:
setKey()设置新对象的键值addAttribute()将一个新的键/值对放在对象中每个属性作为单个键/值对存储在文档根目录中
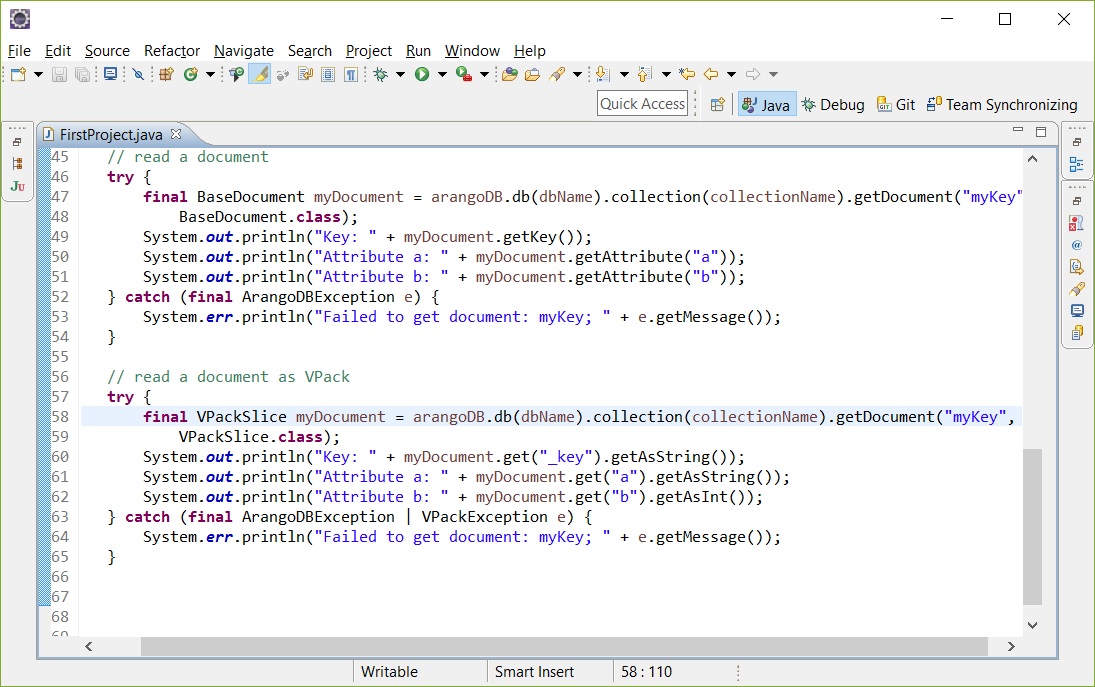
阅读文档
阅读创建的文档:
  1
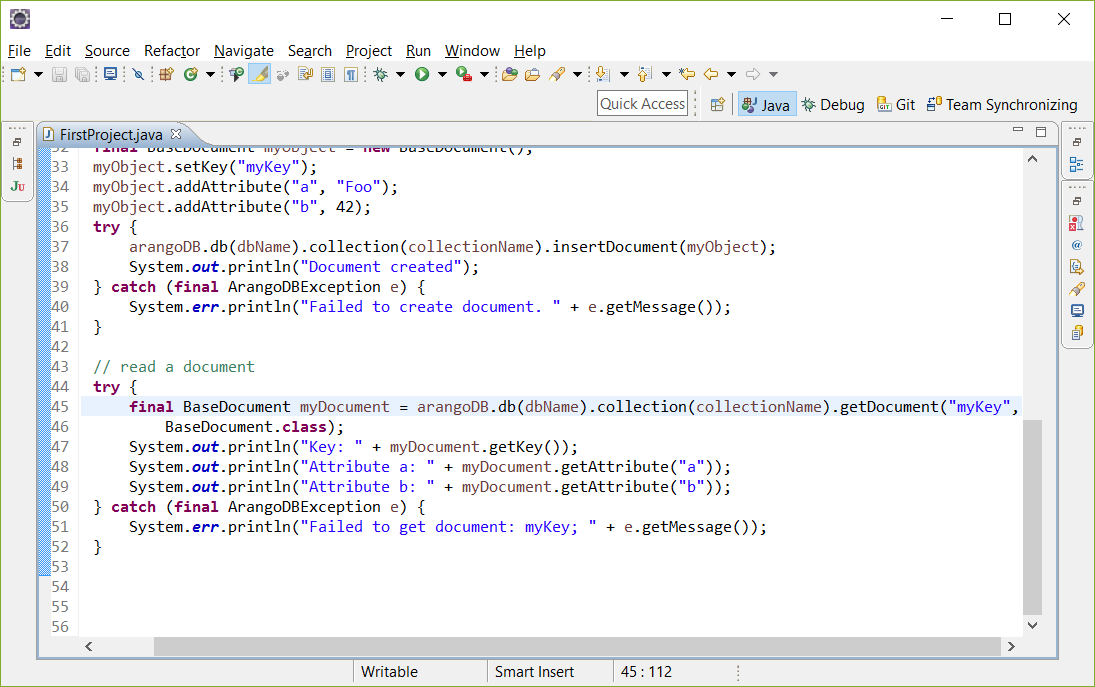
  2 try {
  3  BaseDocument myDocument = arangoDB.db(dbName).collection(collectionName).getDocument("myKey",
  4      BaseDocument.class);
  5  System.out.println("Key: " + myDocument.getKey());
  6  System.out.println("Attribute a: " + myDocument.getAttribute("a"));
  7  System.out.println("Attribute b: " + myDocument.getAttribute("b"));
  8 } catch (ArangoDBException e) {
  9   System.err.println("Failed to get document: myKey; " + e.getMessage());
   }
结果应该是:
1
2 Key: myKey
3 Attribute a: Foo
  Attribute b: 42
您应该了解的一些细节代码:
getDocument() 将存储的文档数据返回到给定的JavaBean (BaseDocument)
阅读VelocyPack 格式文档
您也可以阅读VelocyPack 格式文档:
1
2 try {
3   VPackSlice myDocument = arangoDB.db(dbName).collection(collectionName).getDocument("myKey",
4    VPackSlice.class);
5  System.out.println("Key: " + myDocument.get("_key").getAsString());
6  System.out.println("Attribute a: " + myDocument.get("a").getAsString());
7  System.out.println("Attribute b: " + myDocument.get("b").getAsInt());
8 } catch (ArangoDBException | VPackException e) {
9   System.err.println("Failed to get document: myKey; " + e.getMessage());
}
您应该了解的一些细节代码:
getDocument() 将存储的文档数据返回到 VelocyPack 格式 (VPackSlice)
更新文档
1
2 myObject.addAttribute("c", "Bar");
3 try {
4  arangoDB.db(dbName).collection(collectionName).updateDocument("myKey", myObject);
5 } catch (ArangoDBException e) {
6  System.err.println("Failed to update document. " + e.getMessage());
}
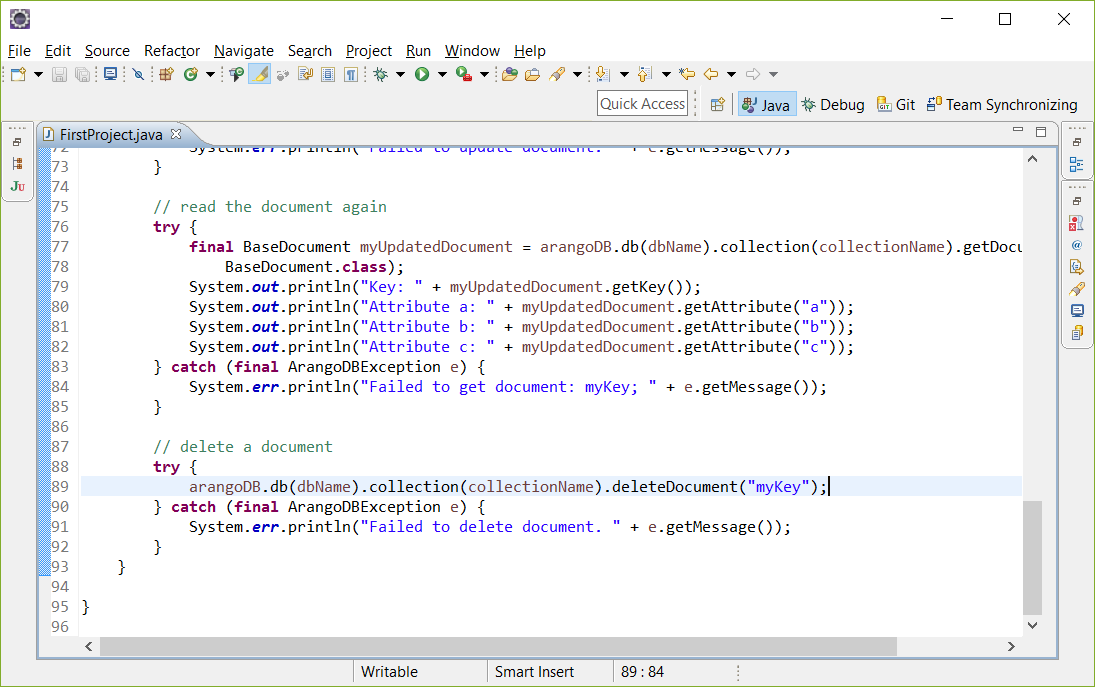
再次阅读文件
我们再次阅读文件:
1
2 try {
3   BaseDocument myUpdatedDocument = arangoDB.db(dbName).collection(collectionName).getDocument("myKey",
4      BaseDocument.class);
5   System.out.println("Key: " + myUpdatedDocument.getKey());
6   System.out.println("Attribute a: " + myUpdatedDocument.getAttribute("a"));
7   System.out.println("Attribute b: " + myUpdatedDocument.getAttribute("b"));
8   System.out.println("Attribute c: " + myUpdatedDocument.getAttribute("c"));
9 } catch (ArangoDBException e) {
10  System.err.println("Failed to get document: myKey; " + e.getMessage());
  }
结果应该是:
1
2 Key: myKey
3 Attribute a: Foo
4 Attribute b: 42
 Attribute c: Bar
删除文档
让我们来删除一个文档:
1
2 try {
3   arangoDB.db(dbName).collection(collectionName).deleteDocument("myKey");
4 } catch (ArangoDBException e) {
5   System.err.println("Failed to delete document. " + e.getMessage());
}
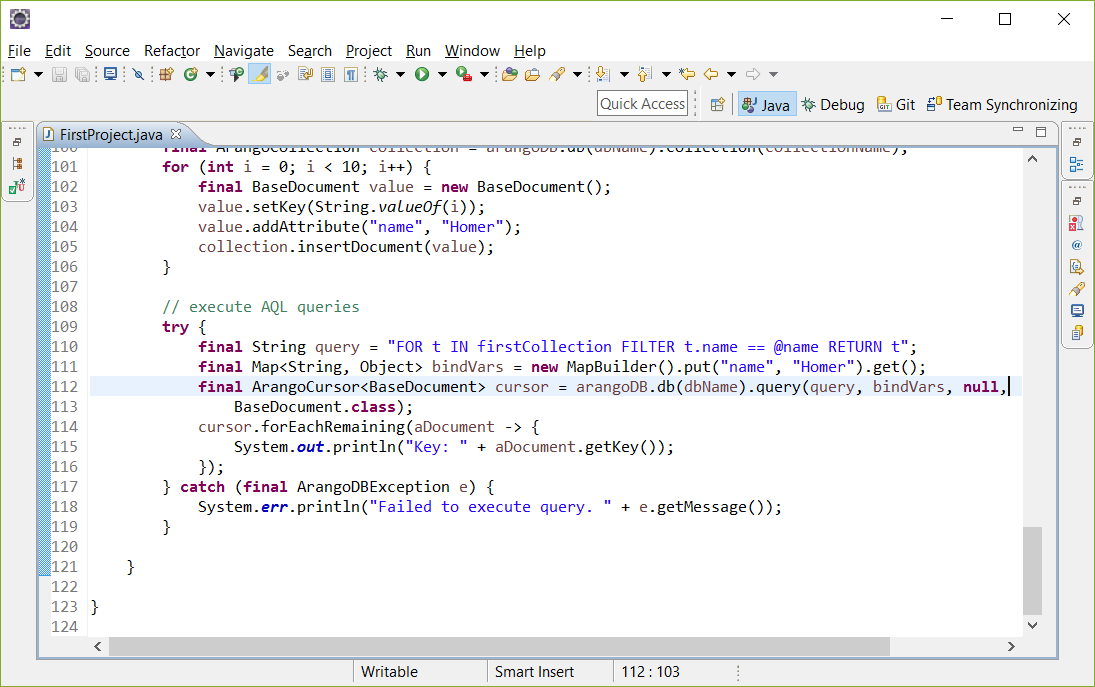
执行AQL查询
首先我们需要在集合firstCollection中创建一些名称为Homer的文档:
1
2 ArangoCollection collection = arangoDB.db(dbName).collection(collectionName);
3 for (int i = 0; i < 10; i++) {
4   BaseDocument value = new BaseDocument();
5  value.setKey(String.valueOf(i));
6  value.addAttribute("name", "Homer");
7  collection.insertDocument(value);
}从集合firstCollection中获取所有名称为Homer 的文档,并且遍历存储结果:
try {
  String query = "FOR t IN firstCollection FILTER t.name == @name RETURN t";
  Map<String, Object> bindVars = new MapBuilder().put("name", "Homer").get();
  ArangoCursor<BaseDocument> cursor = arangoDB.db(dbName).query(query, bindVars, null,
      BaseDocument.class);
  cursor.forEachRemaining(aDocument -> {
    System.out.println("Key: " + aDocument.getKey());
  });
} catch (ArangoDBException e) {
  System.err.println("Failed to execute query. " + e.getMessage());
}
结果应该是:
Key: 1
Key: 0
Key: 5
Key: 3
Key: 4
Key: 9
Key: 2
Key: 7
Key: 8
Key: 6
您应该了解的一些细节代码:
AQL 查询语法使用占位符
@name其必须被绑定到一个值query()执行定义的查询并返回一个具有给定类的ArangoCursor(这里:BaseDocument)顺序不能保证
使用AQL删除文档
现在我们将删除之前创建的文档:
try {
  String query = "FOR t IN firstCollection FILTER t.name == @name "
          + "REMOVE t IN firstCollection LET removed = OLD RETURN removed";
  Map<String, Object> bindVars = new MapBuilder().put("name", "Homer").get();
  ArangoCursor<BaseDocument> cursor = arangoDB.db(dbName).query(query, bindVars, null,
      BaseDocument.class);
  cursor.forEachRemaining(aDocument -> {
    System.out.println("Removed document " + aDocument.getKey());
  });
} catch (ArangoDBException e) {
  System.err.println("Failed to execute query. " + e.getMessage());
}
结果应该是:
Removed document: 1
Removed document: 0
Removed document: 5
Removed document: 3
Removed document: 4
Removed document: 9
Removed document: 2
Removed document: 7
Removed document: 8
Removed document: 6
学习更多
查看AQL 文档,进一步学习我们的查询语言。
想更多地了解我们的数据库吗点击这里!
阅读关于Collections的更多信息。
在我们的文档中浏览更多关于Documents的信息。
相关更多示例,您可以浏览ArangoDB 菜谱。






**粗体** _斜体_ [链接](http://example.com) `代码` - 列表 > 引用。你还可以使用@来通知其他用户。