这是本系列的最后一篇,因为以后就是机密了。但这篇会公开一些非常有用的思路。小程序封死了操作DOM的可能性,并且也不让我们操作视图,所有与视图有关的东西一律接触不了。而它的自定义组件是非常恶心,基本不配叫组件,不能继承叫什么组件。因此我们使用它更早期的动态模板技术,template。
我的思路如下,通过编译组件的render方法,将里面的自定义组件变成template类,然后在template类中自己初始化,得到props, state再传给原来的模板。换言之,有两套模板。
//源码
import { Page } from "../wechat";
import "./page.css";
import Dog from "../components/dog/dog";
const e = "e";
class P extends Page {
  constructor(props) {
    super(props);
    this.state = {
      name: 'hehe',
      array: [
        {name: "dog1",text: "text1"},
        {name: "dog2",text: "text2"},
        {name: "dog3",text: "text3"},
      ]
    };
  }

  onClick() {
    console.log("test click1" + e);
  }
  render() {
    return (
      <div>
        <div>
          {this.state.array.map(function(el) {
            return <Dog name={el.name}>{el.text}</Dog>;
          })}
        </div>
        <Dog name={this.state.name} />
      </div>
    );
  }
}
export default P;
我们先不管Dog组件长得怎么样。
为了让它同时支持小程序与React的render函数,我们需要对render进行改造。将Dog,div等改造成小程序能能认识的类型,如
 <view>
    <view>
      {this.state.array.map(function(el) {
        return <template is={Dog} name={el.name}>{el.text}</template>;
      })}
    </view>
    <template is="Dog" name={this.state.name} />
  </view>
这个转译是如何实现呢,我们可以通一个插件 syntax-jsx, 它会在visitor遍历出JSX的开标签,闭标签,属性及{}容器。
但React无法认识template标签,因此还要改造
//React专用
 <view>
    <view>
      {this.state.array.map(function(el) {
        return <React.template is={Dog} name={el.name}>{el.text}</React.template>;
      })}
    </view>
    <React.template is={Dog} name={this.state.name} />
  </view>
现在看小程序这边
小程序无法认识{},需要改变成wx:for指令
//小程序专用
 <view>
    <view>
      <block wx:for="{{this.state.array}}" wx:for-item="el">
         <template is="Dog" name={el.name}>{el.text}</template>;
      </block>
    </view>
    <template is="Dog" name={this.state.name} />
  </view>
小程序的template有个缺憾,它无法认识name这样的属性的,因此我们需要一个东西装着它。那么我们动态创建一个数组吧,改一改React那边
//React专用
 <view>
    <view>
      {this.state.array.map(function(el) {
        return <React.template is={Dog} name={el.name} templatedata="data123124342">{el.text}</React.template>;
      })}
    </view>
    <React.template is={Dog} name={this.state.name} templatedata="data34343433" />
  </view>
templatedata这个属性及它的值是babel在编译时创建的,React.template到时会在this.data.state添加data123124342数组,内容为一个个对象,这些对象是通过Dog.props, Dog.defaultProps, Dog.state组成。结构大概是{ props: {}, state: {} }
那么小程序的模板变成
//小程序专用
<import src="../../components/dog/dog.wxml" />
 <view>
     <view>
      <block wx:for="{{this.state.array}}" wx:for-item="el">
         <template is="Dog" wx:for="data123124342" wx:for-item="data" data="{{...data}}"></template>;
      </block>
    </view>
    <template is="Dog" wx:for="data34343433" wx:for-item="data" data="{{...data}}" />
  </view>
而我们的render再经过编译变成()
import { Page } from "../wechat";
import "./page.css";
import Dog from "../components/dog/dog";
const e = "e";
class P extends Page {
  constructor(props) {
    super(props);
    this.state = {
      name: 'hehe',
      array: [
        {name: "dog1",text: "text1"},
        {name: "dog2",text: "text2"},
        {name: "dog3",text: "text3"},
      ]
    };
  }

  onClick() {
    console.log("test click1" + e);
  }
  render() {
    return (
      React.createElement(
          "div",
          null,
          React.createElement(
            "div",
            null,
            this.state.array.map(function(el) {
              return React.createElement(React.template, {
                name: el.name,
                children: el.text,
                is: Dog,
                templatedata:"data34343433"
              });
            })
          ),
          React.createElement(React.template, {
            is: Dog,
            name: this.state.name,
            templatedata:"data34343433"
          })
        );
}
export default P;上面的转译工作可以通过transform-react-jsxbabel插件实现
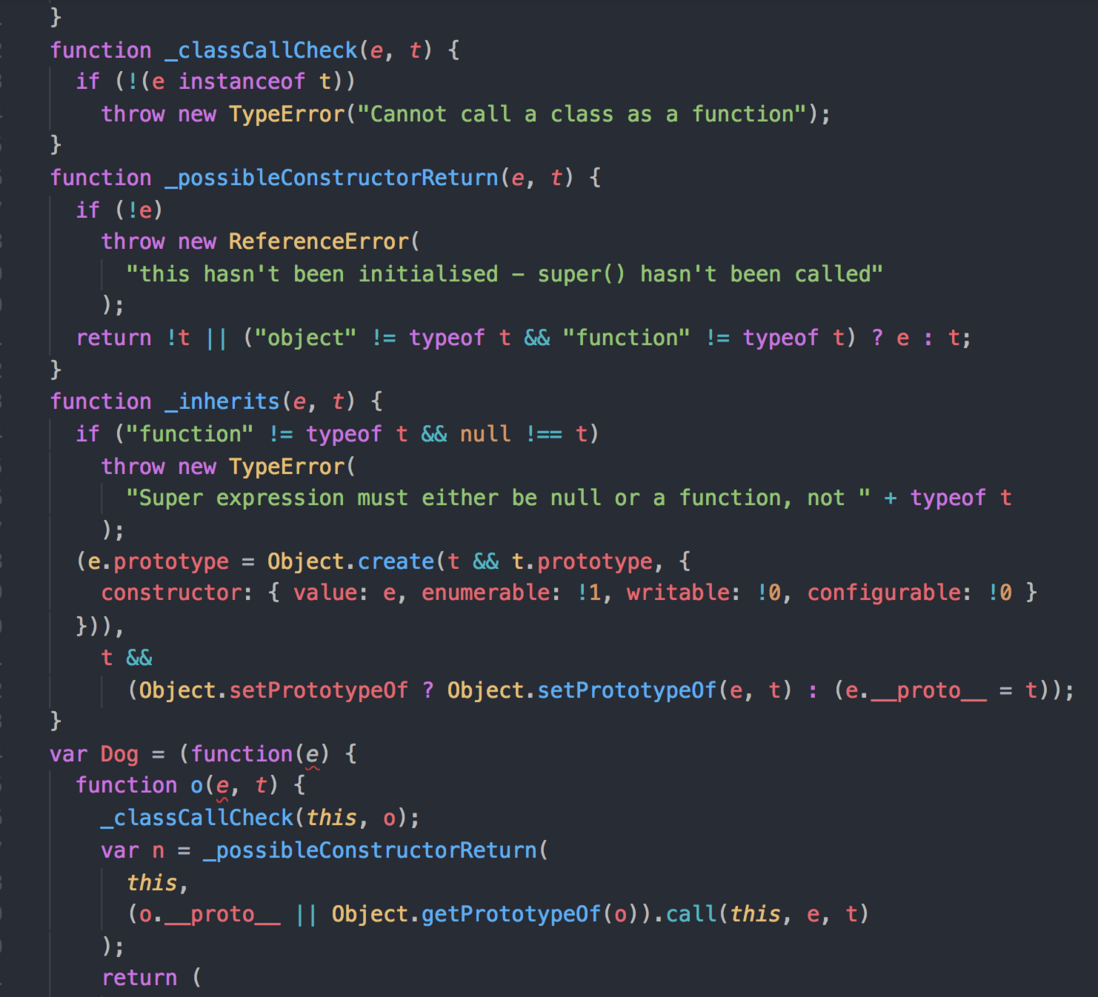
class P extends Page这种es6定义类的方式,小程序可能也不认识,或者通过babel编译后也太复杂。比如说taro将Dog这个类变成这样:
因此我们最好在React中提供一个定义类的方法,叫miniCreateClass。如此一来我们就能将Dog转换得很简洁
var React = require("../../wechat");
var Component = React.Component
var miniCreatClass = React.miniCreatClass

function Dog() {}

let Dog = miniCreatClass(Dog, Component, {
  render: function () {
    return React.createElement("view", null, this.state.name )
  }
}, {});
module.exports.default = Dog;
我们再看Page类。小程序定义页面是通过 Page 工厂实现的,大概是Page({data: {}})。小程序在这里的令计很方便我们进行hack,因为一个Page类只会有一个实例。
Page(createPage(P))再看createPage的实现:
function createPage(PageClass) {
  var instance = ReactDOM.render(React.createElement(PageClass), {
    type: "div",
    root: true
  });
  var config = {
    data: {
      state: instance.state,
      props: instance.props
    },
    onLoad: function() {
      instance.$wxPage = this;
    },
    onUnload: function() {
      instance.componentWillUnmount && instance.componentWillUnmount();
    }
  };
  instance.allTemplateData.forEach(function(el) {
    if (config.data[el.templatedata]) {
      config.data[el.templatedata].push(el);
    }else{
      config.data[el.templatedata] = [el];
    }
  });
  return config;
}
最后是React.template的实现,它负责组装给template的数据,这个template是小程序的标签。
React.template = function(props){
//这是一个无状态组件,负责劫持用户传导下来的类,修改它的原型
   var clazz = props.is;
   var a = classzz.prototype;
   var componentWillMount = a.componentWillMount;
   a.componentWillMount = function(){

     var ref = this._reactInternalRef;
     var arr = ref._owner.allTemplateData || (ref._owner.allTemplateData = []);
     arr.push({
       props: this.props,
       state: this.state,
       templatedata: props.templatedata
     })
     componentWillMount && componentWillMount.call(this)
   }
  var componentWillUpdate = a.componentWillUpdate;
   //...再上面一样
   return React.createElement(clazz, props)
}
好了,我的方案就介绍到这里了。如果有人愿意与我一开始搞这东西了,欢迎在github找我。


**粗体** _斜体_ [链接](http://example.com) `代码` - 列表 > 引用。你还可以使用@来通知其他用户。