1.Expanding Cards
The effect is shown in the figure:
What have you learned?
- To establish data communication in React's functional components, we usually use the
useStatemethod. It is used in the way of array destructuring, as follows:
const [state,setState] = React.useState(false);//useState方法的参数可以是任意的JavaScript数据类型The first parameter of deconstruction is the data state that we define and access, and the second parameter is the method that is called when we need to change the data state. Its function is similar to this.setState in the class component.
For more detailed usage, refer to the document 1616c1757b53d0 useState API .
2. A hook function similar to a class component, or can also be understood as the life cycle of a function component useEffect . It receives a side effect function effect as a parameter, as shown below:
useEffect(() => {});//里面的箭头函数即副作用函数The above example is just a simple replacement of the document title. In fact, in this side effect function, we can do many things. For details, refer to the document useEffect API .
3. React has its own set of event mechanism, which we call synthetic event . It is similar to the normal JavaScript binding event, but it adopts the camel case method for naming the event, and it also wraps the event object with the name SyntheticEvent . Note that this is a cross-browser wrapper. If we want to use a native event object, we can use the nativeEvent attribute, which may be involved in the following examples. For example, our above event binding:
onClick={ onChangeHandler.bind(this,index) }Note that we usually need to call the bind method to this to the component instance. Why use the bind method to bind this ? This is because the callback function of the binding event (such as here: onChangeHandler ), it is As an intermediate variable, the this point will be lost this needs to be displayed, which is also limited by the characteristics of JavaScript Details can be found reason React to bind this is interpretation. Similar to binding synthetic events in class components, we also need to display the binding this to point to.
4. The principle of the map map method iterates an array, then processes the array items according to the return value, and returns the processed array. Please note that this method will not change the original array. for example:
[1,2,3].map(i => i <= 1);//返回[1]jsx rendering list in map also uses this feature of the 0616c1757b54e1 method, and we need to note that when rendering the list, we must specify a key , which is to facilitate the DIFF algorithm to better compare the virtual DOM.
5. Add the class name to the label in className . We wrote it as 0616c1757b54fe. This is because class is used as a keyword JavaScript And if we need to dynamically bind the class name, we can see that we use a template string, which is more like writing JavaScript here, for example, we can use ternary expressions to make judgments.
6. In React, we can bind the style style to the label. We can usually bind an object. In React, we bind dynamic data by writing a pair of {} curly braces, and then the style in style is usually declared as an object, such as :
{
    background:"#fff"
}
This means that it is a style object, and then React will convert the style object into a style string internally, and then add it to the style object of the DOM.
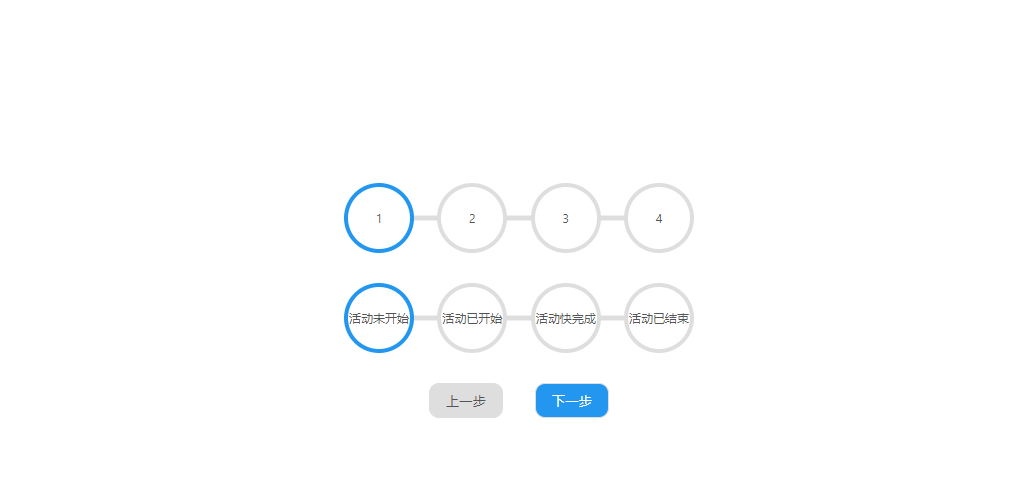
2.Progress Steps
The effect is shown in the figure:
What have you learned?
It is very similar to the knowledge points used in the first example, and there is no need to explain the related ones. Next, let’s look at the difference.
- The parent component passes data to the child component, we usually use
props. As you can see in the above example, we exposed 4 props, namely:
width
stepItems
currentActive
onClickItem
Width is to set the container width of the step bar. There is nothing to say about this. StepItems is a sub-component of the step bar. It is an array. You can also write jsx in the array item. currentActive is the current step passed in, which is an index value, which should usually be a numeric value. As for onClickItem , the child component is exposed to the parent component.
- The life cycle of the class component. In this class of components, we use the life cycle hook function
constructor,componentDidMount,renderWe can speculate from the semantics that the execution order of the life cycle hook functions experienced when a class component is initialized must beconstructor => render => componentDidMount. Semanticallyconstructoris a constructor to initialize the state, and then after the initialization is complete, we will render the component, and then prepare to mount the component.
In addition, let's expand it. According to the document , we can know the detailed life cycle. The React component life cycle consists of 3 phases:
mount => update => uninstall
The following are executed before the component is mounted:
constructor => static getDerivedStateFromProps => render => componentWillMount(即将过时) => componentDidMountAfter the component state changes, that is, after the update, the following are executed:
static getDerivedStateFromProps => shouldComponentUpdate => render => getSnapshotBeforeUpdate => componentWillReceiveProps(即将过时) => componentWillUpdate(即将过时) => componentDidUpdateAfter the component is uninstalled, the following are executed:
componentWillUnmountThere is also the life cycle of error handling, that is, the hook function that will be executed when an error occurs in the rendering process, the life cycle, or the constructor of the sub-component:
static getDerivedFromStateError => componentDidCatchSome of these life cycles are not used by us, and some cover almost all of our subsequent examples, so we must keep in mind the order of the component life cycles.
But for this example, what we should learn is how to encapsulate a component.
3.Rotating Navigation Animation
The effect is shown in the figure:
What have you learned?
Needless to say, some knowledge points that are the same as the previous examples, let's look at the different knowledge points.
1. Module combination export
//components目录下的index.js文件
export { default as Content } from './Content';
export { default as LeftMenu } from './LeftMenu';
export { default as NavList } from "./NavList";
As you can see, we can export the components as above, and then we can import a js file separately, and then import related components to use. as follows:
import { Content, NavList, LeftMenu } from './components/index';2. How the react component renders the html string
React provides a dangerouslySetInnerHTML attribute. The attribute value of this attribute is an __html as the attribute and the value of the html string. Then, we can html string into a real DOM element. As follows:
<p dangerouslySetInnerHTML={{ __html:"<span>测试代码</span>" }}></p>
//<p><span>测试代码</span></p>
4.hidden-search-widget
The effect is shown in the figure:
What have you learned?
This example has the same knowledge points as the previous example, and the related ones will not be explained, but only different knowledge points will be introduced. The follow-up is the same.
1. Determine the type of data. toString method on the object prototype chain, we can get a string value. The format of this string value is similar to [object Object] , which means that we can use this string value to determine the type of a data. E.g:
const getType = v => Object.prototype.toString.call(v).slice(8,-1).toLowerCase();
const isArray = v => getType(v) === "array";
isArray([1,2,3]);//true
isArray("");//false
Here we should know that Object.prototype.toString.call(v) returns a value similar to [object Object] So we intercept the start index as 8, and the end index is the length of the string minus 1, which is -1 here, we can get the second value Object , and then call the toLowerCase() method to convert all letters to lowercase. Then, we can know the type of data. For example, if the judgment here is an array, you only need to judge whether the value is equal to "array".
2.React.createRef API
Sometimes, we just need to manipulate the API of some native DOM elements, such as the focus event of the input box in this example. At this time, this API has its place. We are equivalent to using this API to create a bridge to communicate with DOM elements. Through this access to the current attribute of the instance of this API, we can access the corresponding DOM element.
For more details, please refer to the document createRef API .
3. How to package an input component.
This example also taught us how to encapsulate an input component.
5.Blurry Loading
The effect is shown in the figure:
What have you learned?
- In
componentDidMountcreate a timer life cycle as well as incomponentWillUnmountclear the timer. this.setStatein the class component updates the status. This method receives 2 parameters, the first parameter is our react state, which can be a function or an object. The second parameter is a callback function. Speaking of this, a question may be raised, that is, is setState asynchronous or synchronous? The answer is as follows:
Answer: The setState in react is "asynchronous" in synthetic events and hook functions, while it is synchronous in native events and setTimeout.
The reason why it is "asynchronous" does not mean that it is implemented by "asynchronous" code inside React. In fact, it is still a process of synchronous execution.
It's just that the call sequence of synthetic events and hook functions is before the update, which makes it impossible to get the updated values in synthetic functions and hook functions immediately, so the so-called "asynchronous" is formed.
In fact, we can get the updated value by formulating the second parameter, callback (callback function).
React.js's source code implementation of setState is not very complicated. It adds the incoming parameters as values to updater which is a defined queue of the updater (ie: enqueueSetState).
The batch update optimization in react is also based on synthetic events and hook functions (that is, "asynchronous"), and batch updates are not performed in native events and setTimeout.
For example, in "asynchronous", the same value is setState multiple times, and the strategy will be overwritten according to the batch update. If it is setState for different multiple values, the batch update strategy will be used to merge them and then update them in batches. .
For more details, please refer to the document setState .
In addition, there is also a very important tool function (this is also mentioned in the implementation of js), as shown below:
const scale = (n,inMin,inMax,outerMin,outerMax) => (n - inMin) * (outerMax - outerMin) / (inMax - inMin) + outerMin;The purpose of this utility function is to map a range of numbers to another range of numbers. For example, 1 ~ 100 the number range of 0 ~ 1 to 0616c1757b5cc1.
details .
6.Scroll Animation
The effect is shown in the figure:
What have you learned?
1. Dynamic components
We pass a value through props to determine the component name. Here is the Title component as an example, as shown below:
import React from "react";
const TitleComponent = (props) => {
    let TagName = `h${ props.level }`;
    return (
        <React.Fragment>
            <TagName>{ props.children }</TagName>
        </React.Fragment>
    )
}
export default TitleComponent;
Although the core code is very simple, it is important to note here that React components need to capitalize the first letter. This is a convention rule. Secondly, we pass a level through props to determine which one we are using h1~h6 label. In fact, we should be right here. The level is a restriction, and only allowed value is 1~6 .
2.Fragment element
This element is similar to a placeholder node. We know that when two elements are side by side in a React component, it is not allowed. React components need to provide a root node, but sometimes, we don’t need an actual element as The root node wraps them, so we can use the Fragment element to wrap them. This element also has an abbreviation of <></> . In fact, there is this restriction in Vue 2.x, which is restricted by the virtual DOM DIFF algorithm.
For more details, see the document Fragment .
3. Function stabilization
export const throttle = (fn, time = 1000) => {
    let done = false;
    return (...args) => {
        if (!done) {
            fn.call(this, ...args);
            done = true;
        }
        setTimeout(() => {
            done = false;
        }, time)
    }
}
Anti-shake function and throttle refer this article .
4. Monitor scroll events. In fact, the implementation principle here is the same as the JavaScript implementation version, just a little change of thinking.
7. Split Landing Page
The effect is shown in the figure:
What have you learned?
The knowledge points involved in this example have been mentioned in the previous examples, so there is no need to repeat them here.
8.Form Wave
The effect is shown in the figure:
What have you learned?
- setState updates the object. If the state is an object, we have two ways to update it.
1.1 Use the Object.assign method to update.
1.2 Cover the entire object directly.
The pseudo code of the above 2 methods is as follows:
//  第1种方式
const loginInfo = Object.assign({},this.state.loginInfo,{
   [key]:updateValue
})
this.setState({
   loginInfo
});
// 第2种方式
let { loginInfo } = this.state;
loginInfo[key] = updateValue;
this.setState({ loginInfo });
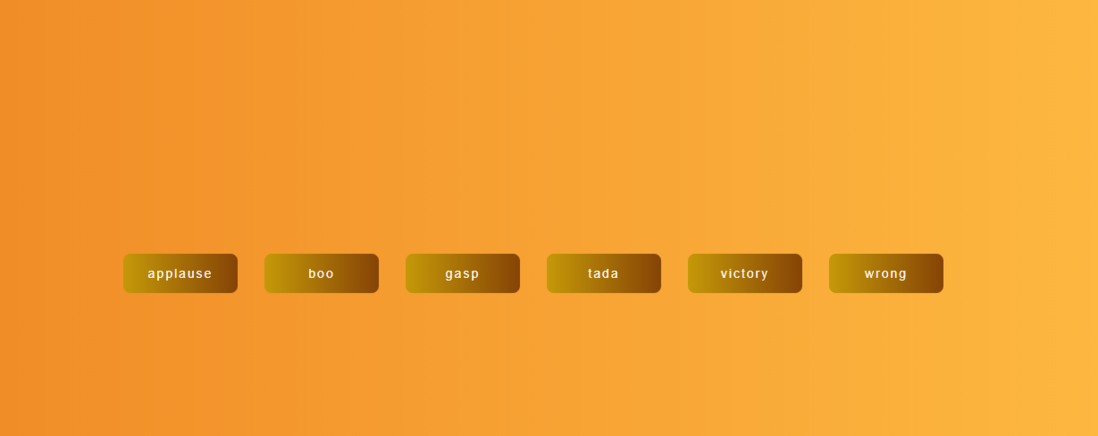
9.Sound Board
The effect is shown in the figure:
What have you learned?
The knowledge points involved in this example have been mentioned in the previous examples, so there is no need to repeat them here.
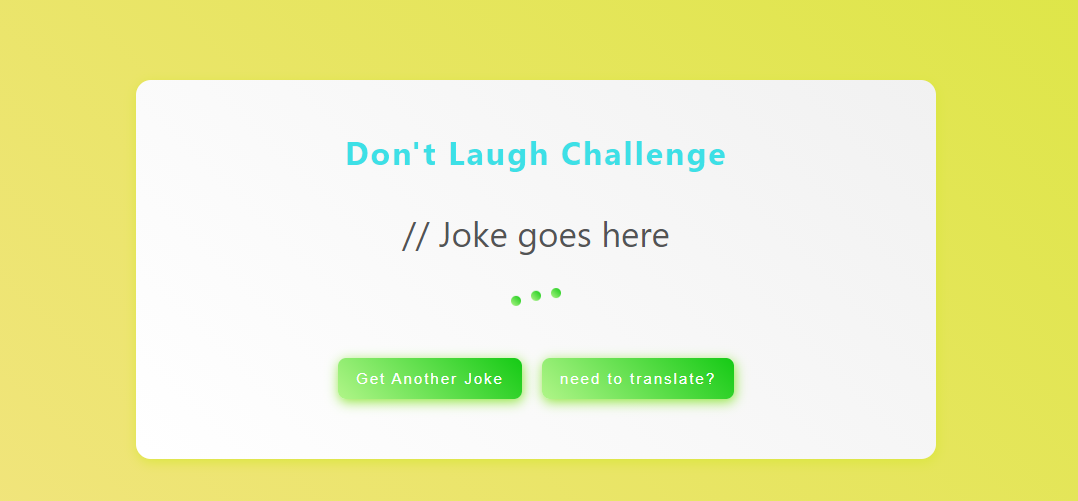
10. Dad Jokes
The effect is shown in the figure:
What have you learned?
- The use of Suspense components. The component can specify a loading indicator component to implement lazy loading of the component. For more detailed documents, see Suspense .
- Interface requests are usually completed in the componentDidMount hook function. Because the state cannot be changed directly in the hook function (react.js will give a warning). So we need to make the interface request asynchronous.
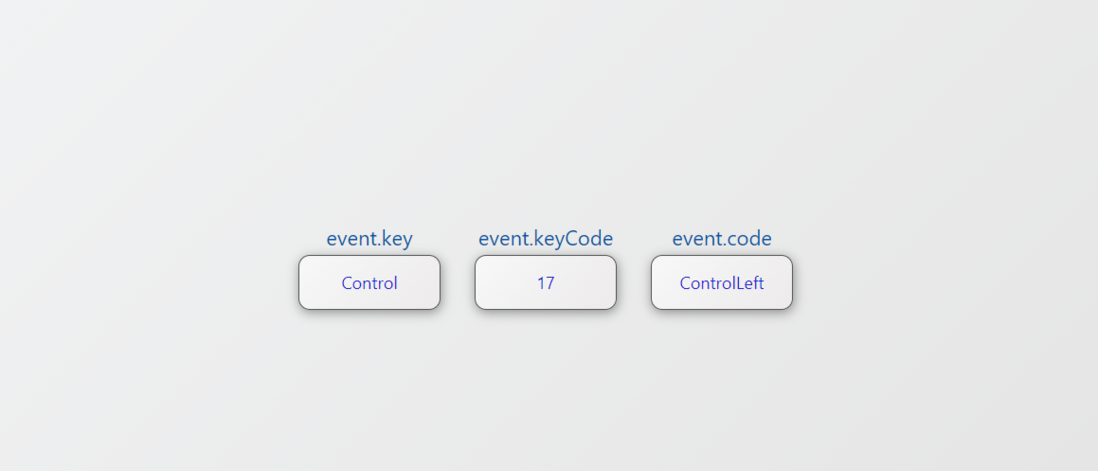
11. Event Keycodes
The effect is shown in the figure:
What have you learned?
The knowledge points involved in this example have been mentioned in the previous examples, so there is no need to repeat them here.
12. Faq Collapse
The effect is shown in the figure:
What have you learned?
The knowledge points involved in this example have been mentioned in the previous examples, so there is no need to repeat them here.
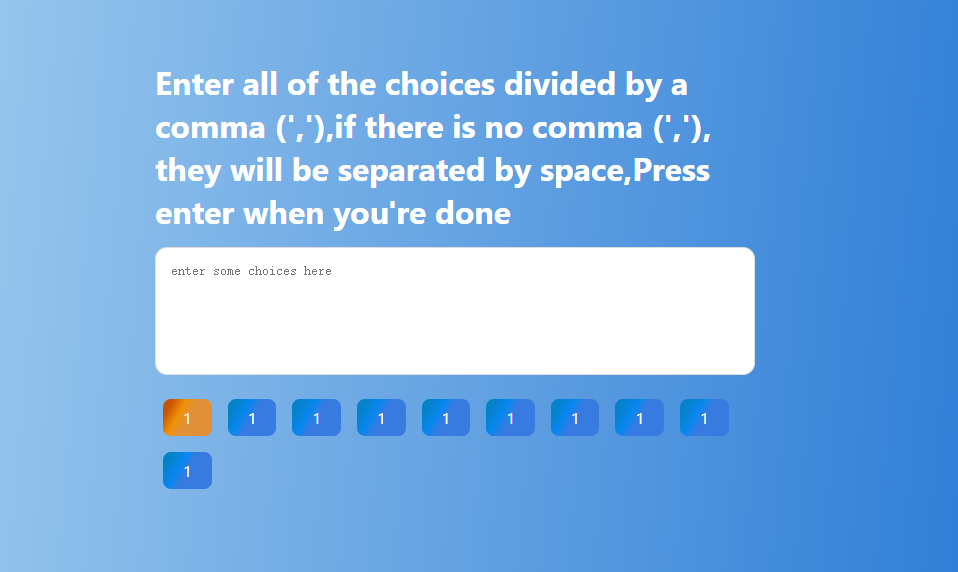
13. Random Choice Picker
The effect is shown in the figure:
What have you learned?
The knowledge points involved in this example have been mentioned in the previous examples, so there is no need to repeat them here.
14. Animated Navigation
The effect is shown in the figure:
What have you learned?
The knowledge points involved in this example have been mentioned in the previous examples, so there is no need to repeat them here.
15. Incrementing Counter
The effect is shown in the figure:
What have you learned?
- How does react.js update an item of the array? Here I am updating the entire array, maybe this is not a good way. I also hope that some big guys can provide ideas. My code is as follows:
startCounter() {
    const counterList = [...this.state.counterList];
    // https://stackoverflow.com/questions/29537299/react-how-to-update-state-item1-in-state-using-setstate
    // https://stackoverflow.com/questions/26253351/correct-modification-of-state-arrays-in-react-js
    counterList.forEach(counter => {
      const updateCounter = () => {
          const value = counter.value;
          const increment = value / 100;
          if (counter.initValue < value) {
            counter.initValue = Math.ceil(counter.initValue + increment);
            // use setTimeout or setInterval ?
            counter.timer = setTimeout(updateCounter, 60);
          } else {
            counter.initValue = value;
            clearTimeout(counter.timer);
          }
          // update the array,maybe it's not a best way,is there any other way?
          this.setState({ counterList });
      }
      updateCounter();
    })
}
16. Drink Water
The effect is shown in the figure:
What have you learned?
- Here is a pit, if you use new Array().fill() to initialize the state, it will cause unexpected rendering effects. So all the array items are initialized directly here.
please refer to the source code .
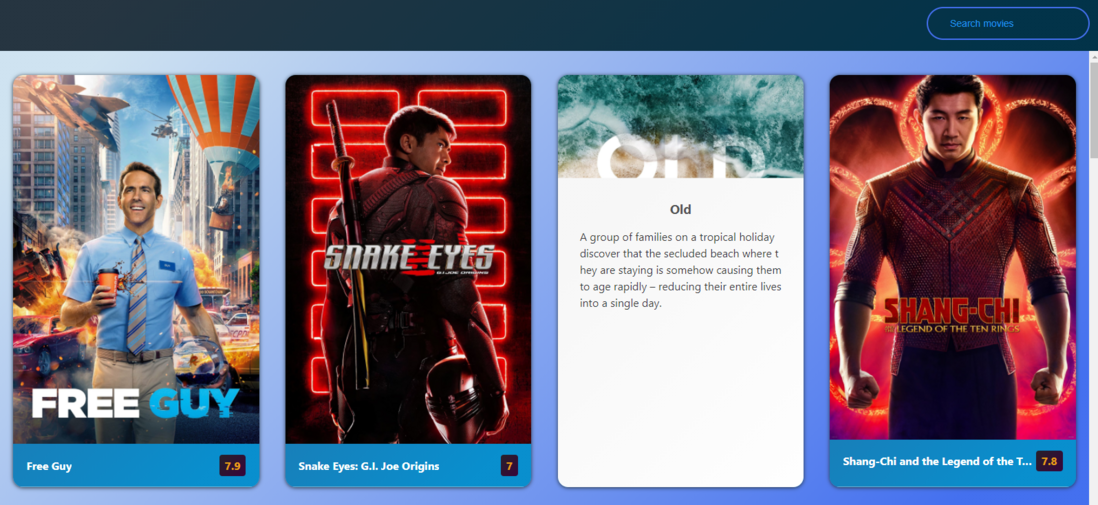
17. movie-app
The effect is shown in the figure:
What have you learned?
The knowledge points involved in this example have been mentioned in the previous examples, so there is no need to repeat them here.
PS: The effect of this example is limited due to interface access, so you need to understand the access.
18. background-slider
The effect is shown in the figure:
What have you learned?
The knowledge points involved in this example have been mentioned in the previous examples, so there is no need to repeat them here.
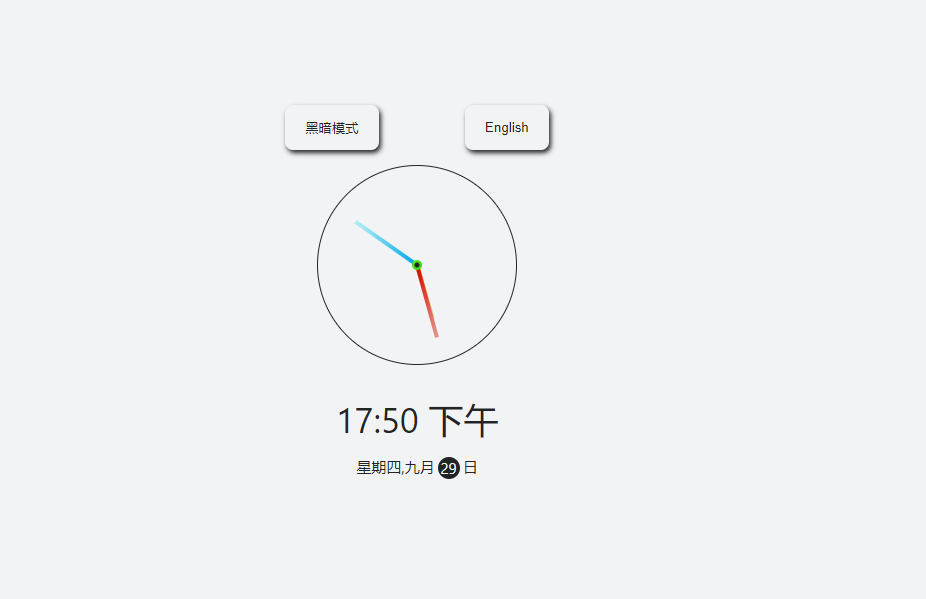
19. theme-clock
The effect is shown in the figure:
What have you learned?
- Chinese and English switching is accomplished by defining an object. There is nothing else to say, but the knowledge points mentioned above.
PS: This example also uses the same tool function scale20. button-ripple-effect
The effect is shown in the figure:
What have you learned?
- You can render a component by calling a function.
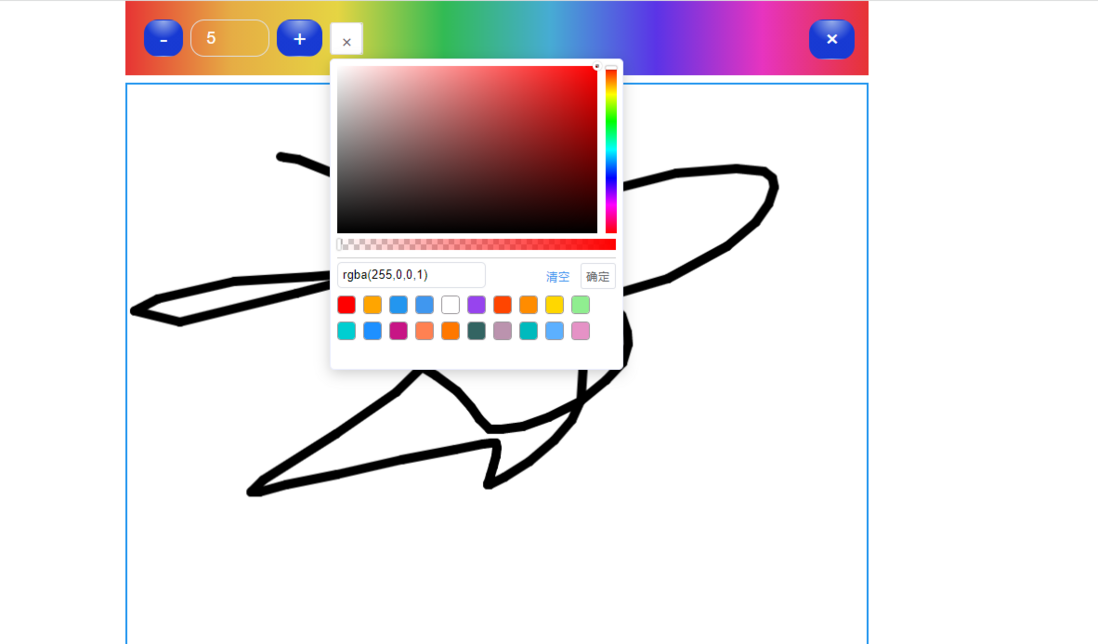
21. drawing-app
The effect is shown in the figure:
What have you learned?
- Use
ew-color-picker. - There is a pit here, which means that the style of the line must be set.
this.ctx.lineCap = "round";Otherwise, the line style is wrong, although I haven't figured out the reason for it. After all, the implementation of the js version does not need to display the style of this line.
22. drag-n-drop
The effect is shown in the figure:
What have you learned?
- A pit was also stepped on here. please refer to the source code comment
23. content-placeholder
The effect is shown in the figure:
What have you learned?
- Some tool functions for judging react components. as follows:
import React from "react";
export function isString(value){
    return typeof value === "string";
}
export function isClassComponent(component) {
    return typeof component === 'function' && !!component.prototype.isReactComponent;
}

export function isFunctionComponent(component) {
    return typeof component === 'function' && String(component).indexOf('return React.createElement') > -1;
}

export function isReactComponent(component) {
    return isClassComponent(component) || isFunctionComponent(component);
}

export function isElement(element) {
    return React.isValidElement(element);
}

export function isDOMTypeElement(element) {
    return isElement(element) && typeof element.type === 'string';
}

export function isCompositeTypeElement(element) {
    return isElement(element) && typeof element.type === 'function';
}- How to encapsulate a card component.
24. kinetic-loader
The effect is shown in the figure:
What have you learned?
The knowledge points involved in this example have been mentioned in the previous examples, so there is no need to repeat them here.
25. sticky-navbar
The effect is shown in the figure:
What have you learned?
Except for a tool function, the knowledge points involved in this example have been mentioned in the previous examples, so there is no need to repeat them here.
export function marked(template){
    return template.replace(/.+?[\s]/g,v => `<p>${v}</p>`);
}
The function of this utility function is to match any character ending in a space, and then replace it with a p tag to wrap the content.
PS: The layout of the mobile terminal is also done here.
26. double-slider
The effect is shown in the figure:
What have you learned?
The knowledge points involved in this example have been mentioned in the previous examples, so there is no need to repeat them here.
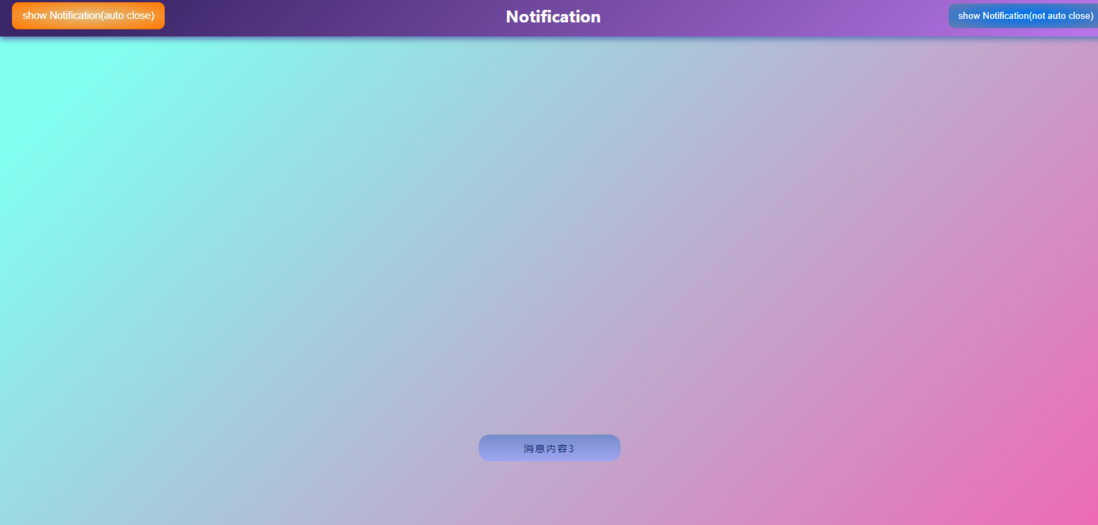
27. toast-notification
The effect is shown in the figure:
What have you learned?
- You can use
ReactDOM.renderto encapsulate thetoastcomponent of a function call. ReactDOM.unmountComponentAtNode APIThis method will unload components from the DOM, including event handlers and state. See document .- getDerivedStateFromProps static function. See document .
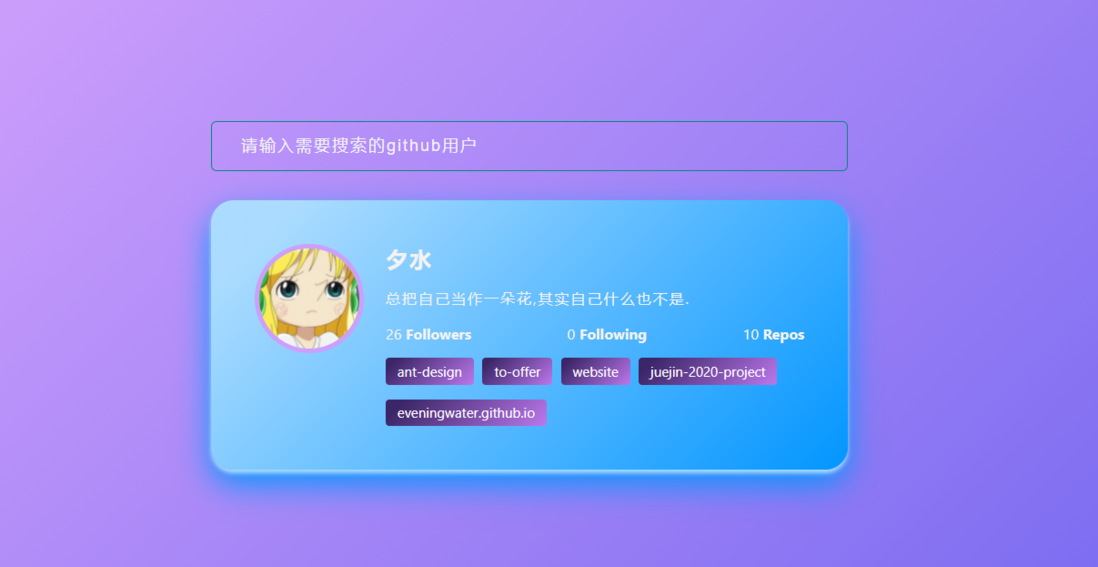
28. github-profiles
The effect is shown in the figure:
What have you learned?
The knowledge points involved in this example have been mentioned in the previous examples, so there is no need to repeat them here.
29. double-click-heart
The effect is shown in the figure:
What have you learned?
- Read the native event object from the synthetic event object. That is, the
nativeEventattribute.
30. auto-text-effect
The effect is shown in the figure:
What have you learned?
The knowledge points involved in this example have been mentioned in the previous examples, so there is no need to repeat them here.
31. password generator
The effect is shown in the figure:
What have you learned?
The knowledge points involved in this example have been mentioned in the previous examples, so there is no need to repeat them here.
32. good-cheap-fast
The effect is shown in the figure:
What have you learned?
- How to encapsulate a switch component, that is, a small switch component.
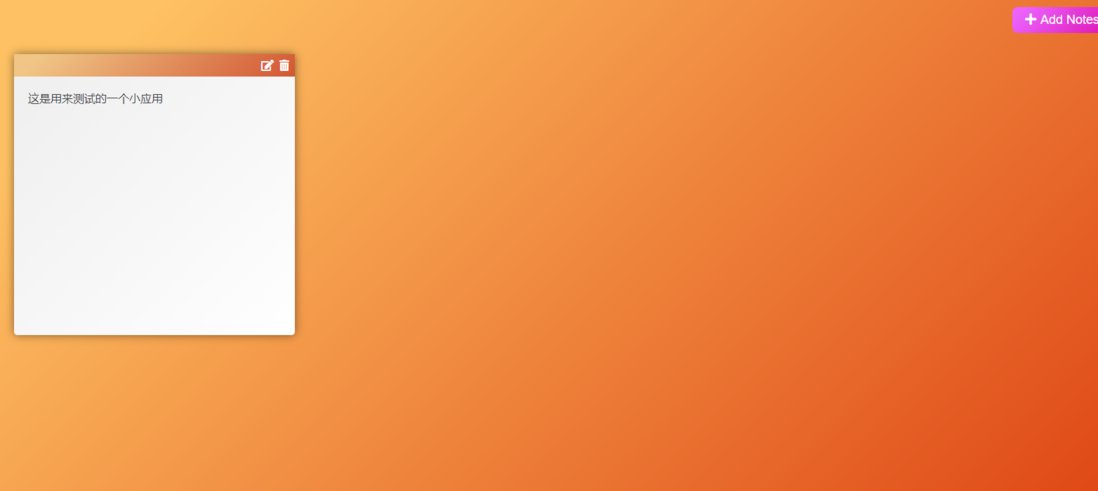
33. notes-app
The effect is shown in the figure:
What have you learned?
The knowledge points involved in this example have been mentioned in the previous examples, so there is no need to repeat them here.
34. animated-countdown
The effect is shown in the figure:
What have you learned?
The knowledge points involved in this example have been mentioned in the previous examples, so there is no need to repeat them here.
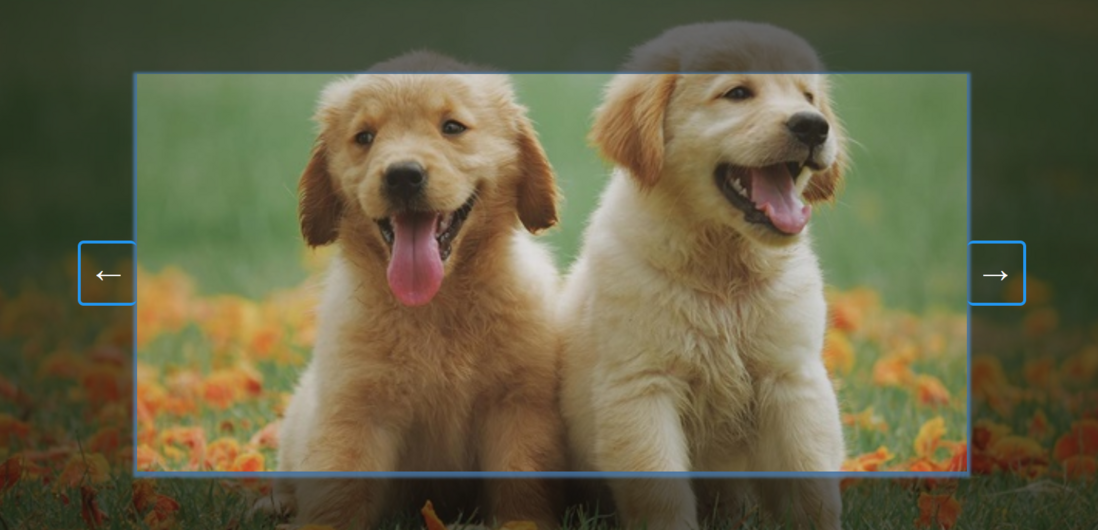
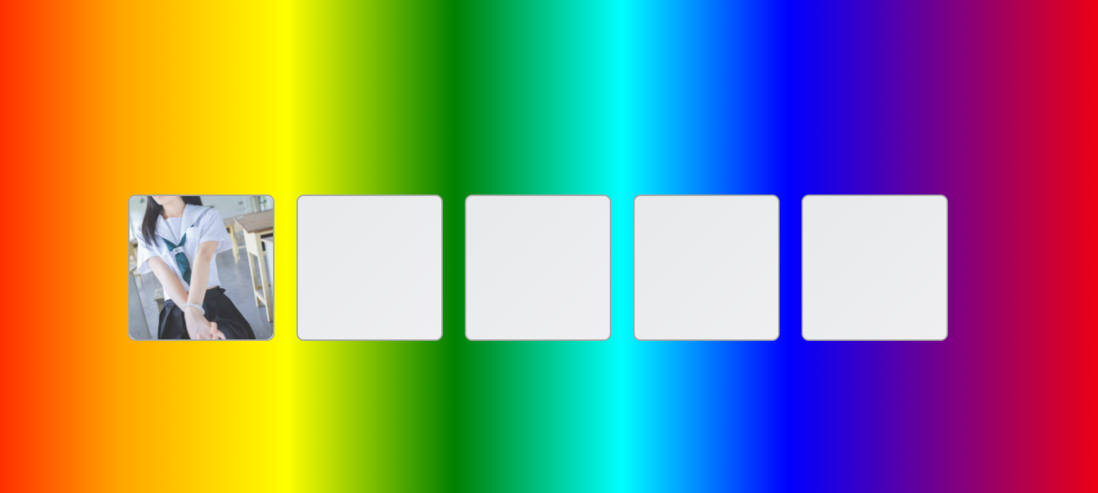
35. image-carousel
The effect is shown in the figure:
What have you learned?
The knowledge points involved in this example have been mentioned in the previous examples, so there is no need to repeat them here.
36. hover board
The effect is shown in the figure:
What have you learned?
- The setState in the react.js synthetic event is synchronous, so the native listener event is used here. please refer to the source code .
37. pokedex
The effect is shown in the figure:
What have you learned?
The knowledge points involved in this example have been mentioned in the previous examples, so there is no need to repeat them here.
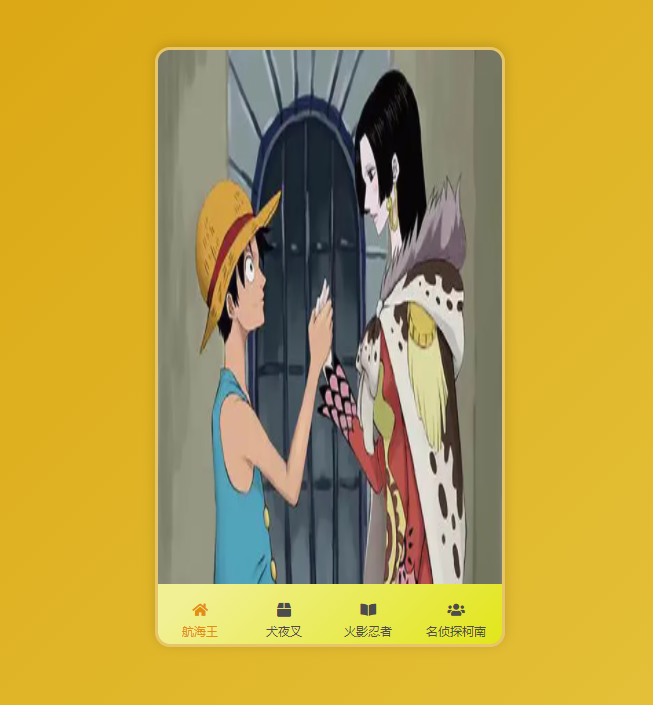
38. mobile-tab-navigation
The effect is shown in the figure:
What have you learned?
The knowledge points involved in this example have been mentioned in the previous examples, so there is no need to repeat them here.
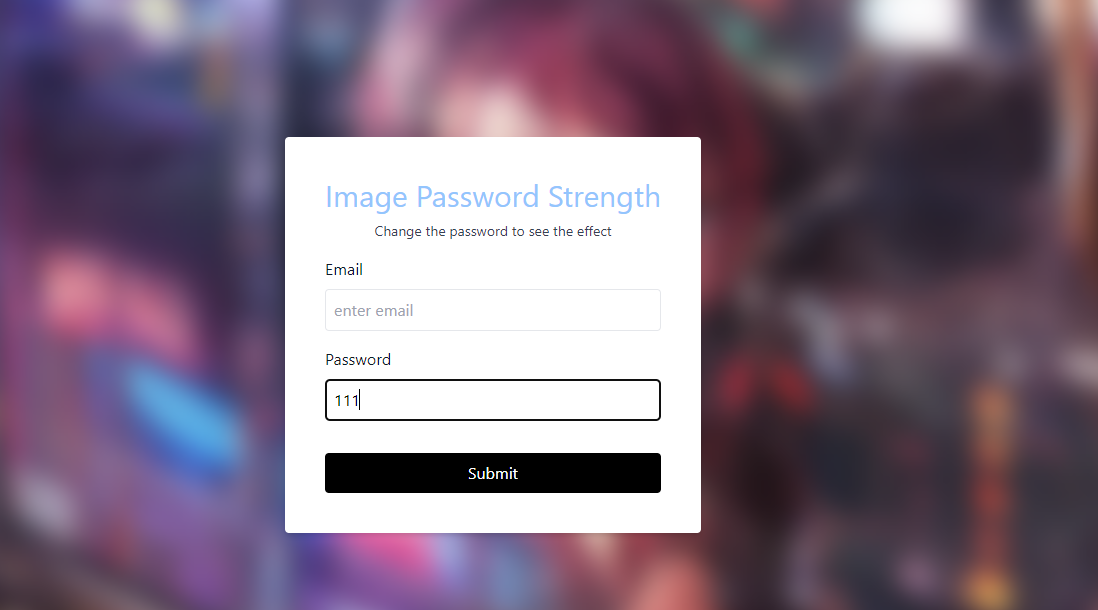
39. password-strength-background
The effect is shown in the figure:
What have you learned?
- Follow the document
tailwindcssto thecreate-react-appscaffold step by step.
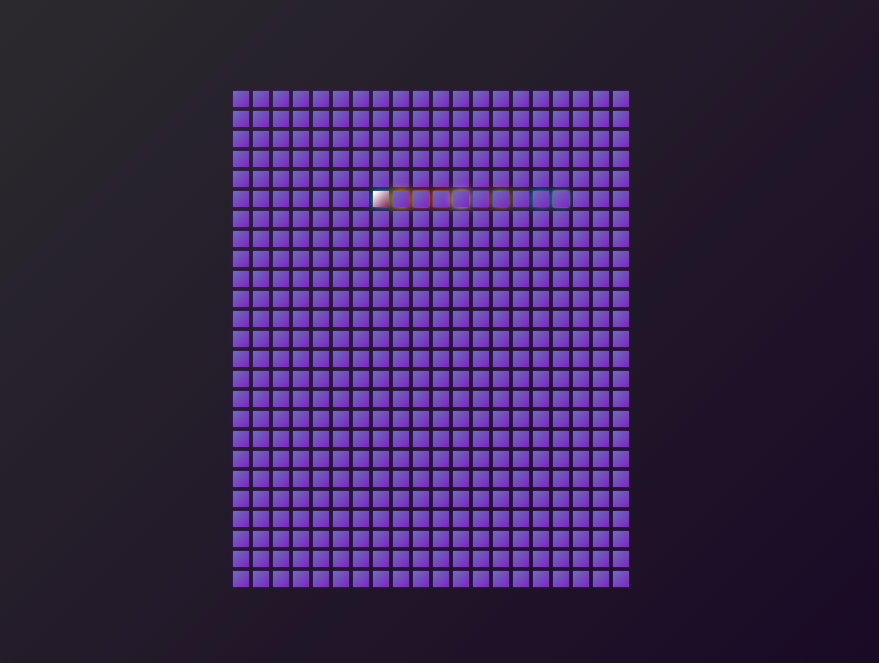
40. 3D-background-boxes
The effect is shown in the figure:
What have you learned?
The knowledge points involved in this example have been mentioned in the previous examples, so there is no need to repeat them here.
41. Verify Your Account
The effect is shown in the figure:
What have you learned?
The knowledge points involved in this example have been mentioned in the previous examples, so there is no need to repeat them here.
42. live-user-filter
The effect is shown in the figure:
What have you learned?
The knowledge points involved in this example have been mentioned in the previous examples, so there is no need to repeat them here.
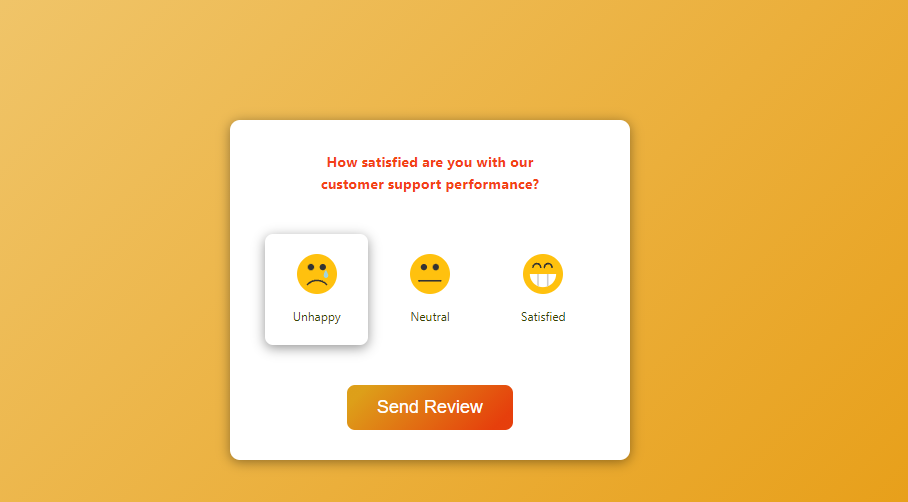
43. feedback-ui-design
The effect is shown in the figure:
What have you learned?
The knowledge points involved in this example have been mentioned in the previous examples, so there is no need to repeat them here.
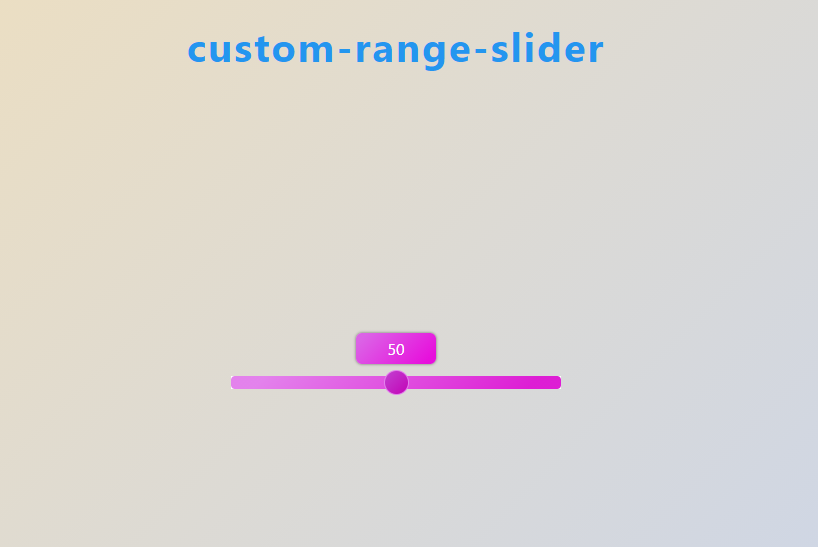
44. custom-range-slider
The effect is shown in the figure:
What have you learned?
The knowledge points involved in this example have been mentioned in the previous examples, so there is no need to repeat them here.
45. netflix-mobile-navigation
The effect is shown in the figure:
What have you learned?
- Provides ideas for how to implement a recursive component.
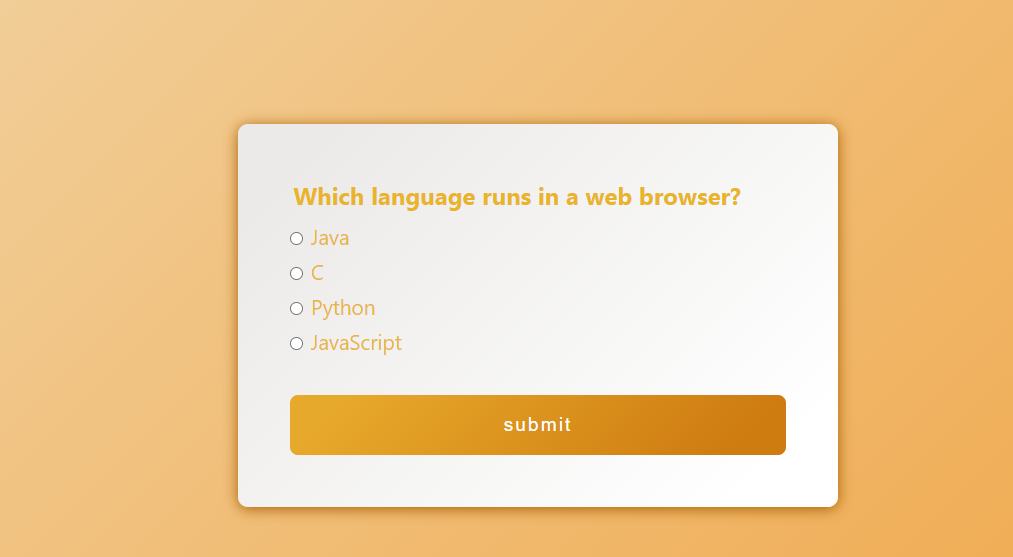
46. quiz-app
The effect is shown in the figure:
What have you learned?
The knowledge points involved in this example have been mentioned in the previous examples, so there is no need to repeat them here.
47. testimonial-box-switcher
The effect is shown in the figure:
What have you learned?
The knowledge points involved in this example have been mentioned in the previous examples, so there is no need to repeat them here.
48. random-image-feed
The effect is shown in the figure:
What have you learned?
- Realize a simple version of the preview picture.
49. todo-list
The effect is shown in the figure:
What have you learned?
The knowledge points involved in this example have been mentioned in the previous examples, so there is no need to repeat them here.
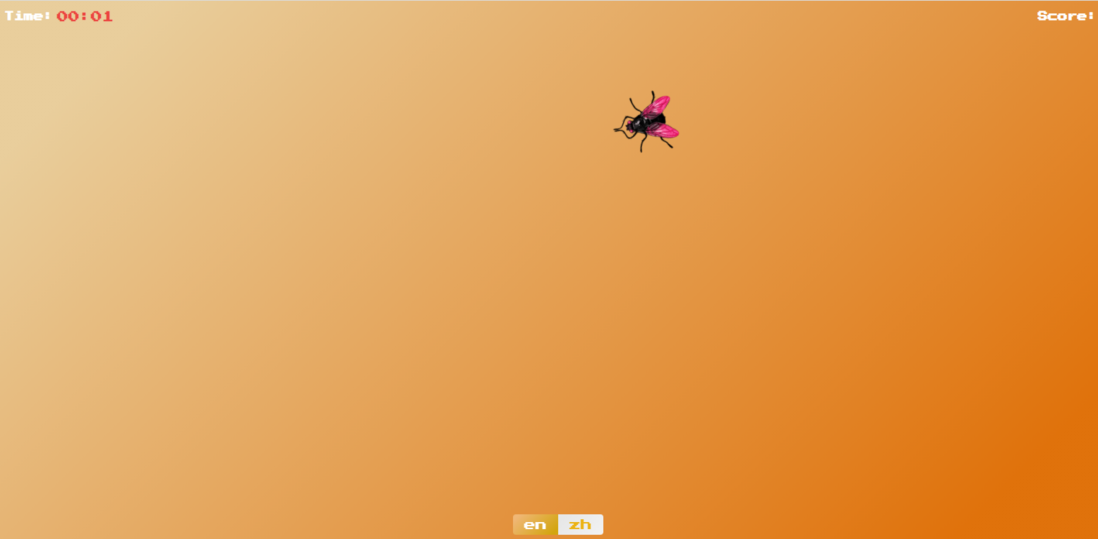
50. insect-catch-game
The effect is shown in the figure:
What have you learned?
The knowledge points involved in this example have been mentioned in the previous examples, so there is no need to repeat them here.
Special note: This example is a more comprehensive example.





















**粗体** _斜体_ [链接](http://example.com) `代码` - 列表 > 引用。你还可以使用@来通知其他用户。