
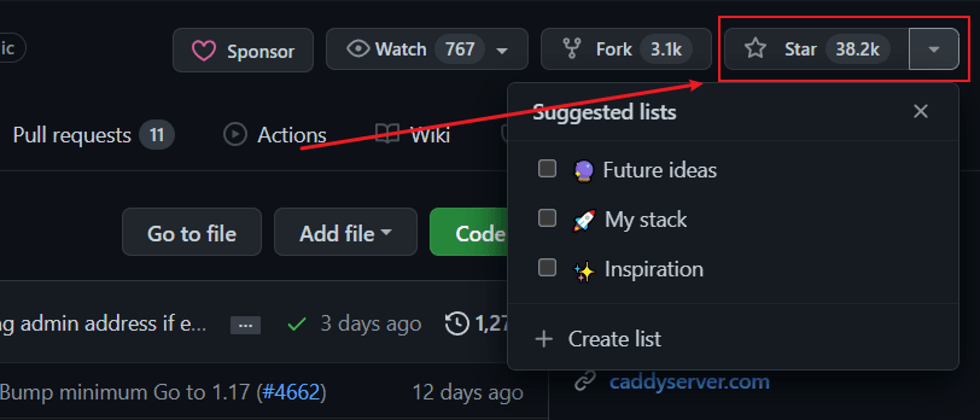
Nginx is a very popular web server, there is16K+Staron Github, we often use it for static resource hosting or reverse proxy. Recently discovered a brand new web serverCaddy, the number of stars surpasses Nginx, and the star is38K+Star. I tried it outCaddyand found that it is much more elegant and powerful than Nginx. I recommend it to everyone!
SpringBoot actual e-commerce project mall (50k+star) address: https://github.com/macrozheng/mall
Introduction to Caddy
Caddy is a powerful and highly scalable web server, currently available on Github 38K+Star . Caddy is written in Go language and can be used for static resource hosting and reverse proxy.

Caddy has the following main features:
- Compared with the complex configuration of Nginx, its original
Caddyfileconfiguration is very simple; - You can dynamically modify the configuration through the provided
Admin API; - By default, automatic HTTPS configuration is supported, and HTTPS certificates can be automatically applied and configured;
- Ability to scale to tens of thousands of sites;
- Can be executed anywhere without additional dependencies;
- Written in Go language, memory safety is more guaranteed.
Install
First, we install Caddy directly on CentOS 8. It is undoubtedly the easiest to install using the DNF tool. The Docker installation method will also be introduced later.
- Use the following command to install Caddy through the DNF tool. After the installation is successful, Caddy will be registered as a system service;
 dnf install 'dnf-command(copr)'
dnf copr enable @caddy/caddy
dnf install caddy- Use
systemctl status caddyto check the status of Caddy, you can find that Caddy has been registered as a system service, but it has not been opened.

use
Let's experience the basic use of Caddy. It is a common operation for Web servers, and you can use it!
basic use
First, let's get started with Caddy, let Caddy run on the2015port and returnHello, world!.
- Using the
caddycommand directly will output the common commands of Caddy, you can know how to use it by reading the introduction, and the common commands are marked;

- Use the
caddy startcommand to make the Caddy service run in the background;

- Caddy uses the JSON format configuration file by default, but because the JOSN format configuration is more troublesome to write, it also provides
CaddyfileThis more concise configuration form, the following command can automatically convertCaddyfileConfigured for JSON;
caddy adapter- We can first create a file named
Caddyfilewith the following content, then usecaddy adapterto convert it to JSON configuration, and then usecaddy reloadto make the configuration take effect, This configuration will listen on port2015and returnHello, world!;
 :2015

respond "Hello, world!"- Then we use the curl command to access
localhost:2015, which will return the specified information;

- Of course, we can also use the
Admin APIprovided by Caddy to view the configuration information, just use the following command;
curl localhost:2019/config/- The current JSON configuration is as follows. If you use JSON configuration directly, you need to write the following configuration, using
Caddyfileis really convenient!
 {
    "apps": {
        "http": {
            "servers": {
                "srv0": {
                    "listen": [":2015"],
                    "routes": [{
                        "handle": [{
                            "body": "Hello, world!",
                            "handler": "static_response"
                        }]
                    }]
                }
            }
        }
    }
}
Caddyfile Basic syntax
- The following case will use
Caddyfilefor configuration. We need to understand its syntax. The specific syntax rules ofCaddyfileare as follows.

- Introduce the keywords in the figure above to help understand.
| keywords | explain | use |
|---|---|---|
| Global options block | Server global configuration | Can be used to configure whether to enable HTTPS and Admin API, etc. |
| Snippet | Reusable configuration snippets | After definition, it can be recognized by import keyword reference |
| Site Block | Single website configuration | Through file_server can configure static proxy, through reverse_proxy can configure dynamic proxy |
| Matcher definition | match definition | Directives have global effects by default, through which the scope of influence can be specified |
| Comment | Notes | Start with the # symbol |
| Site address | website address | HTTPS is used by default. If you want to enable HTTP, you need to specify the beginning of http:// |
| Directive | instruction | Directives empower Caddy |
reverse proxy
Reverse proxy means that when a request accesses your proxy server, the proxy server will forward your request, which can be forwarded to a static resource path or to a dynamic service interface. Let's take the proxying of domain names as an example to talk about how to perform static proxying and dynamic proxying.
static proxy
Static proxy is to proxy requests to different static resource paths. Here we will proxy requests fordocs.macrozheng.comto my document project, and requests formall.macrozheng.comto the front end of mall in the project.
- First, we modify the host file of this machine:
 192.168.3.106 docs.macrozheng.com
192.168.3.106 mall.macrozheng.com- Then upload our document project and mall front-end project to Caddy's html directory and unzip it:

- Modify the
Caddyfilefile, use the following configuration, and use thecaddy reloadcommand to refresh the configuration after modification;
 http://docs.macrozheng.com {
        root * /mydata/caddy/html/docs
        file_server browse
}

http://mall.macrozheng.com {
        root * /mydata/caddy/html/mall
        file_server browse
}- If your
Caddyfilefile format is not qualified, the following warning will appear, just usecaddy fmt --overwriteto format and rewrite the configuration to solve it;

- You can access the deployed documentation project through
docs.macrozheng.com:

- You can access the deployed front-end project through
mall.macrozheng.com.

Dynamic proxy
Dynamic proxy is to forward the request of the proxy server to another service. Here we will proxy the request to api.macrozheng.com to the API service of the demo environment.- First, we modify the host file of this machine and add the following rules:
192.168.3.106 api.macrozheng.com- Modify the
Caddyfilefile and use the following configuration. After the modification is completed, use thecaddy reloadcommand to refresh the configuration;
 http://api.macrozheng.com {
        reverse_proxy http://admin-api.macrozheng.com
}- After that, you can access the API documentation page of
mall-admin---throughapi.macrozheng.com/swagger-ui.html.

file compression
If our server bandwidth is relatively low, the website access speed will be very slow. At this time, we can improve the website access speed by letting Caddy turn on Gzip compression. Here we take the front-end project of mall as an example to demonstrate its speed-up effect.
- We need to modify the
Caddyfilefile, use theencodecommand to enable Gzip compression, and use thecaddy reloadcommand to refresh the configuration after the modification;
 http://mall.macrozheng.com {
        root * /mydata/caddy/html/mall
        encode {
            gzip
        }
        file_server browse
}- A relatively large JS file is
1.7Mbefore compression;

- After compression, it is
544K, and the access speed also has a great hint;

- In addition, we can look at the response information, if there is
Content-Encoding: gzipthis response header indicates that Gzip compression has been enabled.

address rewriting
Sometimes our website has changed its domain name, but there are still users who are using the old domain name to access. At this time, Caddy's address rewriting function can be used to allow users to jump to the new domain name for access.
- We need to modify the
Caddyfilefile, use theredircommand to rewrite the address, and use thecaddy reloadcommand to refresh the configuration after the modification;
 http://docs.macrozheng.com {
        redir http://www.macrozheng.com
}- At this time, accessing the old domain name
docs.macrozheng.comwill directly jump towww.macrozheng.com.
By directory
Sometimes we need to use the same domain name to access different front-end projects. At this time, we need to distinguish front-end projects through subdirectories.
- For example, we need to access each front-end project according to the following path;
 www.macrozheng.com #访问文档项目
www.macrozheng.com/admin #访问后台项目
www.macrozheng.com/app #访问移动端项目- We need to modify the
Caddyfilefile, use theroutecommand to define the route, and use thecaddy reloadcommand to refresh the configuration after the modification.
 http://www.macrozheng.com {
        route /admin/* {
                uri strip_prefix /admin
                file_server {
                        root /mydata/caddy/html/admin
                }
        }
        route /app/* {
                uri strip_prefix /app
                file_server {
                        root /mydata/caddy/html/app
                }
        }
        file_server * {
                root /mydata/caddy/html/www
        }
}
HTTPS
Caddy can automatically support HTTPS without the need to manually configure the certificate. This is why we need to use http:// when configuring the domain name. To use Caddy's default HTTPS function, follow the steps below.- First of all, we need to modify the DNS resolution of the domain name, which can be set directly on the website where the domain name was purchased. Here we take the
docs.macrozheng.comdomain name as an example; - Then use the following commands to verify whether the DNS resolution records are correct. Note that the configured server
80and443ports need to be accessible from the external network normally;
 curl "https://cloudflare-dns.com/dns-query?name=docs.macrozheng.com&type=A" \
-H "accept: application/dns-json"- Modify the
Caddyfileconfiguration file and configure as follows;
 docs.macrozheng.com {
        root * /mydata/caddy/html/docs
        file_server browse
}- Then use the
caddy runcommand to start the Caddy server, isn't it very convenient!
caddy runDocker support
Of course, Caddy also supports the use of Docker for installation and use, and its use is basically the same as installing directly on CentOS.
- First download Caddy's Docker image using the following command;
docker pull caddy- Then create a
Caddyfileconfiguration file in the/mydata/caddy/directory, and the content of the file is as follows;
 http://192.168.3.105:80

respond "Hello, world!"- Then use the following command to start the caddy service. Here, the
Caddyfileconfiguration file, Caddy's data directory and website directory on the host are mounted into the container;
 docker run -p 80:80 -p 443:443 --name caddy \
    -v /mydata/caddy/Caddyfile:/etc/caddy/Caddyfile \
    -v /mydata/caddy/data:/data \
    -v /mydata/caddy/html:/usr/share/caddy \
-d caddy- Then use
docker execto enter the caddy container to execute the command;
docker exec -it caddy /bin/sh- Enter the Caddy command to operate, and the subsequent operation is the same as when we installed it directly on CentOS.

Summarize
I experienced a Caddy today. Its powerful command function allows us to achieve various functions without redundant configuration. It is really elegant to use! In particular, it can automatically configure HTTPS, which is very good! Caddy can basically implement the functions that Nginx can achieve. You can compare the Nginx usage tutorial written before, and you will find how elegant it is to use Caddy!
References
- Project address: https://github.com/caddyserver/caddy
- Official documentation: https://caddyserver.com/


**粗体** _斜体_ [链接](http://example.com) `代码` - 列表 > 引用。你还可以使用@来通知其他用户。