Welcome to my public account: front-end detective
In the web, the image can be dragged by default, usually a semi-transparent preview image (hereinafter referred to as "preview image"), as follows
This preview image is automatically generated by the system and generally cannot be customized, but sometimes the size of the dragged preview image is too large and inconvenient to place. For example, in this scenario
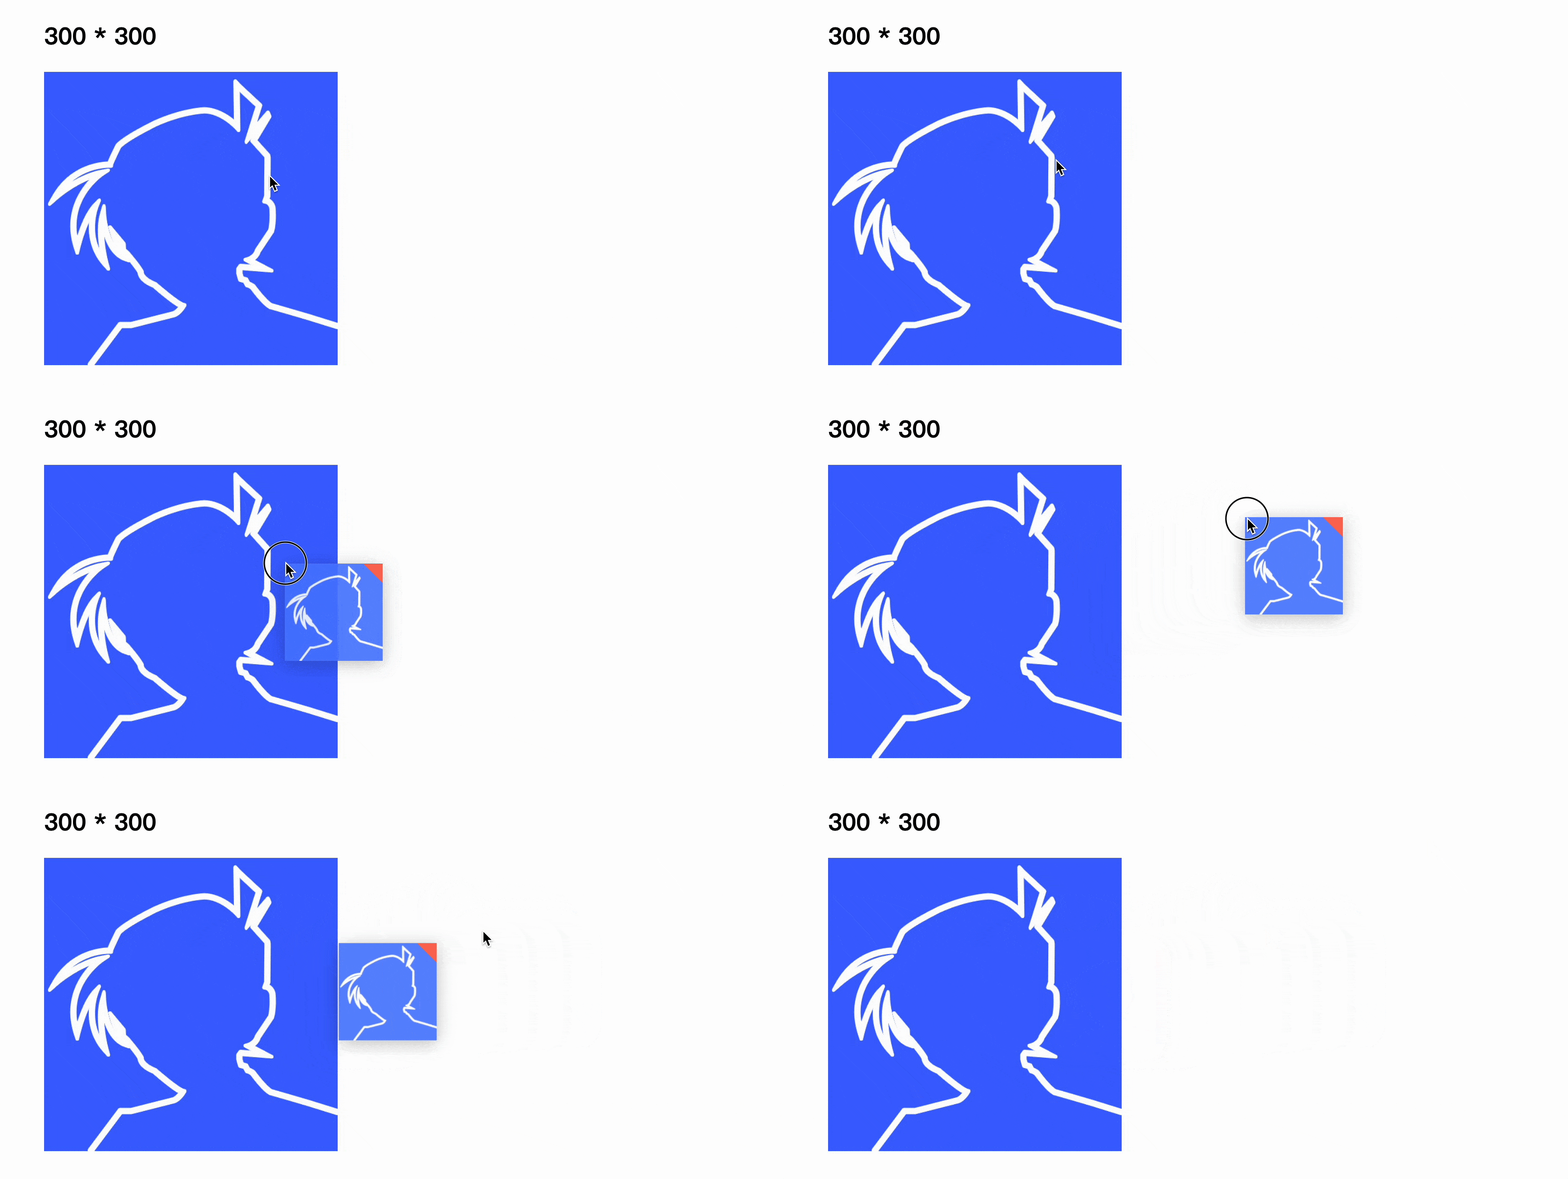
This is a function of dragging and dropping pictures to save. You need to drag and drop the picture to the specified area to trigger the save operation. Because the preview image is too large when dragging, the placement area is covered, and the experience is very bad .
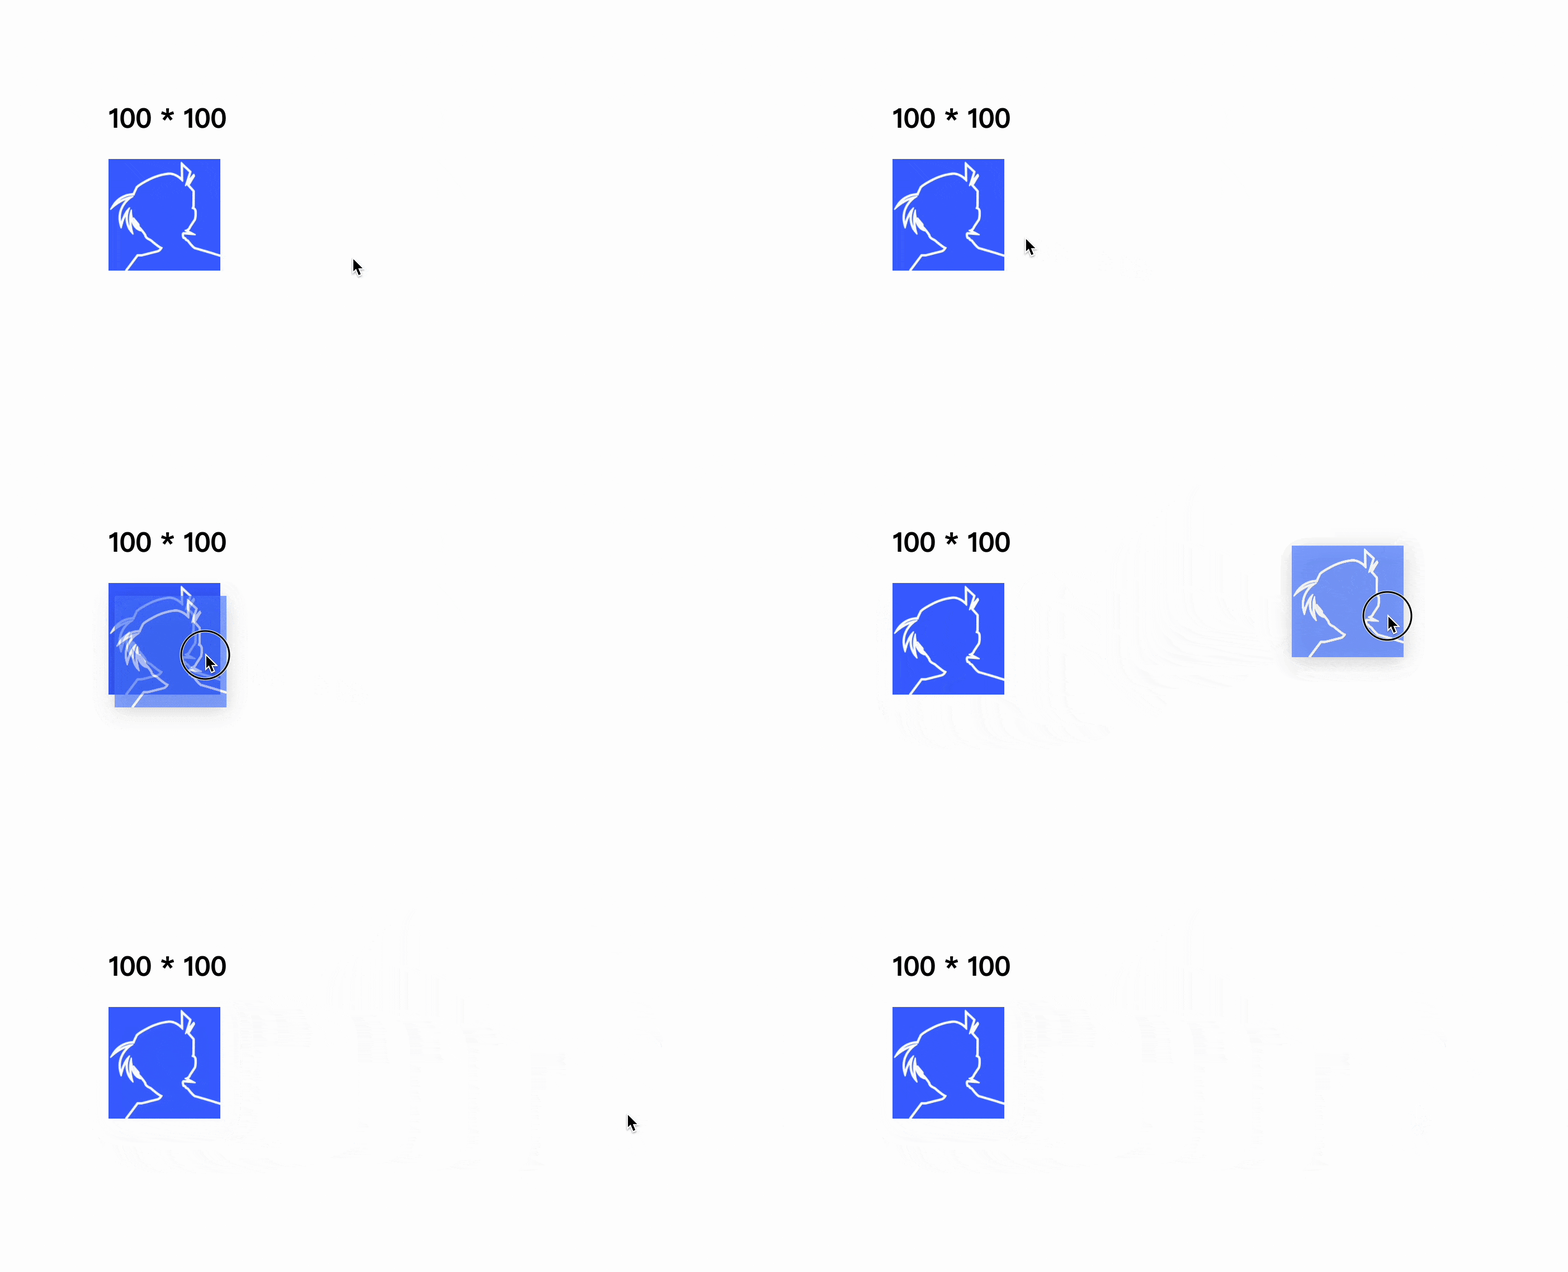
If the size of the preview image can be smaller, for example:
Will the experience be much better? Let's discuss together
1. The default size of the preview image
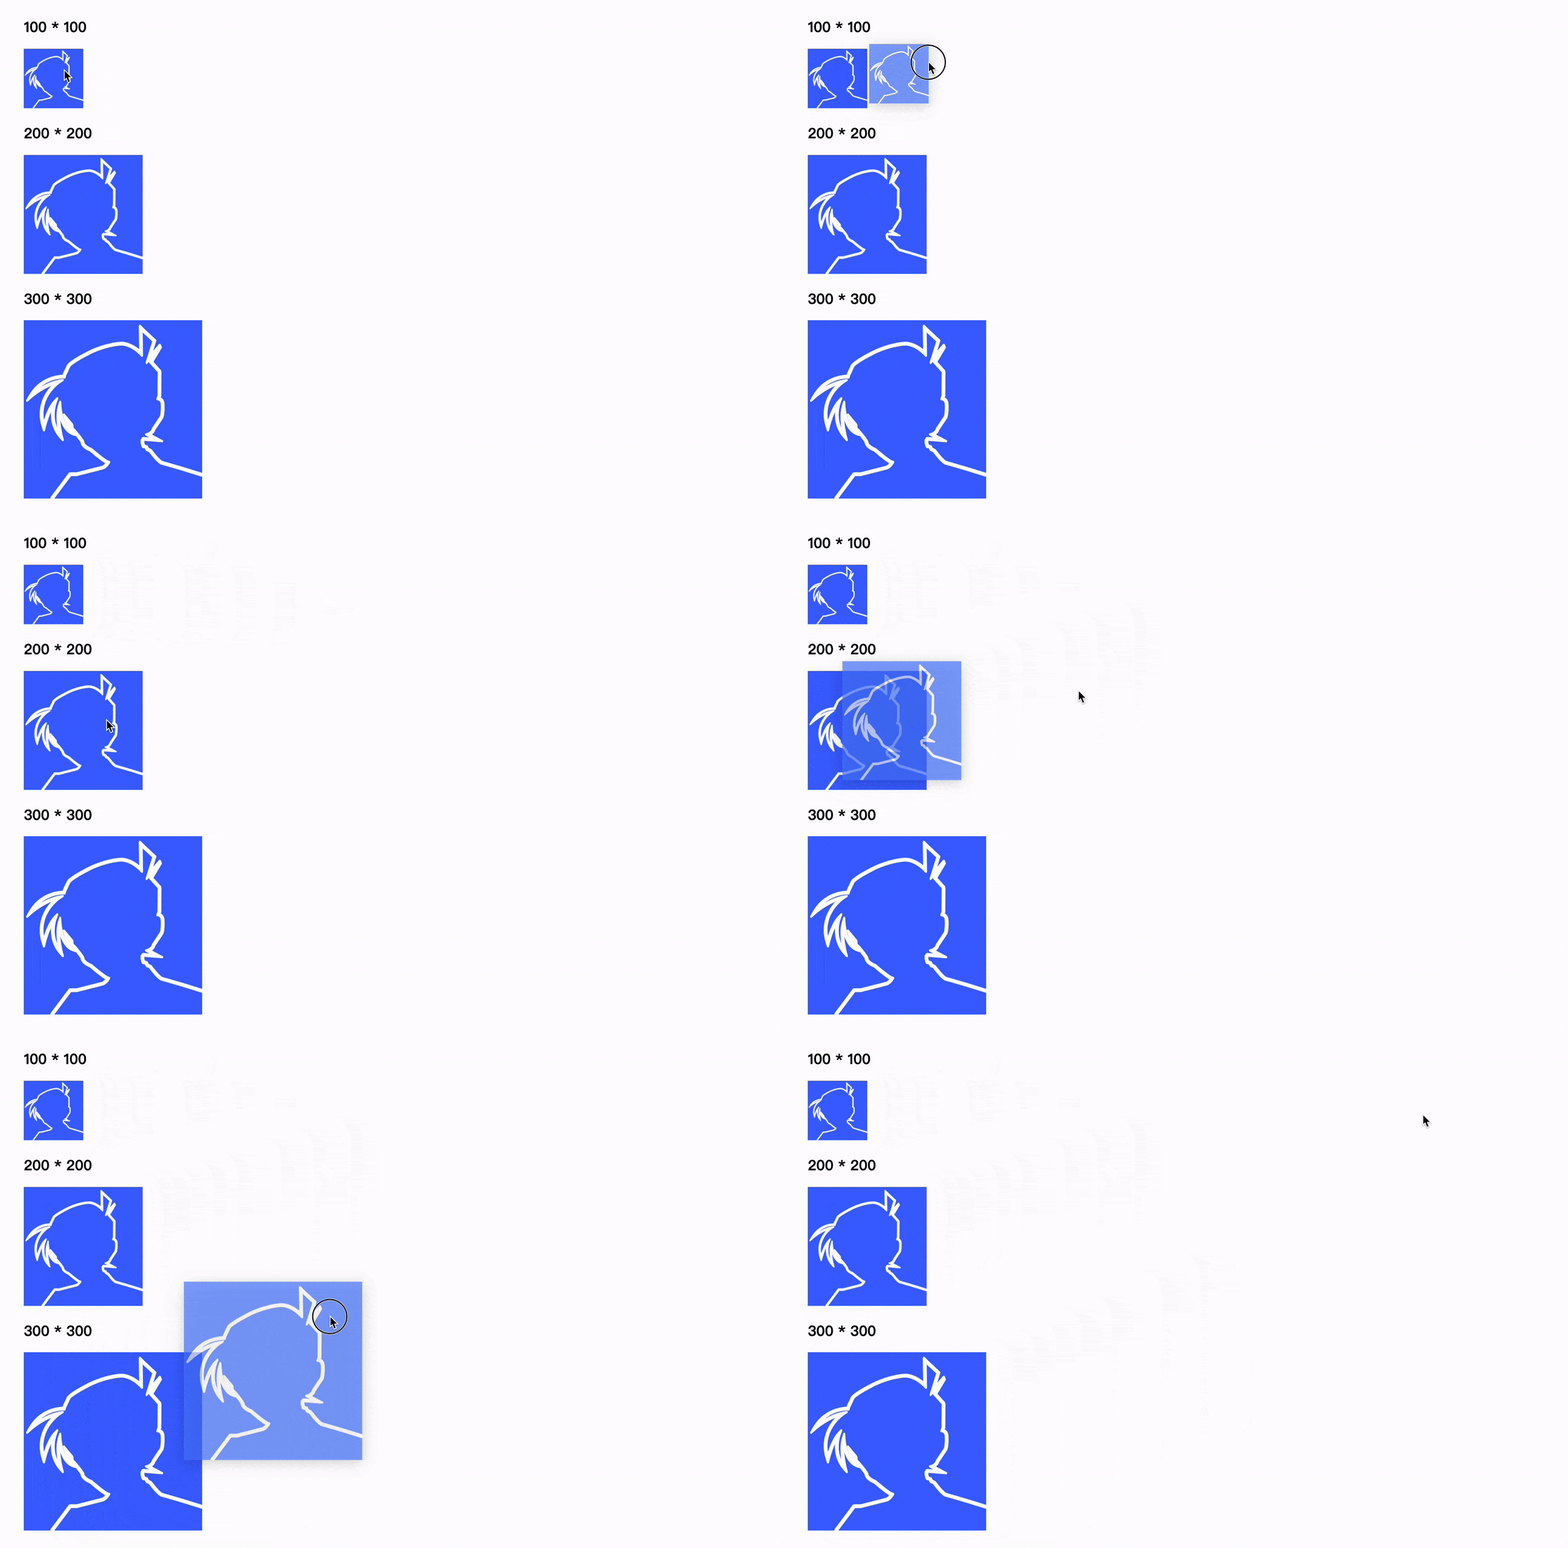
First of all, the size of the dragged preview image is related to the CSS size of the image on the page, that is to say, the larger the displayed image, the larger the dragged preview image.
However, the size of the preview image is not unlimited. According to my test, the maximum size of the preview image is 400 400. For example, the size of the image below is 500 500, but the dragged preview image is only 400 * 400, but it is not suitable for actual development. This size is still too large
The above is the performance effect under MacOS Chrome , Firefox performance is much better, and the preview image will not be too large
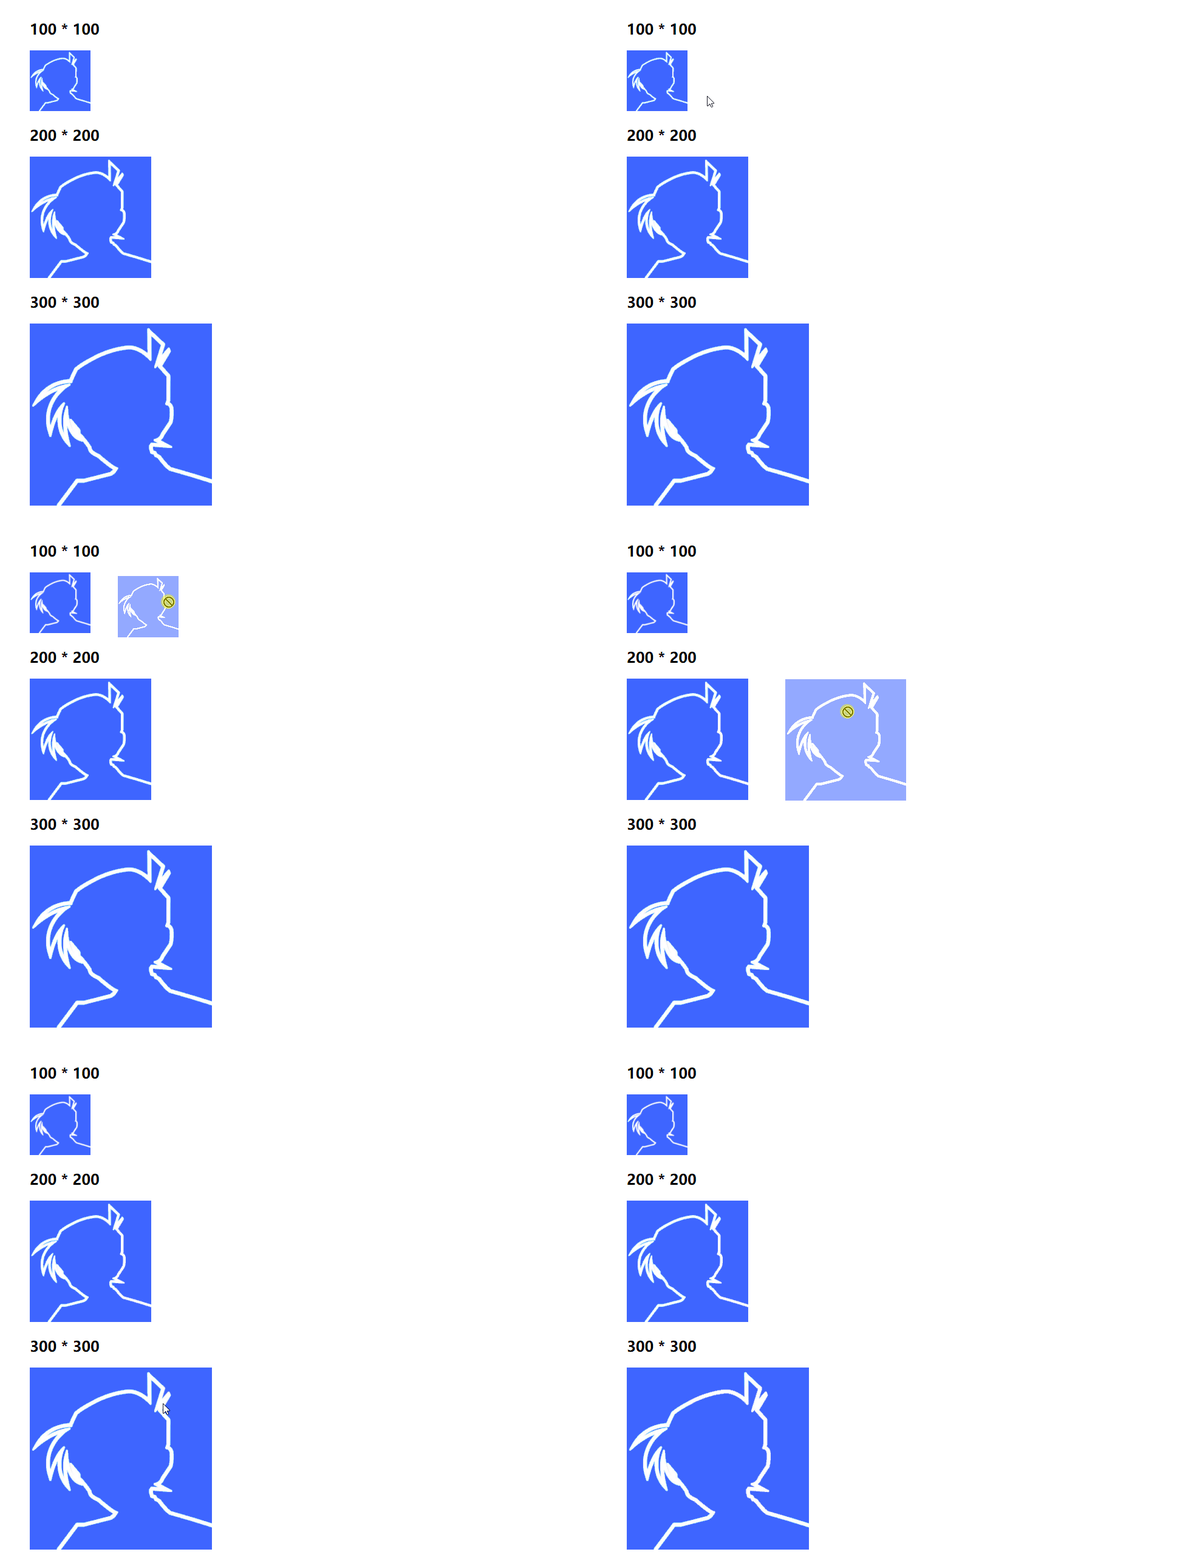
In addition, I tested the performance of Windows Chrome , which is similar, except that the maximum size is 200 * 200 , and the performance is as follows
2. Modify the preview image with the help of setDragImage
The native drag and drop can only modify the preview image through setDragImage . It seems to be very powerful, but it is very tasteless. The simple use is as follows
 function dragstart_handler(ev) {
 var img = new Image();
 img.src = 'example.jpg';
 ev.dataTransfer.setDragImage(img, 0, 0);
}
Such a picture is specified here as a preview
It needs to be bound to the dragstart event, and the method of event delegation is used here.
 document.addEventListener('dragstart', ev => {
  if (ev.target.tagName === 'IMG') {
    dragstart_handler(ev)
  }
})
The effect is this
Why does the custom preview appear after the second drag? This is the place where it is tasteless. The official regulation example.jpg is an existing image. If this image has not been created or loaded, the browser will use the default drag image . In the second The image is loaded when the next drag is completed, so it takes effect. Suffice to say, almost every case where setDragImage doesn't work is for this reason.
In addition to this, there is a problem that the size of the preview image cannot be specified directly , for example
 function dragstart_handler(ev) {
 var img = new Image();
 img.src = 'example.jpg';
 img.width = 50;//无效
 img.height = 50;
 ev.dataTransfer.setDragImage(img, 0, 0);
}
This is also invalid, the image in memory will be displayed in its original size
3. Specify the preview image as a page element
In fact, if you want to modify the size of the preview image, you can also render the original image through canvas, and then modify the size to generate the image , but canvas often has cross-domain problems when rendering images, and canvas also has certain thresholds, so it is not used here. .
Come back and look at the official grammar
dataTransfer.setDragImage(img | element, xOffset, yOffset);As you can see, the first parameter supports not only dynamically created images, but also elements that actually exist on the page (the elements that exist on the page must be loaded)
Suppose we add a custom preview image to the page
 <img ondragstart="dragstart_handler" src="head.jpg">
<img id="img" src="example.jpg"><!--预览图-->
Then assign the preview image to this image example.jpg
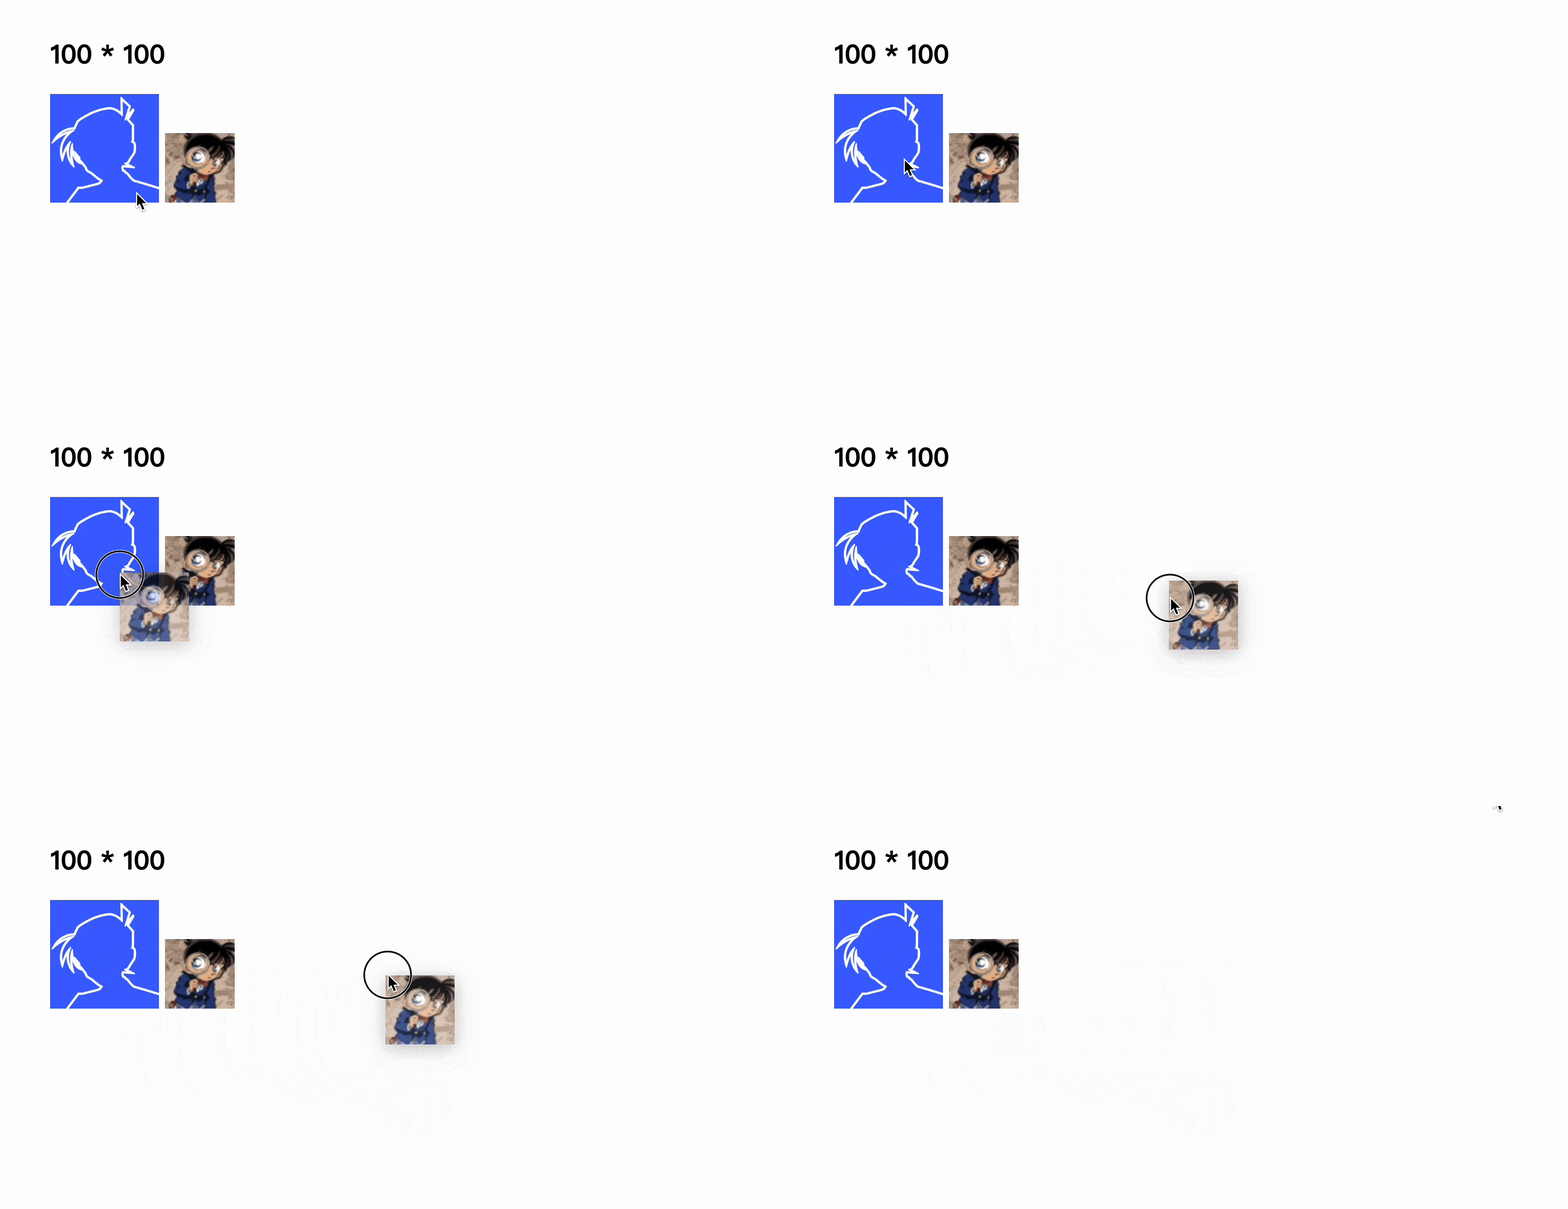
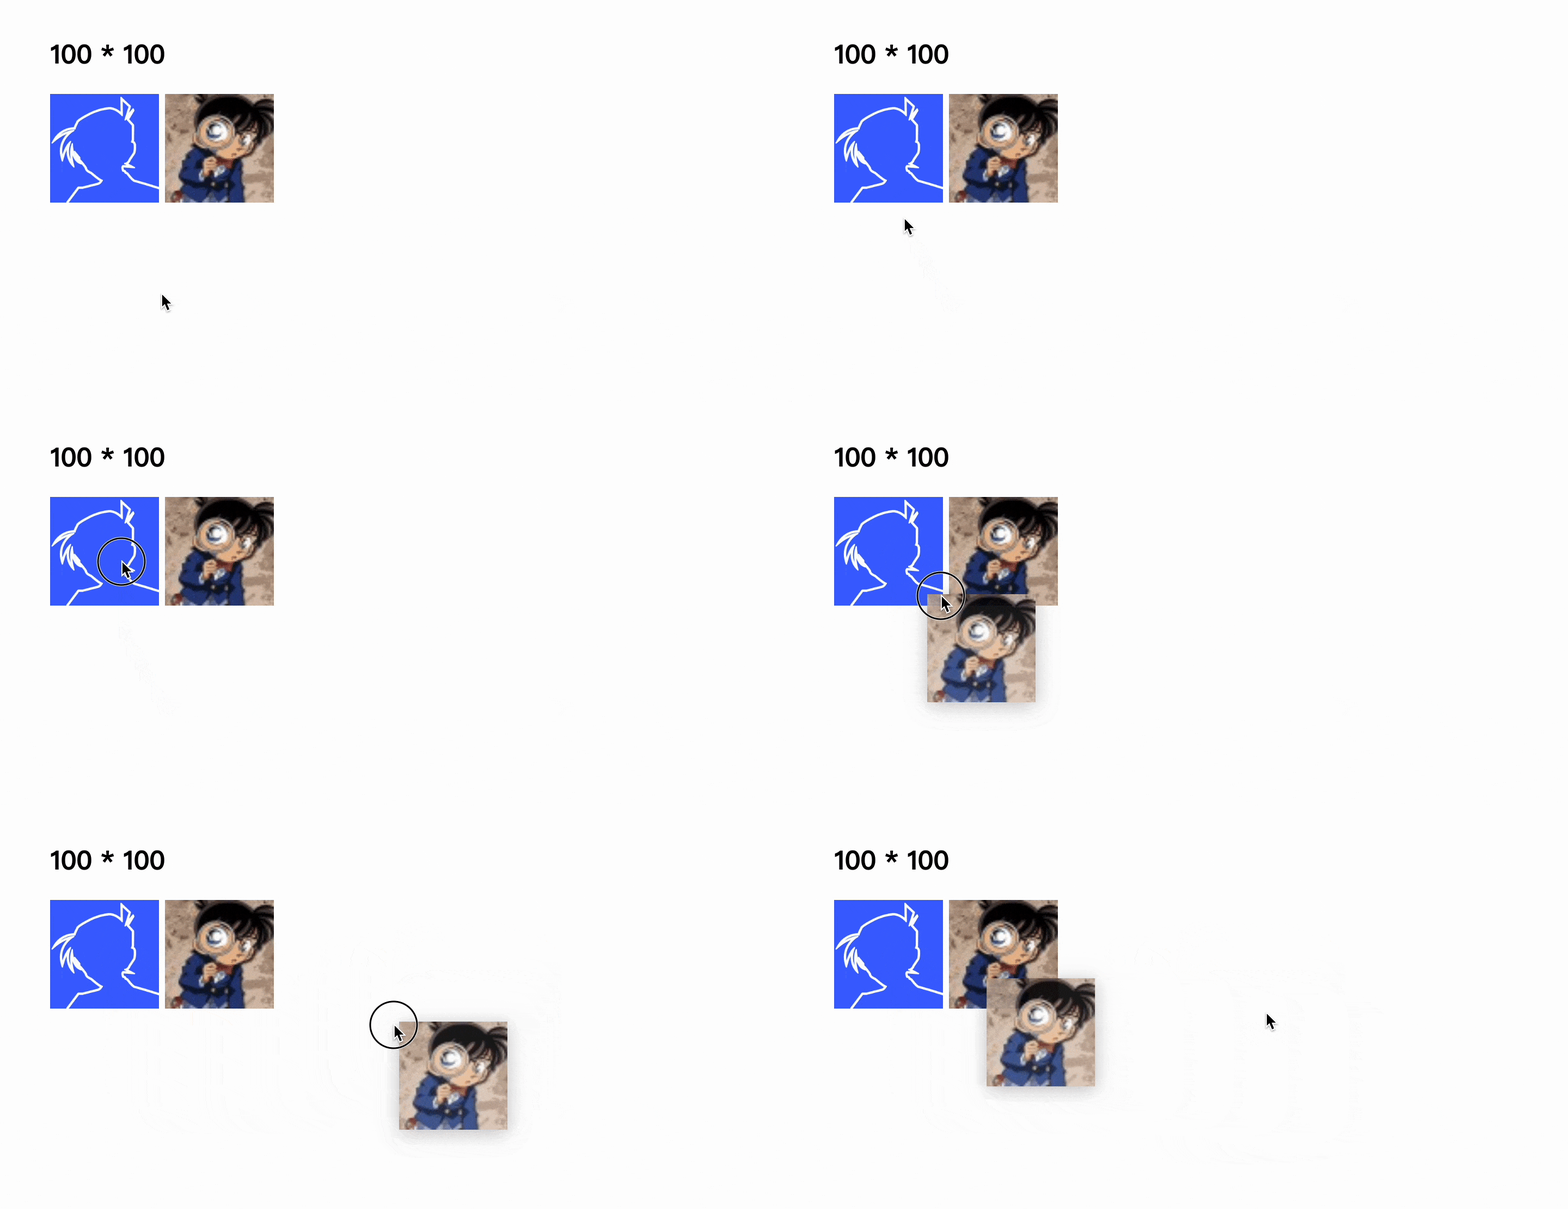
ev.dataTransfer.setDragImage(img, 0, 0);The effect is as follows
As you can see, dragging the image is like dragging example.jpg , and you can also directly modify the size through CSS!
 #img{
  width: 100px;
  height: 100px;
}
The size of the preview image also follows example.jpg
If you replace example.jpg with the same link as the original image , is it equivalent to customizing the size of the preview image?
Now you need to hide the custom image. After all, it's just borrowed, and it doesn't need to be displayed on the page. A little trick is needed here. You can't really hide this image, such as
 #img{
  display: none;
  /*或者*/
  opacity: 0;
  /*或者*/
  visibility: none
}
None of these methods work. Since the preview image follows this custom image, if it is directly hidden, the preview image will disappear directly.
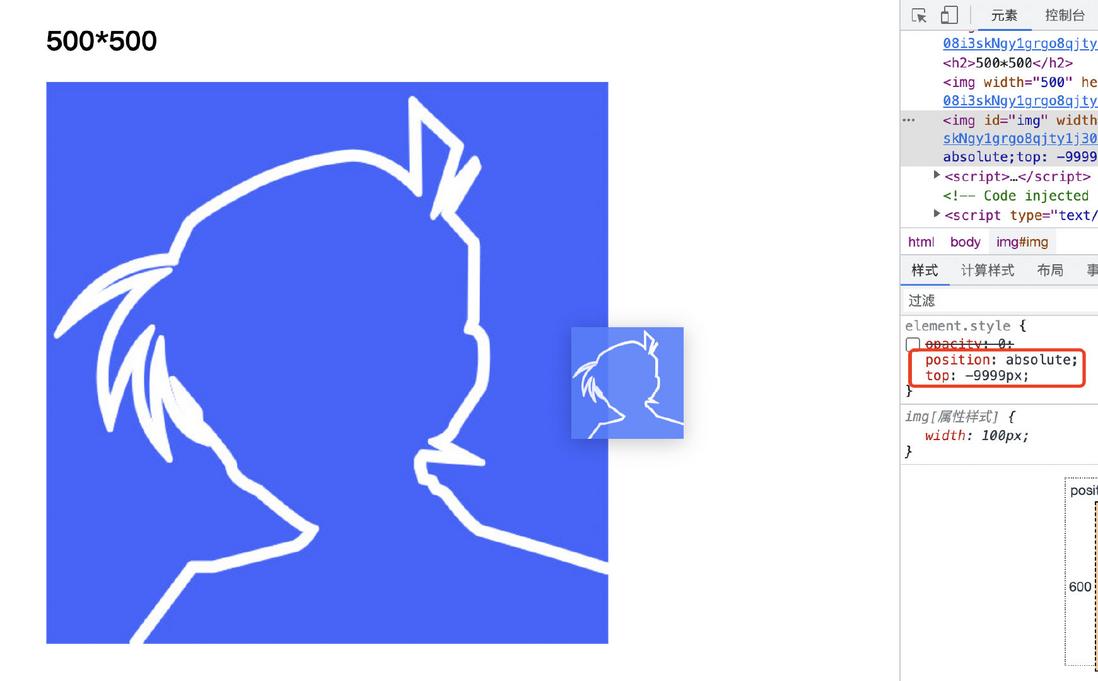
At this time, the way to take this picture can be moved out of the viewport , such as this
 #img{
  position: absolute;
  top: -9999px;
}
It'll be fine
In actual work, this picture should be automatically generated, and the link to the currently dragged picture should be automatically obtained. The complete implementation is
 /*
* custom_drag_img
* author: xboxyan
*/
const img = document.createElement('img');
img.style = "position: absolute; top: -9999px; max-width: 100px; max-height: 100px;"
document.body.append(img)
document.addEventListener('dragstart', ev => {
  if (ev.target.tagName === 'IMG') {
    img.src = ev.target.src;
    ev.dataTransfer.setDragImage(img, 0, 0);
  }
})
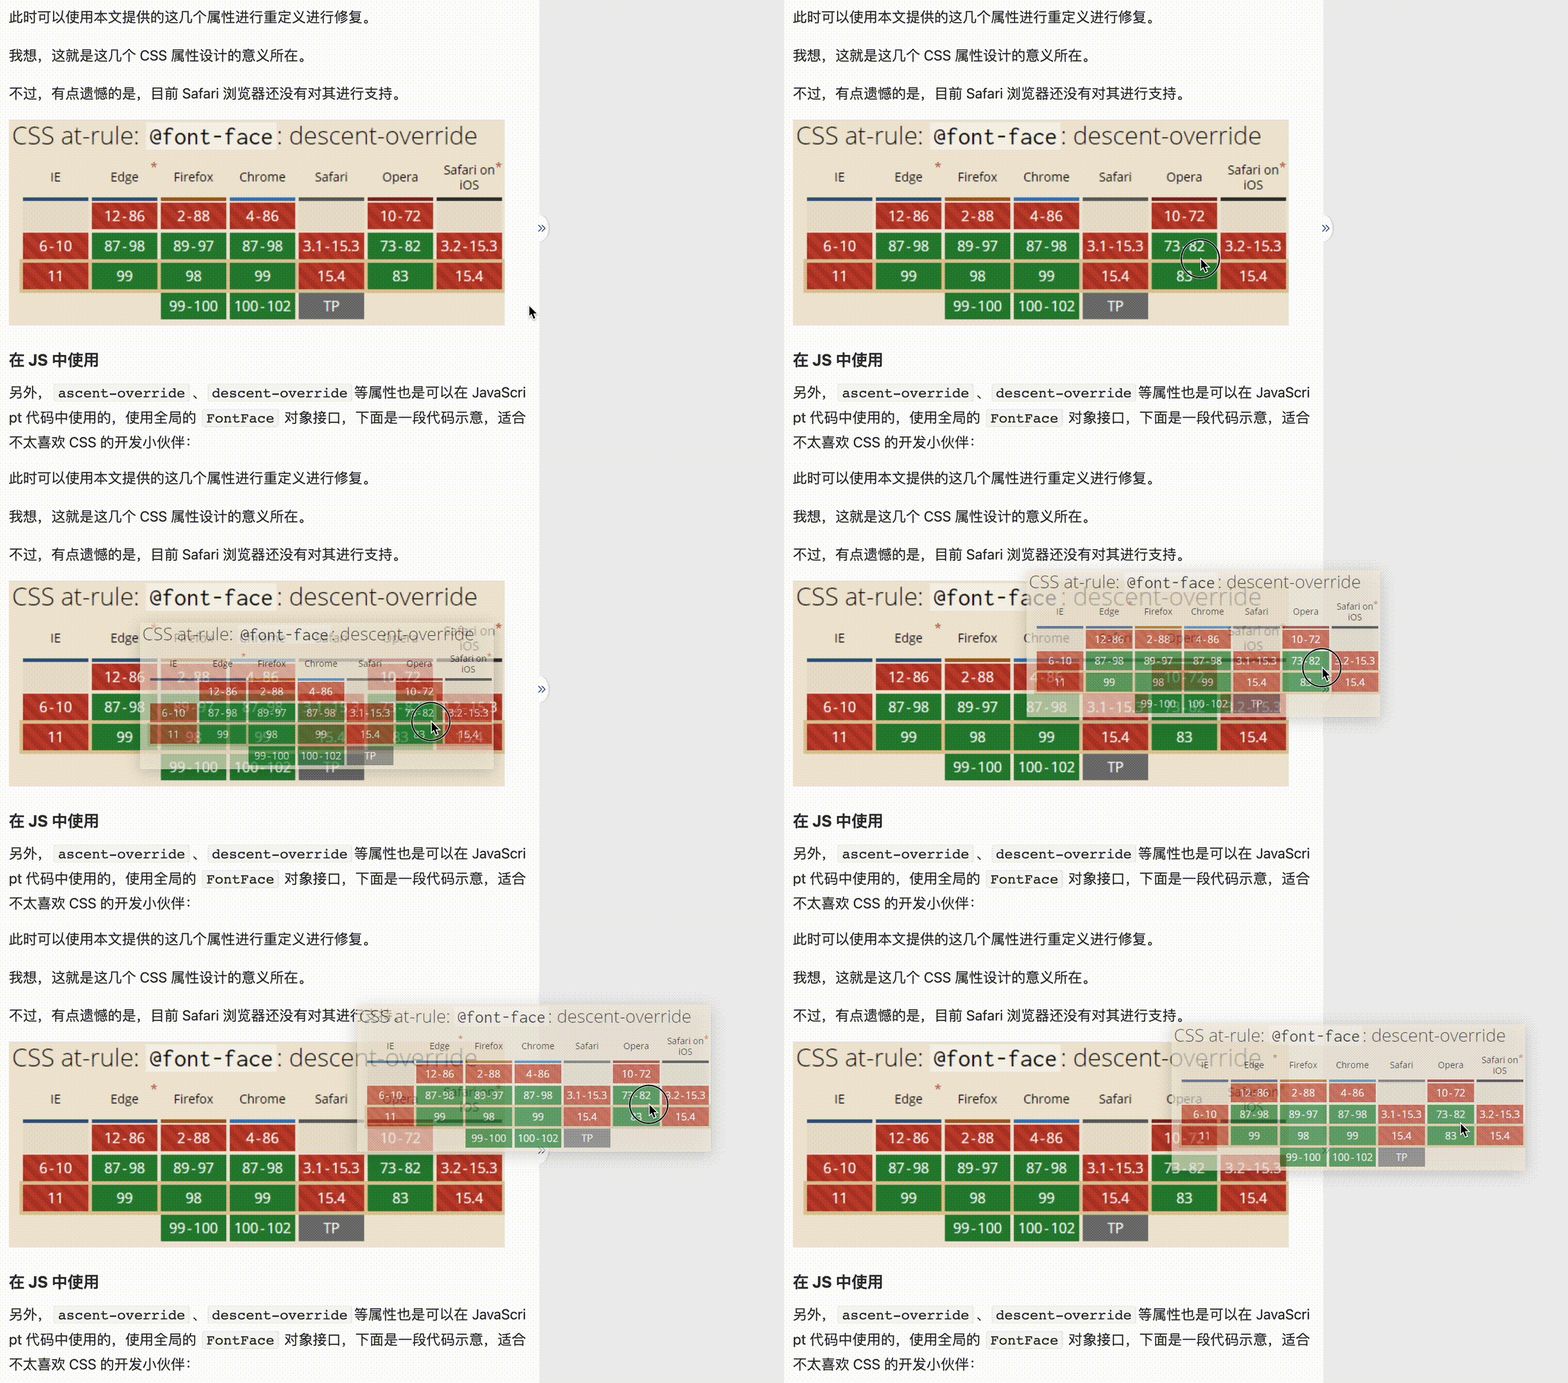
You can inject this code into other places and try the effect. For example, the original effect is as follows:
The effect after injecting the above code is as follows:
Does it feel much better in some scenarios?
4. Customize the preview image style
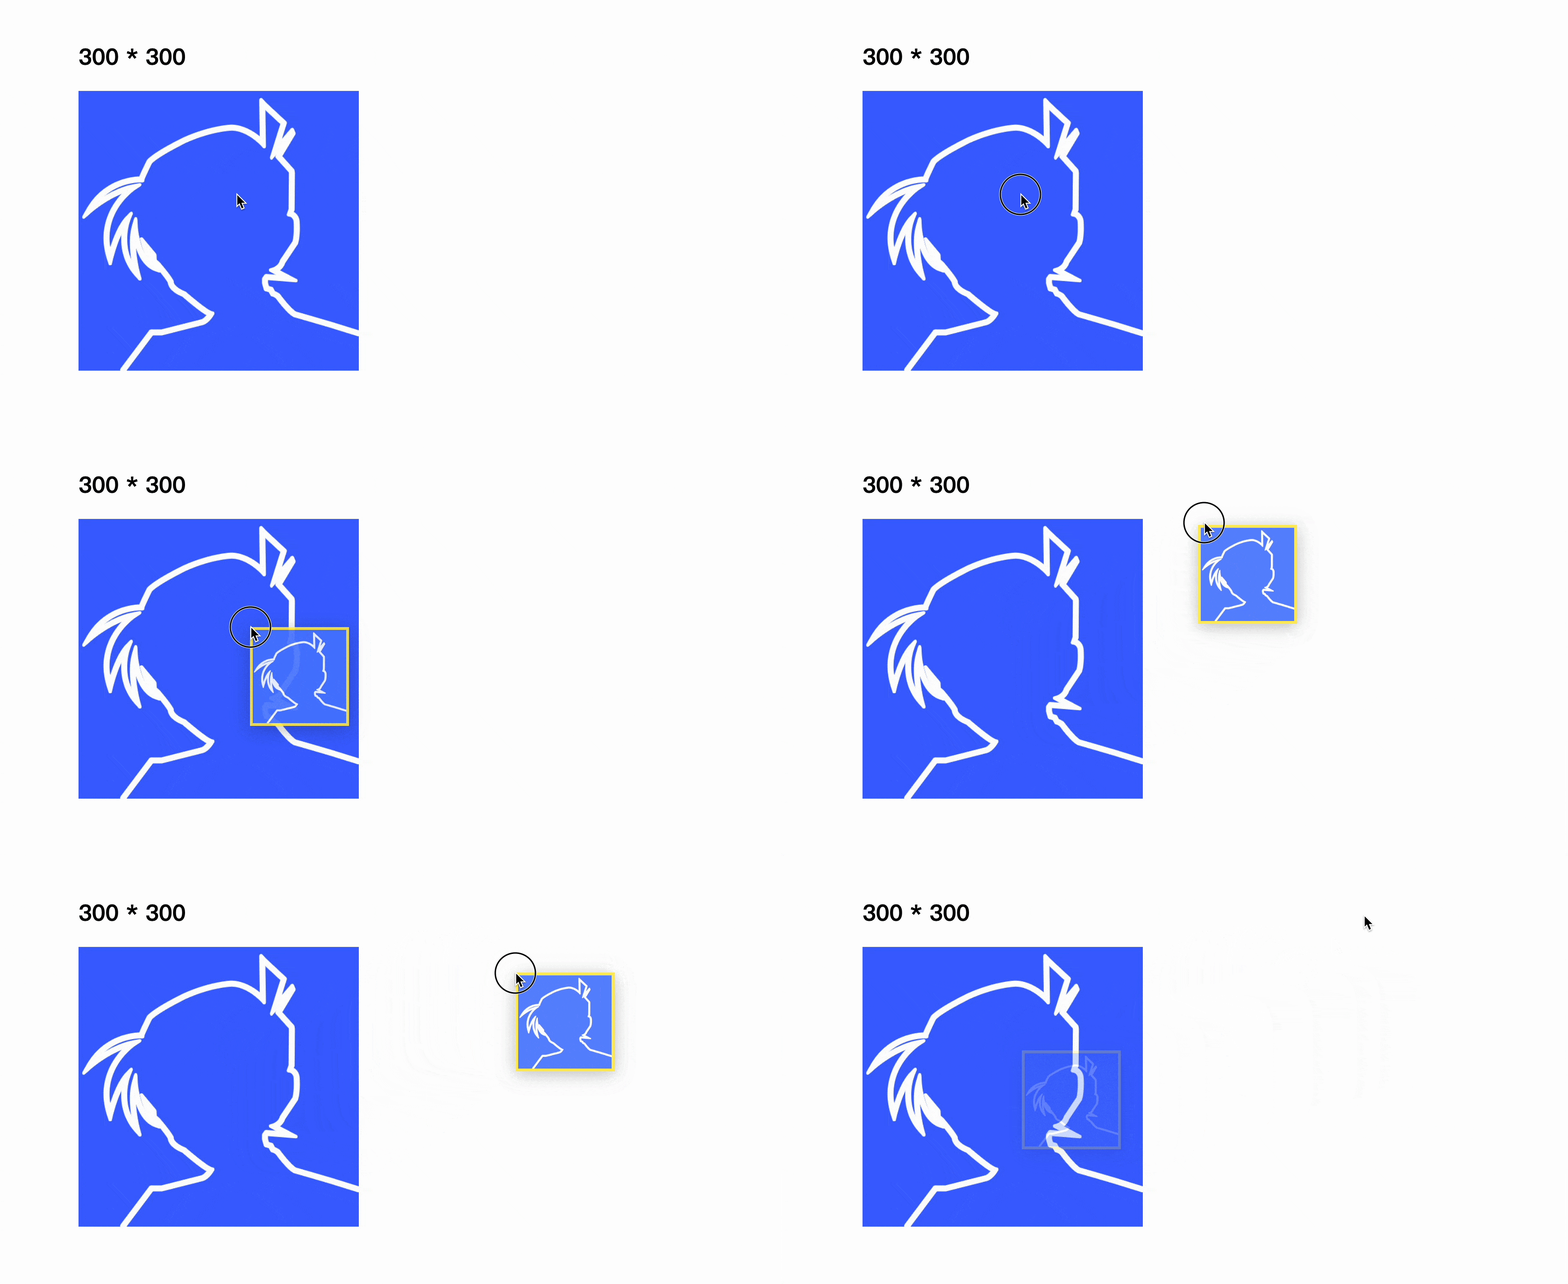
The above preview image can not only specify picture elements, but also other elements, such as div , add some decorations
 <div class="drag_img">
  <img src="xxx">
</div>
.drag_img{
position: absolute;
top: -9999px;
max-width: 100px;
max-height: 100px;
border: 3px solid yellow;
}This will add a yellow border (emphasis) to the preview image.
Or add an angle tag through a pseudo element
 .drag_img::after{
  content: '';
  position: absolute;
  top: 0;
  right: 0;
  width: 20px;
  height: 20px;
  background: linear-gradient(-135deg, #f44336 50%, transparent 51%);
}
But adding CSS filter did not take effect, still the original style
 .drag_img{
  position: absolute;
  top: -9999px;
  max-width: 100px;
  max-height: 100px;
  filter: sepia(1); /*褐色滤镜*/
}
This may be related to the system's strategy for generating preview images, which cannot be known or modified.
5. Complete custom solution draggable-polyfill
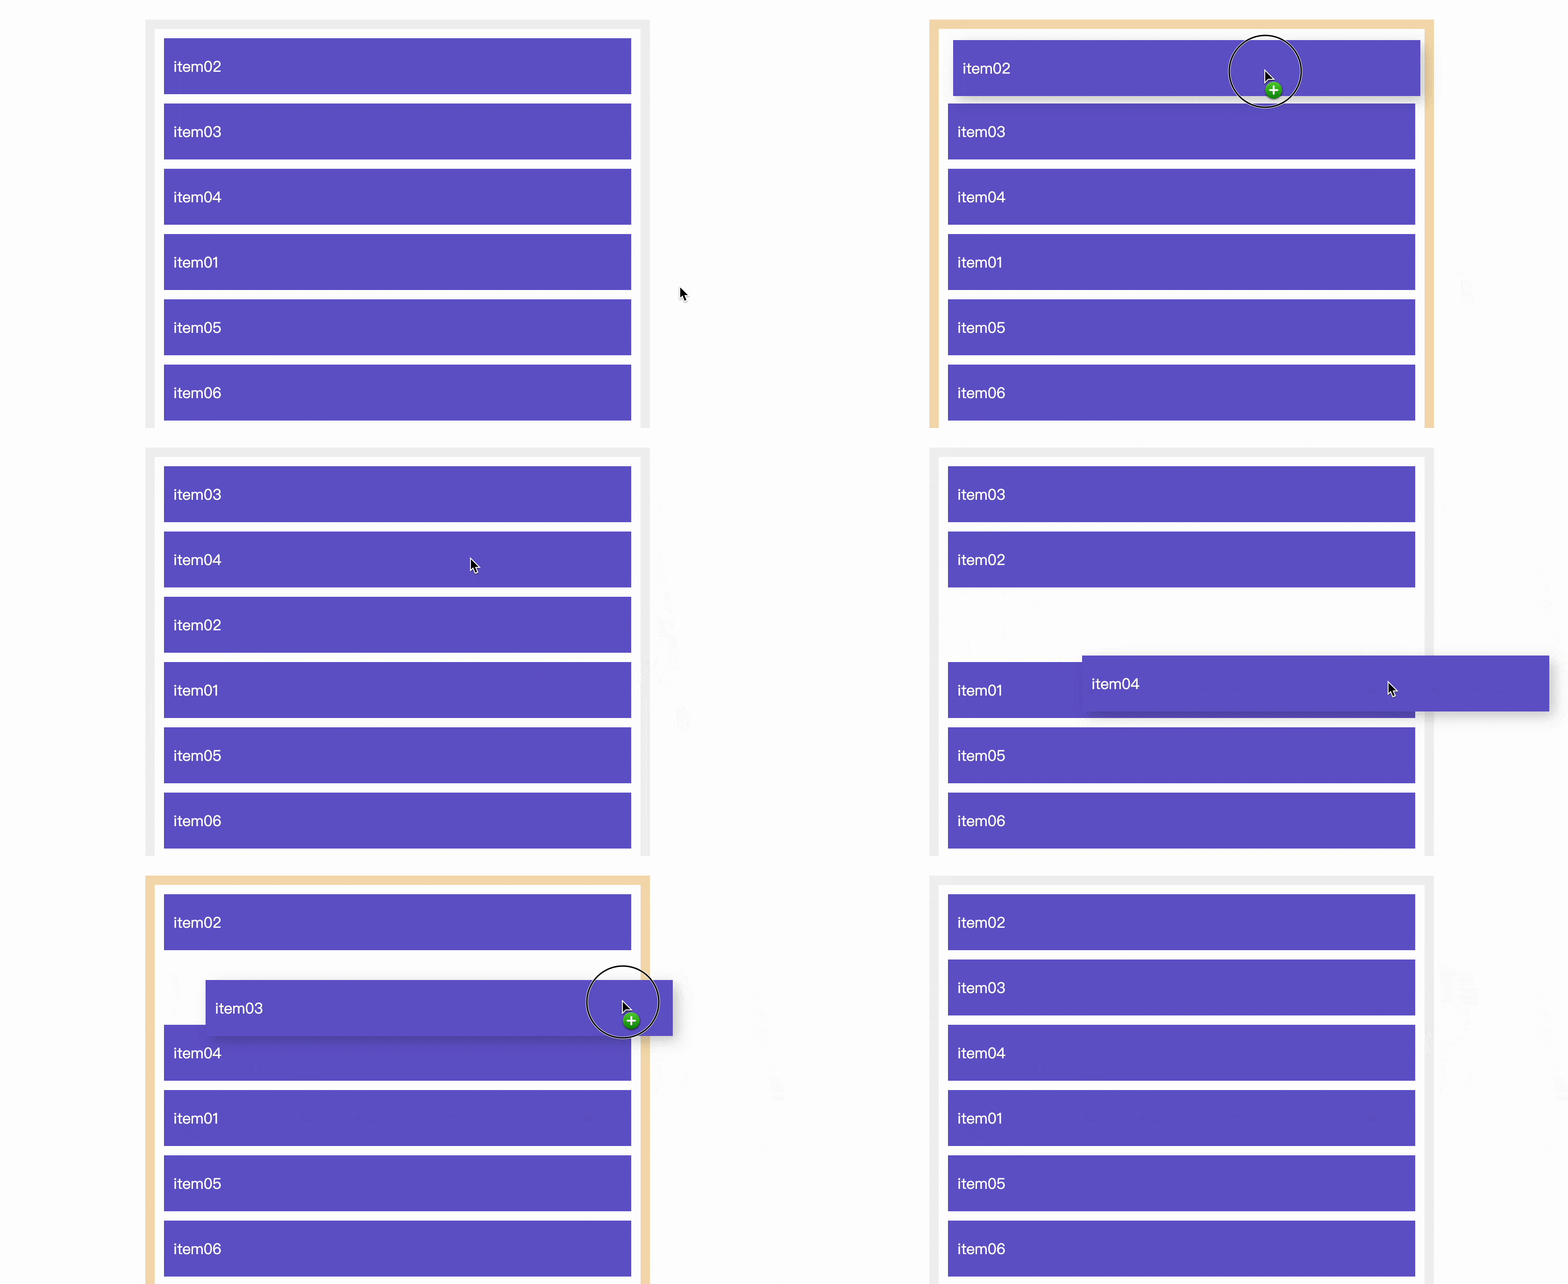
In fact, the above are just some customizations for setDragImage , which are essentially native preview images, and are only suitable for image dragging (but the performance is super good). If you want to completely customize the dragging effect, customize Ordinary draggable elements must be implemented through JS simulation. The general idea is as follows
- remove default preview
- Copy a copy of the current target element, cloneObj
- Listen to drag events and change the position of cloneObj through transform
- Drag and drop to remove cloneObj
For the detailed principle, please refer to my previous article: Implementing a draggable-polyfill that beautifies native dragging . Although it is a custom implementation, it does not affect the original business dragging logic at all. This is the charm of polyfill, which is very suitable for native drag-and-drop scene
Project address: https://github.com/XboxYan/draggable-polyfill , very lightweight, about 100 lines of code, does not affect business logic, very suitable for learning and use, welcome star~
The old code from 3 years ago, recently optimized a wave, very practical, welcome star
6. To summarize
The above completes the customization of the picture drag preview. In fact, it is mainly used to modify the preview size. It is quite useful in some scenarios. Here are some key points:
- The preview image generated when dragging is generated by the system and cannot be modified directly
- Under macOS Chrome, the maximum size of the preview image is 400*400, which is not very friendly in some scenarios
- setDragImage can modify the preview image
- setDragImage requires the image to be loaded to take effect, otherwise it is still the default style
- setDragImage can specify other elements on the page, not just img
- The element specified by setDragImage cannot be really hidden, otherwise the preview image will not be visible, and it can be moved out of sight by moving it out of sight.
- The above scheme is suitable for dragging pictures, and the custom styles are limited
- If you need to completely customize drag and drop, you can use the draggable-polyfill solution, welcome to star~
In general, the overall implementation is still very simple. Since it is a native solution, it goes without saying that the performance will not affect the original functions. It has a beautifying effect. If you have similar needs, use it quickly~ Finally , if you think it's not bad, if it's helpful to you, welcome to like, favorite, and forward ❤❤❤
Welcome to my public account: front-end detective








**粗体** _斜体_ [链接](http://example.com) `代码` - 列表 > 引用。你还可以使用@来通知其他用户。