痛点
日常开发中, 往往我们在项目中引用的很多依赖包,但是随之依赖包的升级,我们的项目之间的依赖就越来越难以维护,包与包之间版本的引用也让我们头疼。
Lerna 包管理
正如官网所说的,Lerna 是一个管理工具,用于管理包含多个软件包(package)的 JavaScript 项目,对于使用 git 和 npm 管理多软件包代码仓库的工作流程进行了优化。
如何安装使用 Lerna
npm i lerna -g 全局安装
新建文件夹 teach-lerna, cd teach-lerna, 初始化项目 lerna init,可以看到初始化项目的目录如下:
lerna 配置
lerna 配置如下:
{
  "version": "0.0.0",
  "workspaces": true,
  "npmClient": "yarn"
}
package.json 配置如下
{
  "name": "root",
  "private": true,
  "devDependencies": {
    "lerna": "^4.0.0"
  },
  "packages": [
    "packages/*"
  ]
}
lerna.json 中配置的 "npmClient": "yarn" 项是安装依赖通过 yarn 来执行安装的
npm 创建组织
登录 npmjs.com 注册后 点击头像的 Add Organization 新建一个自己的组织
新建组织后如下
Lerna 创建包
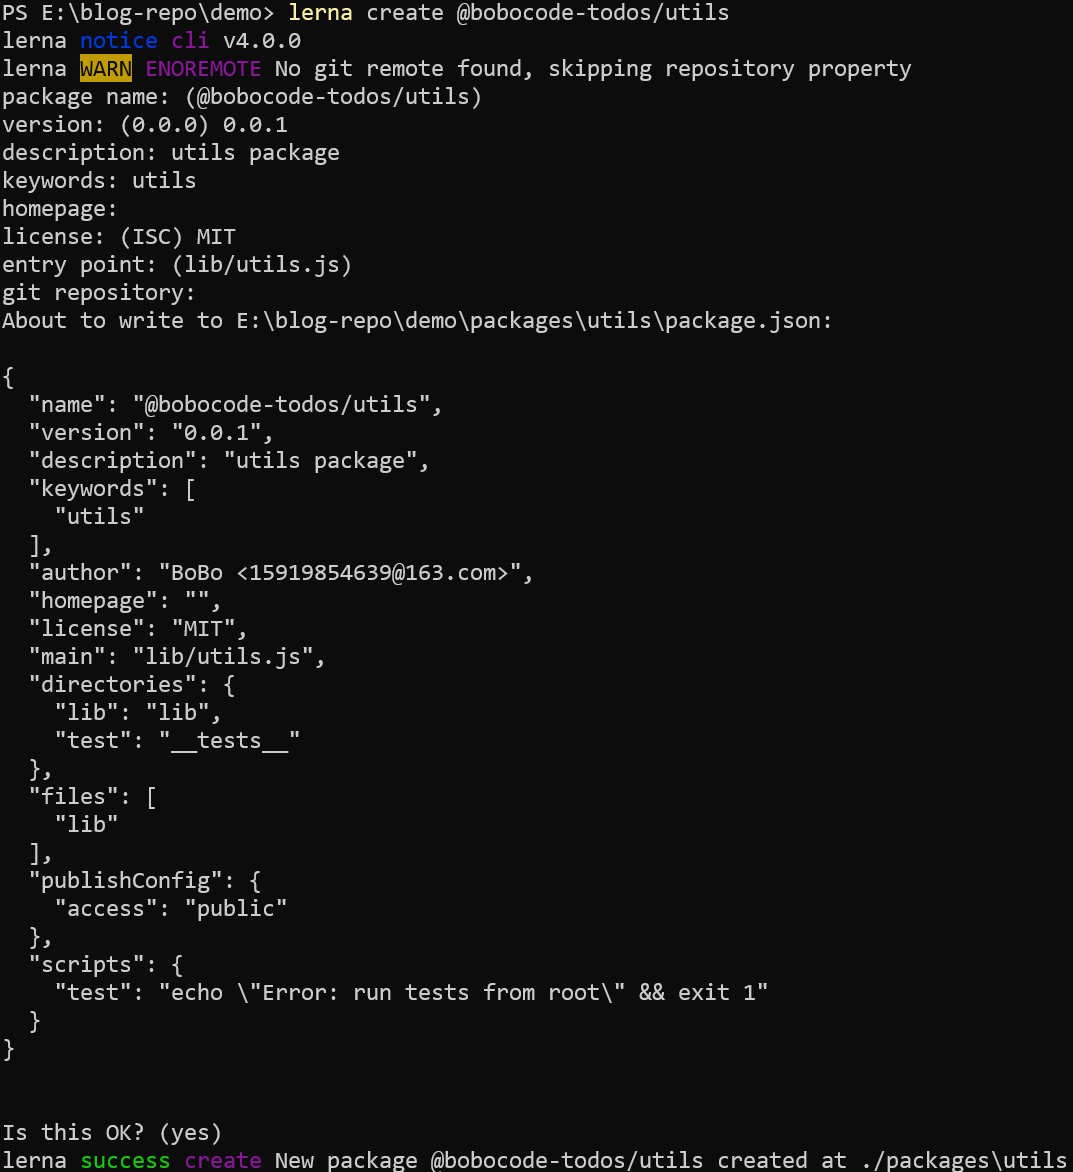
创建 @bobocode-todos/utils 包
lerna create @bobocode-todos/utils 执行命令后输入相应的值
目录如下
同理创建 @bobocode-todos/request 包
lerna create @bobocode-todos/request
此刻我们的 packages 文件夹下面就存在两个包
lerna 查看包
执行 lerna ls
lerna 同时为包添加依赖
以添加 lodash 为例,只需在根目录下执行
lerna add lodash
lerna 为包单独安装依赖(--scope)以添加 chalk 为例,为 @bobocode-todos/utils 包添加依赖
lerna add chalk --scope @bobocode-todos/utils
同理,以添加axios为例,为 @bobocode-todos/reques 包添加依赖
lerna add axios --scope @bobocode-todos/request
lerna 执行安装依赖,会安装包下面所有的依赖
lerna bootstrap
lerna 执行清理依赖,会清空所有的 node_modules
lerna clean
lerna 发布包流程
为了简单测试,修改 @bobocode-todos/utils 的 lib/utils.js
'use strict';

const chalk = require('chalk');

function utils() {
    console.log(chalk.blue('utils package!'));
}

module.exports = utils;
修改 @bobocode-todos/request 的 lib/request.js
'use strict';

const axios = require('axios');

function getDogImg() {
    let url = 'https://dog.ceo/api/breed/hound/images/random';
    axios.get(url).then(res => {
        console.log(res.data.message);
    })
}
getDogImg()
module.exports = getDogImg;
为两个包的都添加 .gitignore, 输入
node_modules
test
现添加提交代码
git add .
git commit -m "init project"
git remote add origin 自己的仓库地址
然后执行 npm login 登录 npm,输入用户名和密码,最后输入验证码
git push --set-upstream origin master 先 push 代码到仓库
最后执行 lerna publish 发布项目,可以看到 lerna 为我们发布做了许多友好的提示
输入 y 同意执行
最后可以看到发布成功
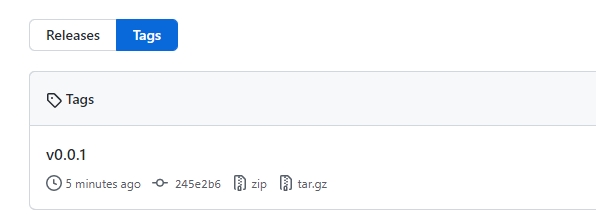
查看 github 仓库你会发现 git 帮你打 tag 为 v0.0.1
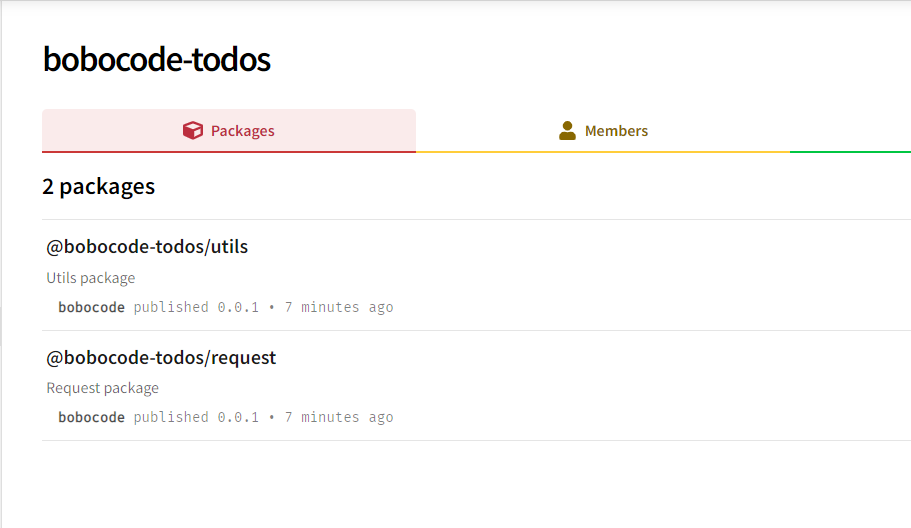
再查看 npmjs.com 你会发现两个包已经成功发布
检验包是否正常使用
我们在跟目录新建 test 文件夹,新建文件 test.js, 并执行安装依赖 npm install @bobocode-todos/utils --save
test.js 如下
const utils = require('@bobocode-todos/utils');

utils();
配置添加到 package.json
"scripts": {
    "test": "node utils.test.js"
  },
执行 npm run test, 可以看到结果正常输出
独立为包的更新并发布
修改 utils 包下的 readme.md , 此文件修改提交后会成为 npm 包上的说明文档
# `@bobocode-todos/utils`

> Install

`npm install @bobocode-todos/utils --save`

> Usage

```
const utils = require('@bobocode-todos/utils');

utils();
```
当你执行 lerna publish 时, 会发现提示两个包都要更新,但是现在我们改的只是一个包的内容,这不是我们想要的
修改配置 lerna.json, 把版本换成 independent
{
  "version": "independent",
  "workspaces": true,
  "npmClient": "yarn"
}
再次执行 lerna publish , 你会发现提示的是你刚才需要更新的 @bobocode-todos/utils 包
查看 npm 会发现版本已经更新
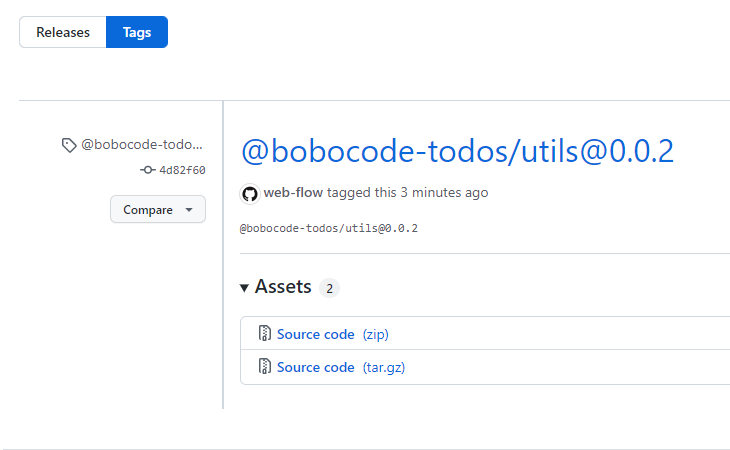
仓库也相应打 tag 0.0.2
lerna 发布同时更新日志 CHANGELOG
更新日志是项目开发流程种很重要的一环, 方便团队的代码维护
在跟目录执行
yarn add commitizen cz-conventional-changelog -D
package.json 添加配置如下
{
  "name": "root",
  "private": true,
  "devDependencies": {
    "commitizen": "^4.2.4",
    "cz-conventional-changelog": "^3.3.0",
    "lerna": "^4.0.0"
  },
  "packages": [
    "packages/*"
  ],
  "scripts": {
    "install": "lerna bootstrap",
    "commit": "git-cz",
    "clean": "rimraf node_modules && lerna clean -y"
  },
  "config":{
    "commitizen":{
      "path":"cz-conventional-changelog"
    }
  }
}
执行 git add . 后执行 yarn commit ,插件生效
但是我们执行 git commit -m "xxx" 时我们发现 git commit 的 hooks 没被拦截, 还是可以随便提交
此时我们需要安装 husky 和 commitlint 来拦截规范提交
yarn add @commitlint/cli @commitlint/config-conventional husky -D
新建 commitlint.config.js 输入
module.exports = {
  extends:["@commitlint/config-conventional"]
}
在 package.json 增加一条命令
"prepare":"husky install"执行 npm run prepare 可以看到项目生成 .husky 文件夹, 我们就可以来创建拦截 commit 的脚本
npx husky add "npx --no-install commitlint --edit "$1""
.husky 文件夹生成了 commit-msg
#!/usr/bin/env sh
. "$(dirname -- "$0")/_/husky.sh"

npx --no-install commitlint --edit "$1"
再次执行发现提交被拦截,证明配置成功了
lerna 配置生成 CHANGELOG
在 lerna.json 配置如下
{
  "version": "independent",
  "workspaces": true,
  "npmClient": "yarn",
  "command": {
    "version": {
      "message": "chore(release): publish %s"
    },
    "publish": {
      "conventionalCommits": true
    }
  },
  "ignoreChanges": ["**/__fixtures__/**", "**/__tests__/**", "**/*.md"]
}
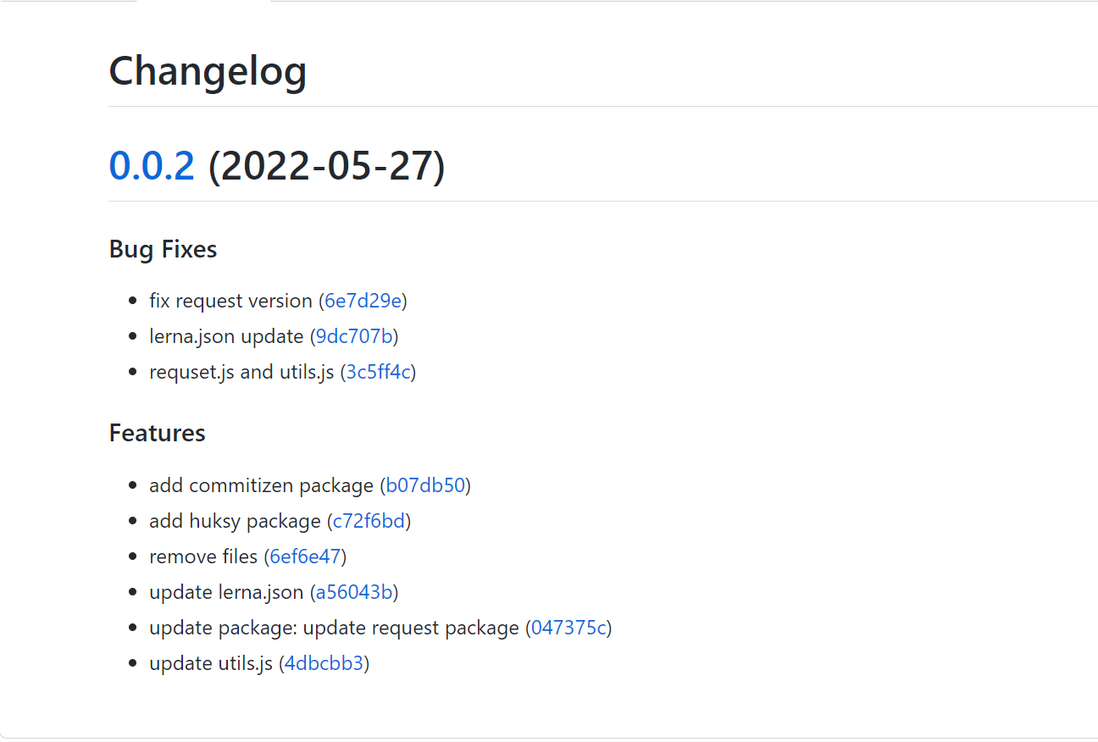
通过执行 lerna publish --conventional-commits 可以发布版本的同时项目的 CHANGELOG.md 文件
效果如下
致谢
感谢你看到这里,希望本文对你有所帮助,希望大家不要吝啬自己的赞 若有疑问或者建议,欢迎评论区留言,一起互相交流讨论,共同进步!🐶









**粗体** _斜体_ [链接](http://example.com) `代码` - 列表 > 引用。你还可以使用@来通知其他用户。