Welcome to WeChat public account: front-end detective
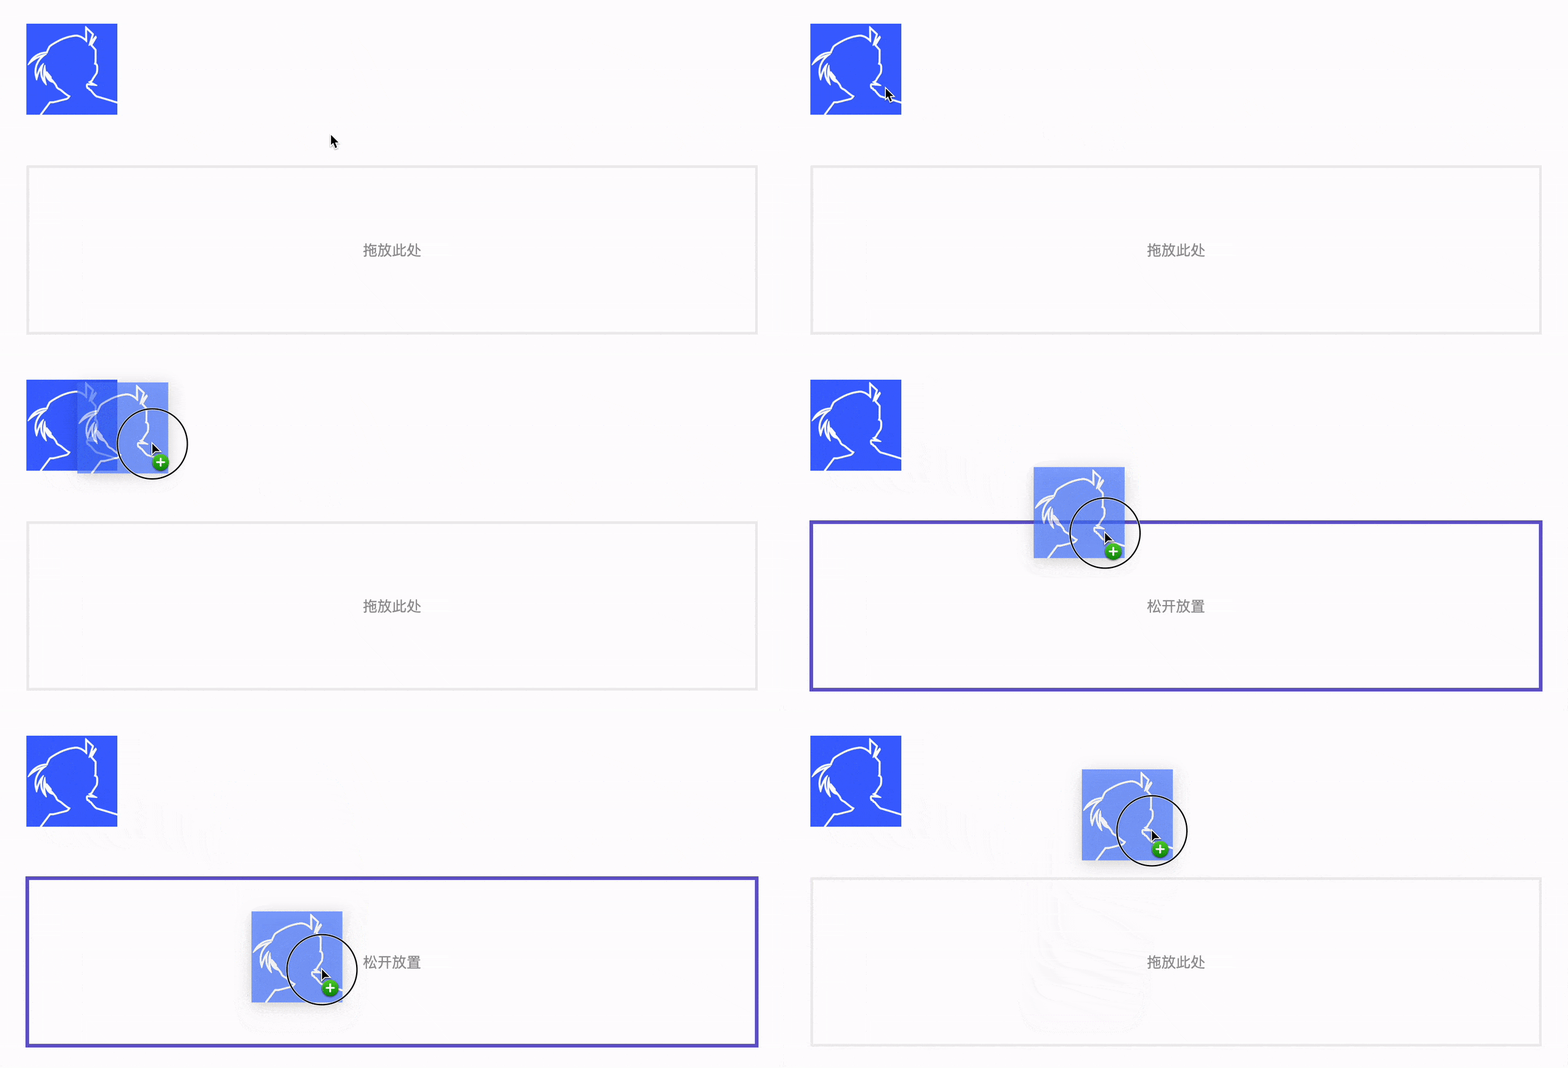
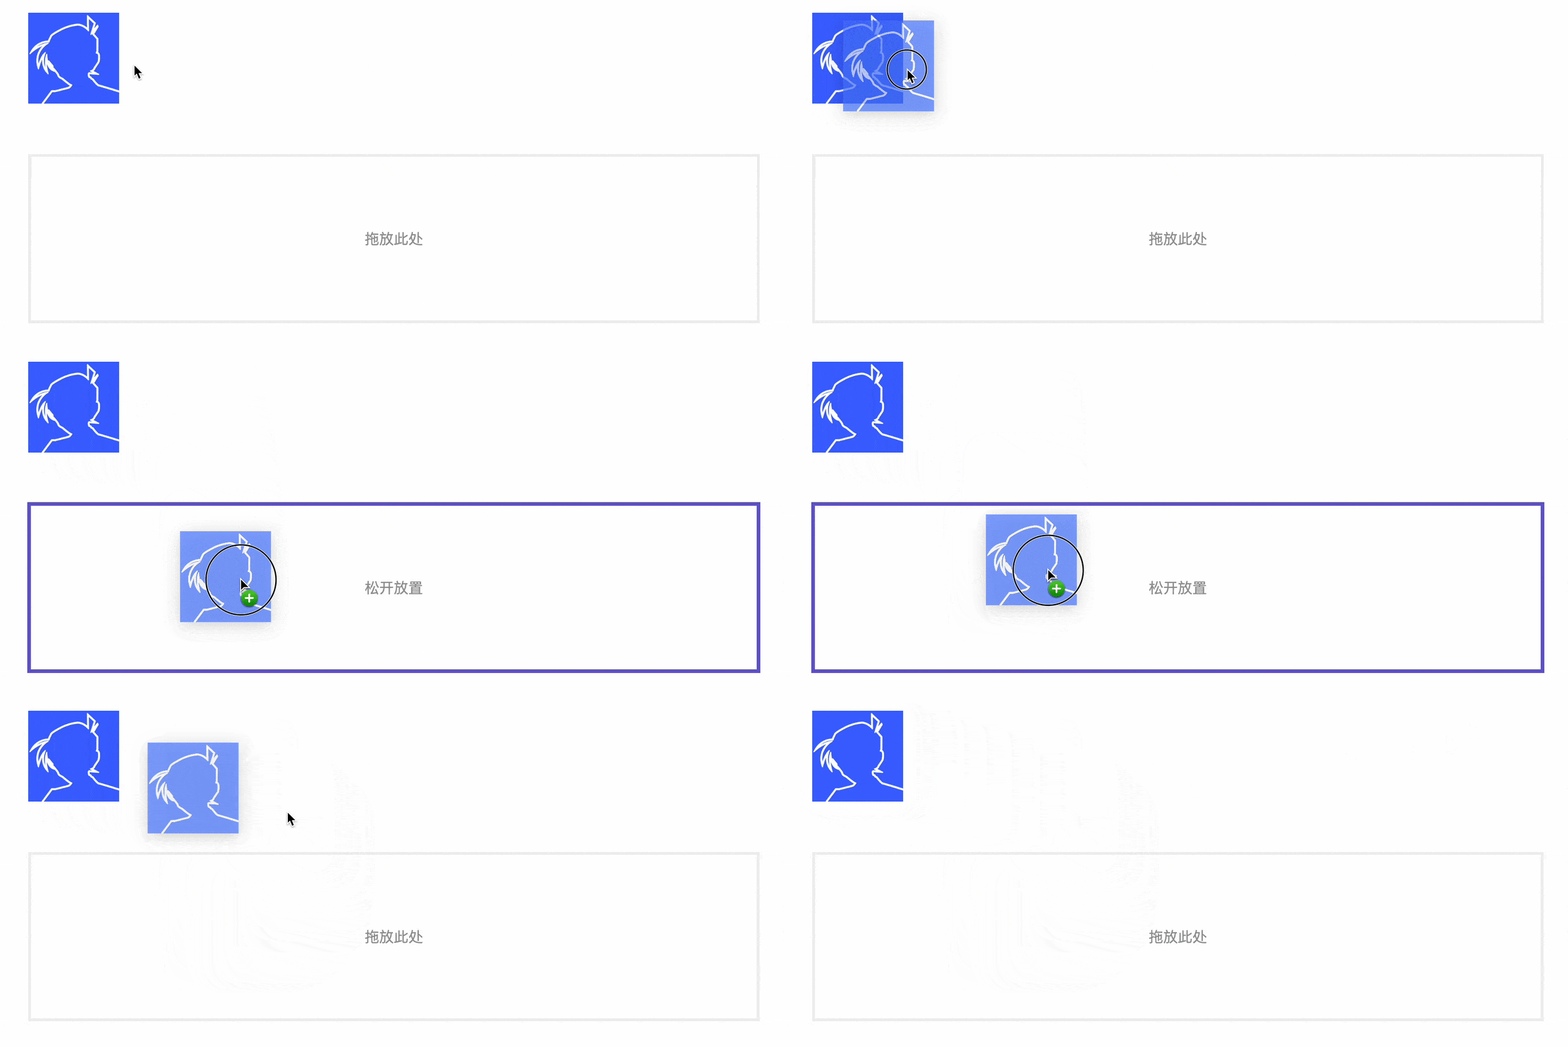
In web development, there are often scenarios that require drag and drop. For a better experience, the drag area needs to have a certain change prompt to tell the user: "It can be placed here now~", such as this
I have described how to customize the drag style in this article before, and this time I will explore how to customize the dragover style.
1. dragenter and dragleave
To achieve this effect, it is necessary to deal with dragenter and dragleave .
When the dragged element enters a valid drop target, the
dragenterevent will be firedThe
dragleaveevent is fired when the dragged element leaves a valid drop target
Suppose there is such a structure now, where img is the drag target, div.content is the drop target.
 <img>
<div class="content"></div>
Then listen at document
 document.addEventListener('dragleave', function(ev) {
    console.log('dragleave', ev.target)
})
document.addEventListener('dragenter', function(ev) {
    console.log('dragenter', ev.target)
})
Then, in the process of dragging --- img into div.content , the two events dragenter and dragleave will definitely be triggered, as follows
If the page is simple, it is easier to customize the drag and drop process
 document.addEventListener('dragleave', function(ev) {
    ev.target.toggleAttribute('over',false);
})
document.addEventListener('dragenter', function(ev) {
    ev.target.toggleAttribute('over',true);
})
Customize the style by adding the over attribute
 .content[over]{
  outline: 4px solid slateblue;
}
The effect is as follows
Is it very easy?
In fact, there are still many limitations in actual use, which are introduced one by one below.
2. When the placement target has child elements
In most cases, the placement target is not empty, and there are other sub-elements. If the above method is used, there will be problems. Assuming the layout is like this, in order to distinguish, you can add an attribute to the element to be placed, such as allowdrop , indicating that placement is allowed
 <img>
<div class="content" allowdrop>
    <div>不允许放置</div>
</div>
Here are distinguished by attributes
 document.addEventListener('dragleave', function(ev) {
  if (ev.target.getAttribute('allowdrop')!==null) {
    ev.target.toggleAttribute('over',false);
  }
})
document.addEventListener('dragenter', function(ev) {
  if (ev.target.getAttribute('allowdrop')!==null) {
    ev.target.toggleAttribute('over',true);
  }
})
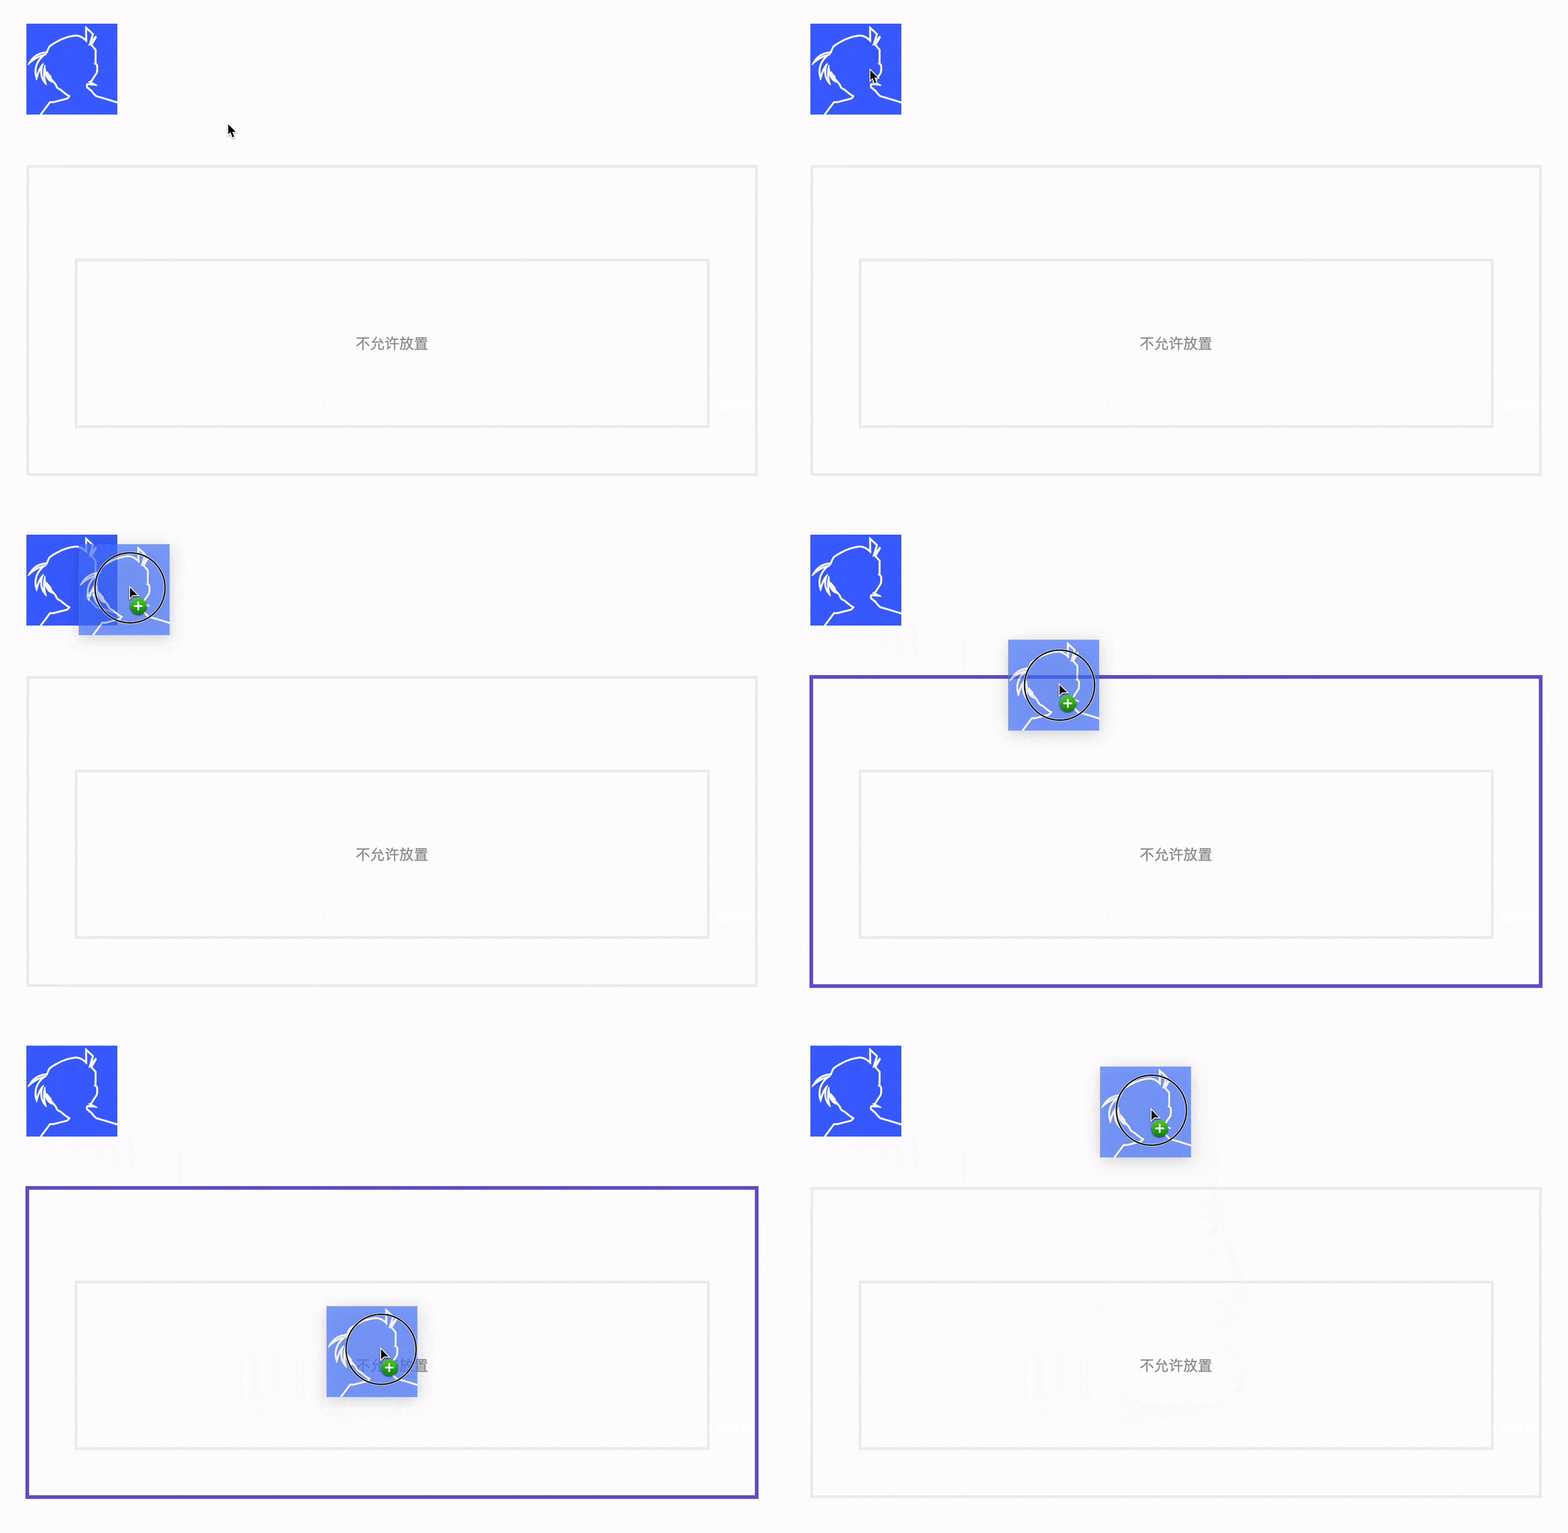
The effect is as follows
It can be seen that when the drag target passes the child element, the outer style has been lost. The reason is actually very simple. When passing through the child element, the drop target also triggers the dragleave event!
Is there a way to not trigger it? There are two ways here:
First of all, you can cancel the monitoring of dragleave , because when executing dragleave , the element itself does not know which area it is about to enter , and it is easy to "accidentally hurt". Instead, every time dragenter , first remove the attributes of the last drop target, and then add a new one, which is somewhat similar to the operation of the tab. The specific implementation is as follows:
 var lastDrop = null;
document.addEventListener('dragenter', function(ev) {
  if (lastDrop) {
    lastDrop.toggleAttribute('over',false);
  }
  const dropbox = ev.target.closest('[allowdrop]'); // 获取最近的放置目标
  if (dropbox) {
    dropbox.toggleAttribute('over',true);
    lastDrop = dropbox;
  }
})
There is another way: it's very easy with the help of CSS
Here is a very simple and rude way to directly disable mouse response on child elements, as follows
 .content[allowdrop][over] *{
  pointer-events: none;
}
In this way, there will be no response when sliding over any child elements, perfect 😁
3. Multi-layer nested placement target
The above method can actually solve most problems, after all, most scenes are flat. However, sometimes you will encounter multi-layer structures, such as the kind of visual editing tools, especially the current low-code platforms, which involve multi-layer structures, assuming that HTML is like this
 <img>
<div class="content" allowdrop>
  <div class="content" allowdrop></div>
    <div class="content">不允许拖拽</div>
  <div class="content" allowdrop></div>
</div>
If you follow the CSS method (the JS method is no problem), since all child elements are disabled, the structure inside will naturally not respond.
How to make the drop target in it respond? In fact, you only need to change the CSS above, as follows
 .content[allowdrop][over]>*:not([allowdrop]){
  pointer-events: none;
}
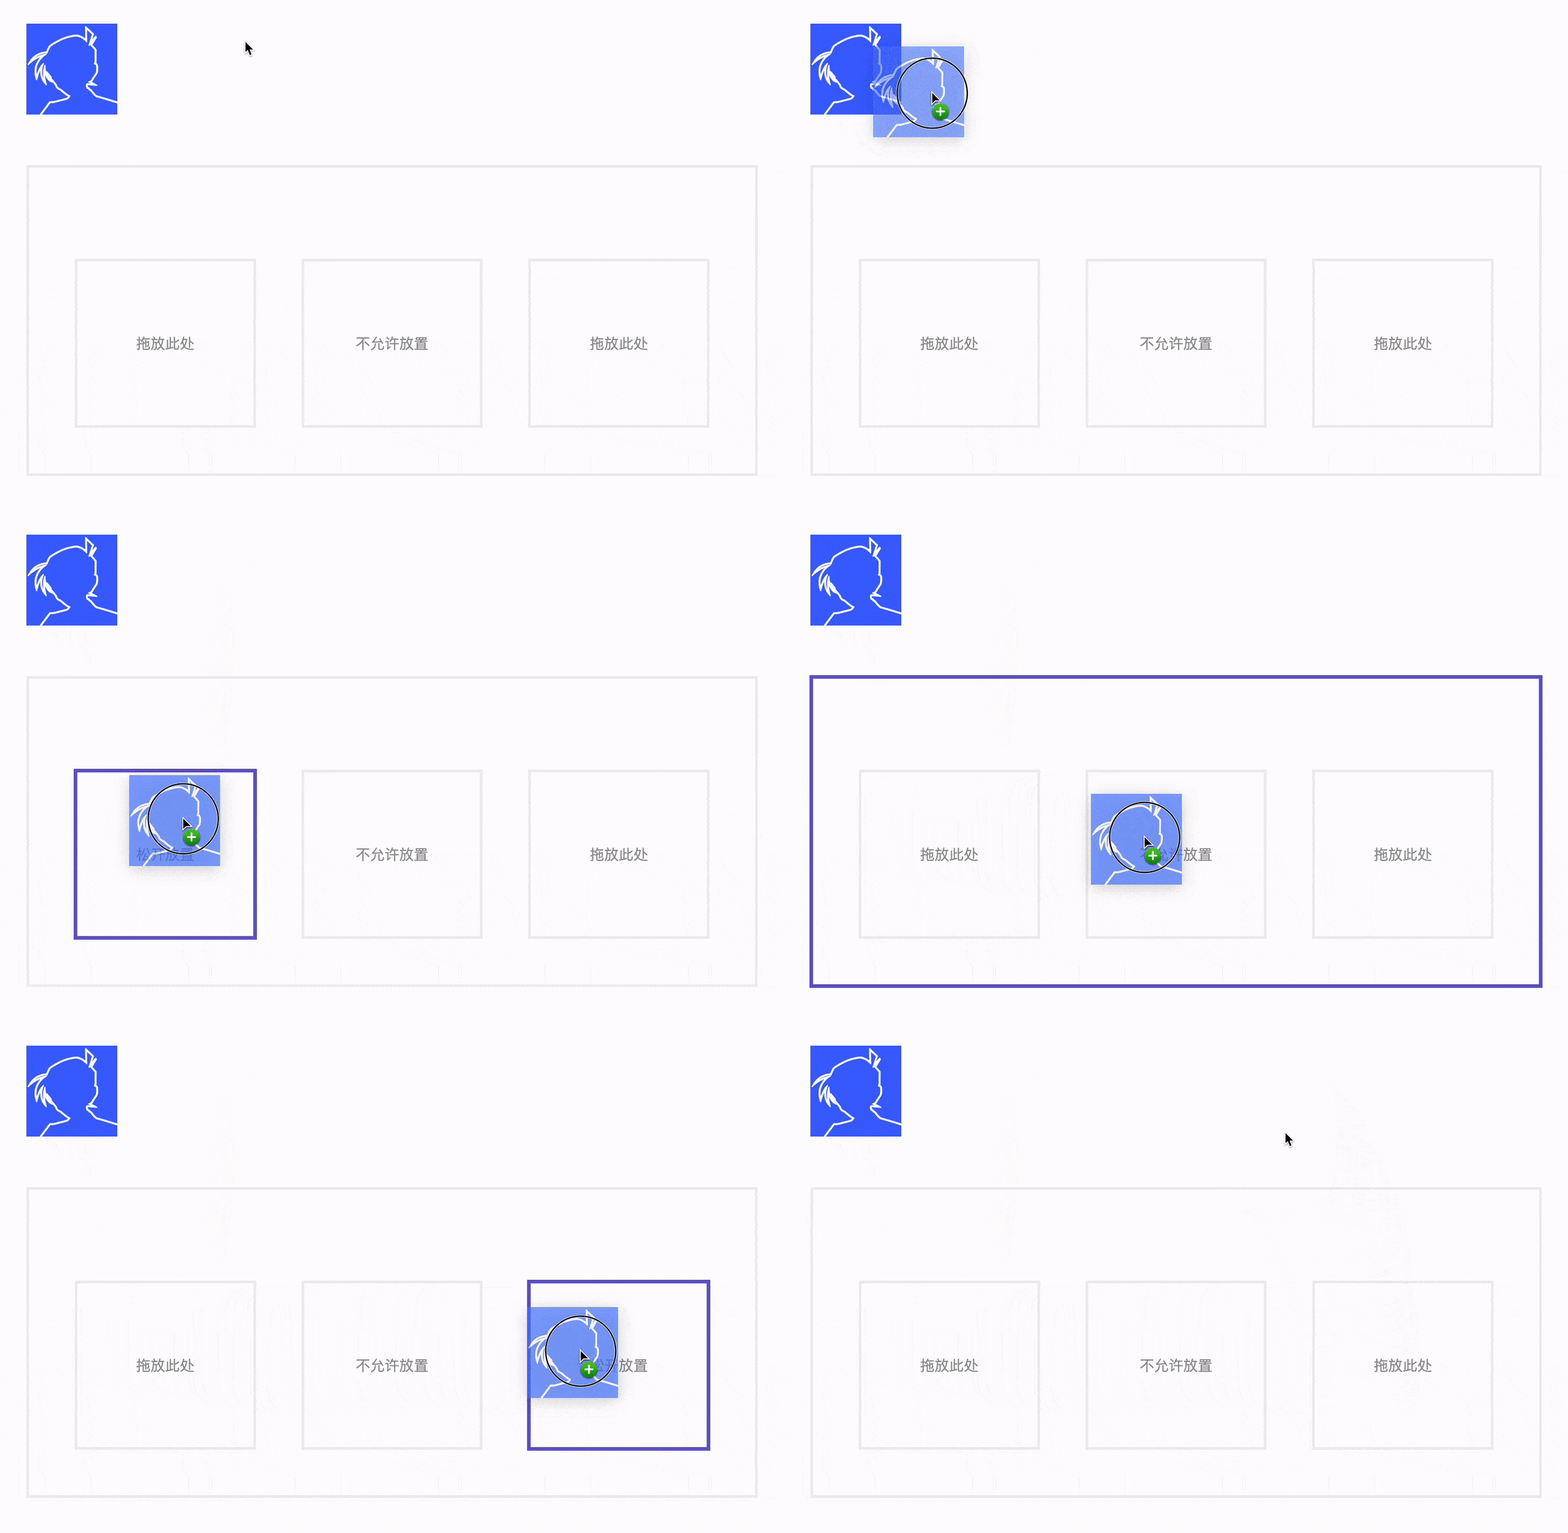
The > selector is used here, which means that only child elements are selected, excluding descendant elements, and then the placement target is excluded, so that multiple layers of nesting can be achieved, and the effect is as follows
Isn't it surprisingly simple?
4. Other interaction details
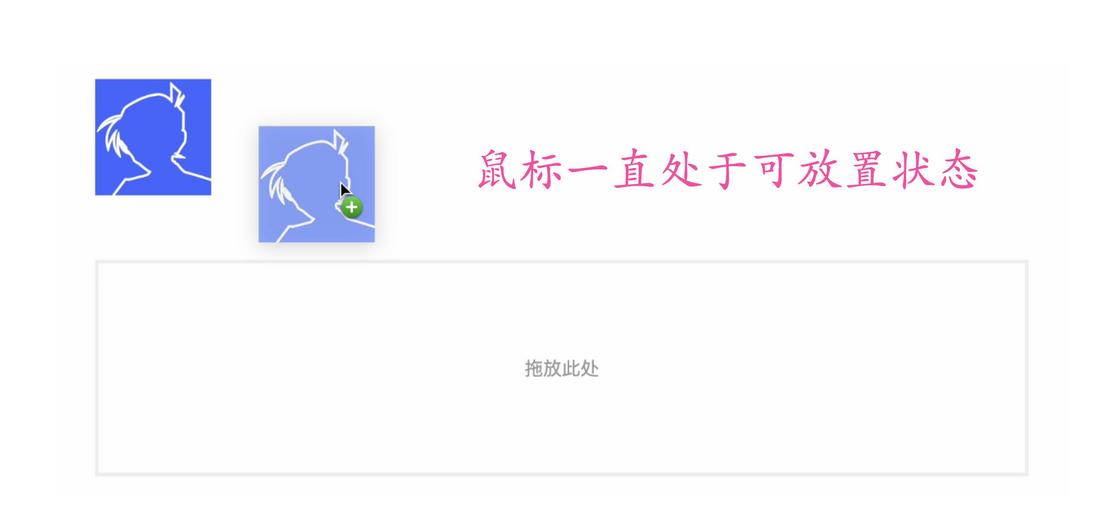
I don’t know if you have noticed. In the above example, when the dragging starts, the mouse is always in this “placeable” state, whether it is outside or inside the drop target, as follows
This is because the dragover attribute is set, so the entire document has become a placeable target, allowing the drop event to be triggered
 document.addEventListener('dragover', function(ev){
  ev.preventDefault()
})
If you want the interaction to be more delicate and the experience to be better, the mouse indication can also be further optimized, and it can become this state after entering the placement target. The implementation is as follows
 document.addEventListener('dragover', function(ev){
  const dropbox = ev.target.closest('[allowdrop]');
  if (dropbox) {
    ev.preventDefault()
  }
})
The effect is as follows (pay attention to the changes of the mouse 🔽)
In addition, the drop over attribute should also be removed after the end of ---54e0f98ee29eda508360652886d5170f---
 document.addEventListener('drop', function(ev){
  const dropbox = ev.target.closest('[allowdrop]');
  if (dropbox) {
    dropbox.toggleAttribute('over',false);
  }
})
In this way, a completely general custom dragover effect is realized, with dozens of lines and key points . The complete code is as follows:
 document.addEventListener('dragover', function(ev){
  const dropbox = ev.target.closest('[allowdrop]');
  if (dropbox) {
    ev.preventDefault()
  }
})

document.addEventListener('drop', function(ev){
  ev.target.toggleAttribute('over',false);
})

document.addEventListener('dragleave', function(ev) {
  if (ev.target.getAttribute('allowdrop')!==null) {
    ev.target.toggleAttribute('over',false);
  }
})
document.addEventListener('dragenter', function(ev) {
  if (ev.target.getAttribute('allowdrop')!==null) {
    ev.target.toggleAttribute('over',true);
  }
})

// 或者以下方式,无需dragleave,无需额外 CSS
var lastDrop = null;
document.addEventListener('dragenter', function(ev) {
  if (lastDrop) {
    lastDrop.toggleAttribute('over',false);
  }
  const dropbox = ev.target.closest('[allowdrop]'); // 获取最近的放置目标
  if (dropbox) {
    dropbox.toggleAttribute('over',true);
    lastDrop = dropbox;
  }
})
Of course, the cooperation of CSS is also indispensable, which is equally important
 [allowdrop]:empty::after{
  content: '拖放此处';
}
[allowdrop][over]:empty::after{
  content: '松开放置';
}
[allowdrop][over]{
  /*自定义样式*/
}
[allowdrop][over]>*:not([allowdrop]){
  pointer-events: none;
}
Here is a CSS tip. The text prompt changes during the drag and drop process in the above example are actually changed in real time through pseudo-elements~
You can also check online links: Custom dragover (codepen.io) or Custom dragover (juejin.cn)
In addition, if you need to completely customize drag and drop, you can refer to this project: https://github.com/XboxYan/draggable-polyfill , very lightweight, 100 lines of code, does not affect business logic, very suitable for learning and use, Welcome star~
V. Summary and Explanation
The above is the complete realization of the custom dragover effect. It is not complicated, but there are some small skills, especially with the help of CSS. In fact, before this version of the implementation, I have tried many other implementations, but they are not as concise and clear as this method. Let’s summarize:
- For a better experience, users can be given appropriate change prompts during the dragging process
- The main implementation methods are dragenter and dragleave
- When there are child elements in the drop target, the dragleave event will also be triggered, interfering with the original logic
- Dragleave can be removed to remove the interference of child elements, dragenter needs to be removed first and then added over
- Interference from child elements can be removed with CSS pointer-events
- If there are multiple layers of placeable structures, placeable objects can be filtered by :not
- The interactive experience can also be improved through the mouse pointer
- It's important not to forget CSS in DOM manipulation
Of course, there are many more interactive details of dragging and dropping on the page, such as the squeeze animation effect in the dragging and sorting process. I will study it later when I have time, and strive for a general solution. Finally, if you think it's good and helpful to you, please like, bookmark, and forward ❤❤❤
Welcome to WeChat public account: front-end detective




**粗体** _斜体_ [链接](http://example.com) `代码` - 列表 > 引用。你还可以使用@来通知其他用户。