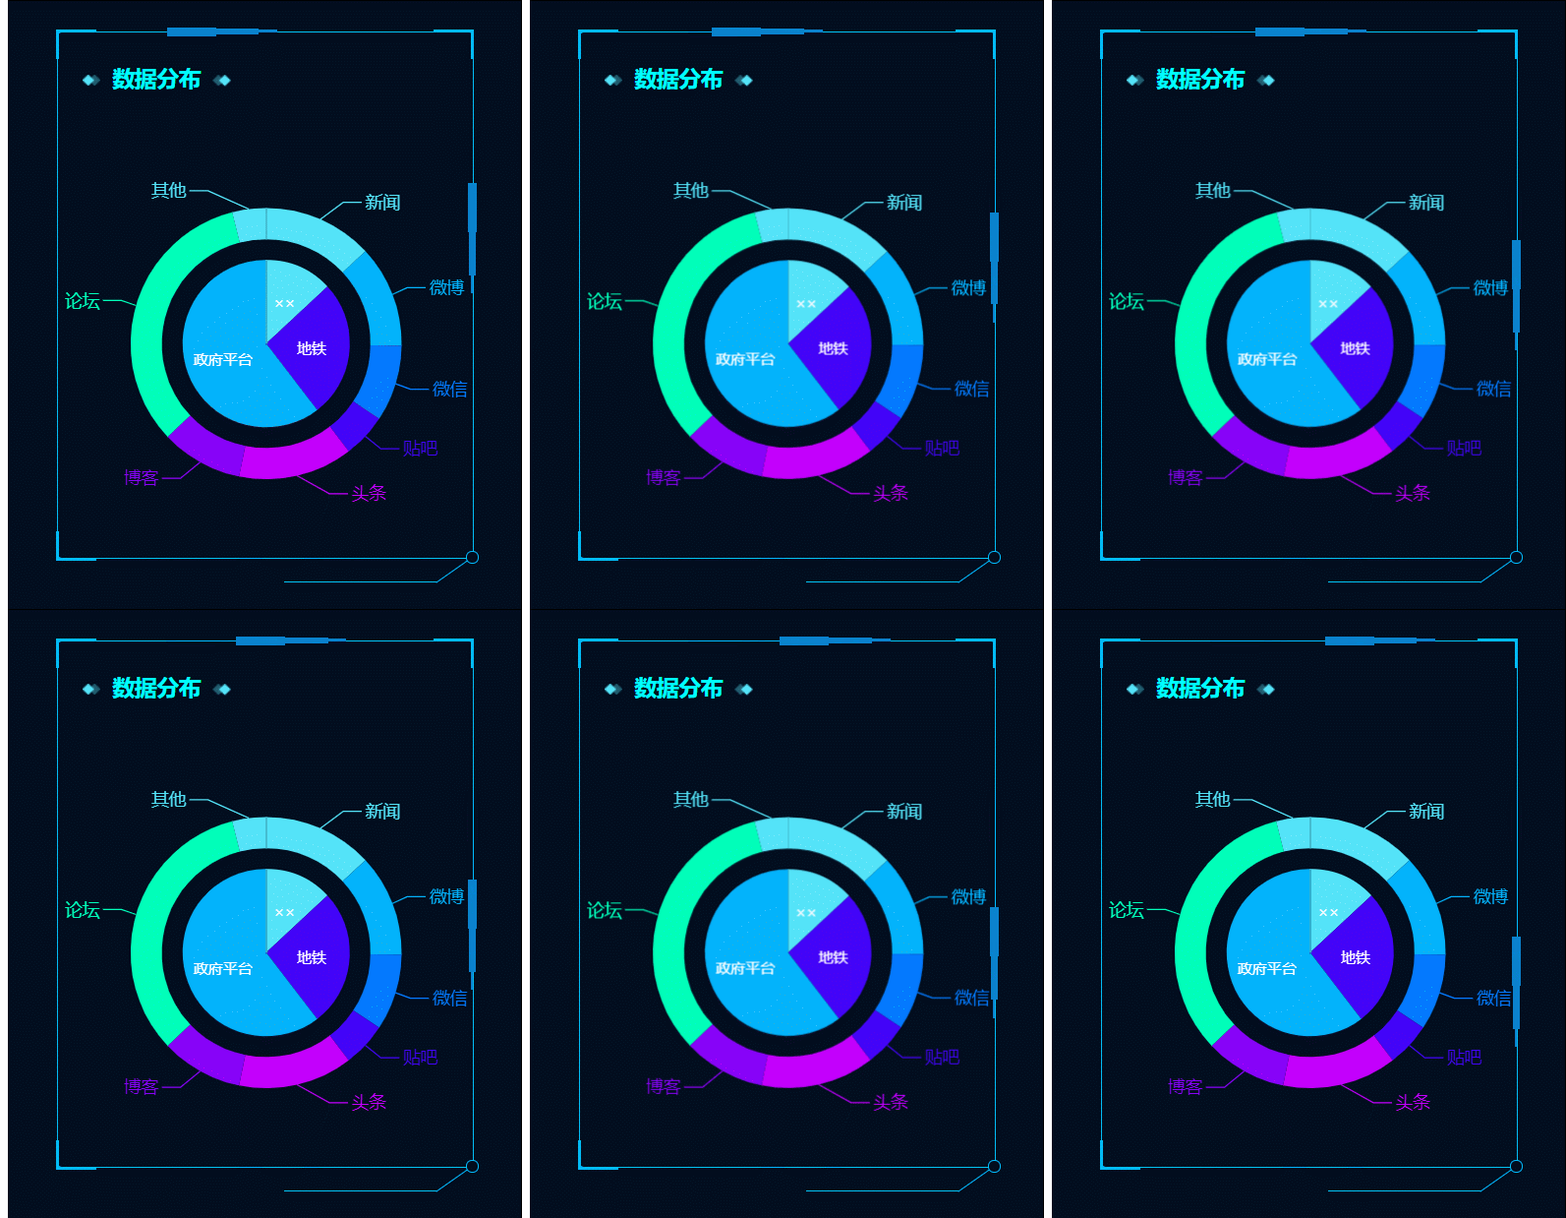
最近写了几个页面都用到css动画,以及很多before,after伪类。在此记录一下成果。
css边框循环动画,页面效果如下:
1、沿着边框动画的图形使用before,after伪类写的。当时想用切图来写,后来考虑到优化,就用了css来写。具体代码如下:
<div class="div">
<i class="border-right-animate"></i> </div>
i.border-right-animate{
        display: block;
        height: 35px;
        width: 5px;
        background: #0b82ce;
        color: #0b82ce;
        position: absolute;
        top: 150px;
        right: -3px;
        -webkit-animation: borderMove 6s linear infinite;
        -o-animation: borderMove 6s linear infinite;
        animation: borderMove 6s linear infinite;
}
i.border-right-animate:before{
    content: '';
    display: block;
    height: 40px;
    width: 7px;
    background: #0b82ce;
    color: #0b82ce;
    position: absolute;
    top: -40px;
    left: -1px;
}

i.border-right-animate:after{
    content: '';
    display: block;
    height: 20px;
    width: 2px;
    background: #0b82ce;
    color: #0b82ce;
    position: absolute;
    top: 30px;
    left: 1px;
}
仔细看沿着边框动画的图形,是有三个长方形组成的。所以设计思路是,先写出中间的那个长方形,即i标签的样式。再用before,after写出两边的长方形。
动画效果用的是css3的animation,我是在菜鸟教程网站上一边看教程一边做出的效果(http://www.runoob.com/css3/cs...;
我自己写的keyframes如下:
keyframes borderMove {
0% {
right: -2px;
top: 40px;
}
25% {
right: -2px;
top: 25%;
}
50% {
right: -2px;
top: 50%;
}
75% {
right: -2px;
top: 75%;
}
100% {
top: calc(100% - 50px);
right: -2px;
}
}
@keyframes的作用是规定动画的过程。我的设计思路就是刚开始图形在右侧边框顶部,运行到一半时 图形就沿着边框移动到右侧边框的中间。如此循环。。
根据以上设计思路,就很容易写出边框的另外三个动画效果了。


**粗体** _斜体_ [链接](http://example.com) `代码` - 列表 > 引用。你还可以使用@来通知其他用户。