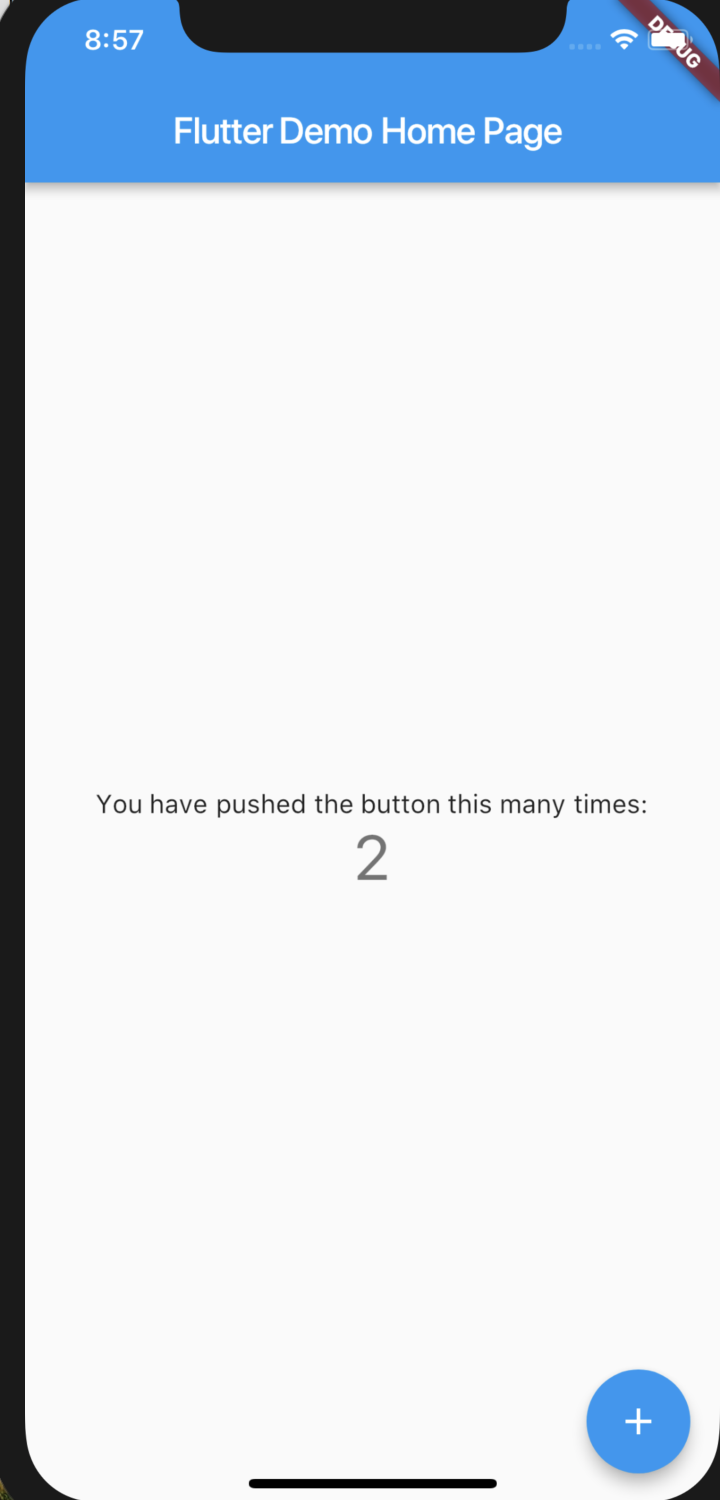
本文详细讲述怎样在flutter中集成和使用redux,关于redux的概念、原理和实现,读者可自行百度,本文不做累述。
redux库
https://pub.flutter-io.cn/pac...
集成redux
修改项目根目录下的pubsepc.yaml,添加依赖
flutter_redux: ^0.5.2基本集成
创建项目
先使用flutter命令
flutter create flutter_use_redux创建一个flutter默认的Helloworld项目
目标:改造flutter的Helloworld项目使用redux实现
原来的代码如下,去掉了注释,以便显得更短...
import 'package:flutter/material.dart';

void main() => runApp(new MyApp());

class MyApp extends StatelessWidget {
  @override
  Widget build(BuildContext context) {
    return new MaterialApp(
      title: 'Flutter Demo',
      theme: new ThemeData(
        primarySwatch: Colors.blue,
      ),
      home: new MyHomePage(title: 'Flutter Demo Home Page'),
    );
  }
}

class MyHomePage extends StatefulWidget {
  MyHomePage({Key key, this.title}) : super(key: key);
  final String title;

  @override
  _MyHomePageState createState() => new _MyHomePageState();
}

class _MyHomePageState extends State<MyHomePage> {
  int _counter = 0;

  void _incrementCounter() {
    setState(() {
      _counter++;
    });
  }

  @override
  Widget build(BuildContext context) {
    return new Scaffold(
      appBar: new AppBar(
        title: new Text(widget.title),
      ),
      body: new Center(
        child: new Column(
          mainAxisAlignment: MainAxisAlignment.center,
          children: <Widget>[
            new Text(
              'You have pushed the button this many times:',
            ),
            new Text(
              '$_counter',
              style: Theme.of(context).textTheme.display1,
            ),
          ],
        ),
      ),
      floatingActionButton: new FloatingActionButton(
        onPressed: _incrementCounter,
        tooltip: 'Increment',
        child: new Icon(Icons.add),
      ),
    );
  }
}
这一步的目标是将原来的程序改成用redux来实现。
我们知道redux是整个应用程序使用唯一一个store来管理整个应用程序的状态的。那么这里我们先定义一个store,上述的程序里面的“状态”为一个计数器,所以我们先定义一个int类型的状态,初始值为0:
import 'package:flutter_redux/flutter_redux.dart';
import 'package:redux/redux.dart';

int mainReducer(int state, dynamic action){
  return state;
}

void main() {
  Store<int> store = new Store<int>(mainReducer,initialState: 0);
  runApp(new MyApp());
}
这里的mainReducer为应用程序的主reducer,我们知道,reducer是一个函数,它接受一个状态(State),并且“必须”返回一个状态(State),如果状态没有变化,那么应该返回原来的状态。
传递State
按照上述程序的逻辑,当点击下面的按钮的时候,计数器+1。
那么我们首先我们需要将这个计数器的状态传递给中间的Text,当点击按钮的时候,需要修改状态。
在Redux中修改状态,实际上是使用Store.dispatch这个方法,分发一个“Action",由reducer这个函数对”Action“进行解析,并返回新的State。
传递状态,使用StoreConnector这个Widget
继续修改我们的程序:
enum Actions{
  Increase,
}

int mainReducer(int state, dynamic action){

  if(Actions.Increase==action){
    return state + 1;
  }

  return state;
}

void main() {
  Store<int> store = new Store<int>(mainReducer,initialState: 0);
  runApp(new MyApp(store: store,));
}

class MyApp extends StatelessWidget {

  final Store<int> store;

  MyApp({this.store});

  @override
  Widget build(BuildContext context) {
    return new StoreProvider(store: store, child: new MaterialApp(
      title: 'Flutter Demo',
      theme: new ThemeData(
        primarySwatch: Colors.blue,
      ),
      home:  new StoreConnector(builder: (BuildContext context,int counter){
        return new MyHomePage(title: 'Flutter Demo Home Page',counter:counter);
      }, converter: (Store<int> store){
        return store.state;
      }) ,
    ));
  }
}

class MyHomePage extends StatelessWidget {
  MyHomePage({Key key, this.title,this.counter}) : super(key: key);
  final String title;
  final int counter;

  @override
  Widget build(BuildContext context) {

    return new Scaffold(
      appBar: new AppBar(
        title: new Text(title),
      ),
      body: new Center(
        child: new Column(
          mainAxisAlignment: MainAxisAlignment.center,
          children: <Widget>[
            new Text(
              'You have pushed the button this many times:',
            ),
            new Text(
              '$counter',
              style: Theme
                  .of(context)
                  .textTheme
                  .display1,
            ),
          ],
        ),
      ),
      floatingActionButton: new FloatingActionButton(
        onPressed: () {

        },
        tooltip: 'Increment',
        child: new Icon(Icons.add),
      ),
    );
  }
}
这步跨度有点大,解释一下:
- 在mainReducer中增加对action的处理:
  if(Actions.Increase==action){
    return state + 1;
}- 原来的MaterialApp外面套一层StoreProvider
这一步是官方要求的,如果不做会报错。 - 将MyHomePage改成 StatelessWidget
由于将状态放在了Store中,所以无需使用StatefulWidget - 传递状态
new StoreConnector(builder: (BuildContext context,int counter){
        return new MyHomePage(title: 'Flutter Demo Home Page',counter:counter);
      }, converter: (Store<int> store){
        return store.state;
      })
这里实现了真正的将Store中的状态传递到组件MyHomePage中,一定需要使用converter将Store中的状态转变成组件需要的状态,这里的builder函数的第二个参数就是converter函数的返回值。
绑定Action
floatingActionButton: new StoreConnector<int,VoidCallback>(builder: ( BuildContext context,VoidCallback callback ){
        return new FloatingActionButton(
          onPressed:callback,
          tooltip: 'Increment',
          child: new Icon(Icons.add),
        );

      }, converter: (Store<int> store){
        return ()=>store.dispatch(Actions.Increase);
      }),
这里使用StoreConnector<int,VoidCallback>这个Widget绑定Action,注意泛型必须写对,不然会报错,第一个泛型为Store存储的类型,第二个泛型为converter的返回值得类型。
到这里,就改造完毕了,和官方的helloworld功能一样。
敢不敢复杂一点?例子:登录
上面这个例子中,状态为一个int,实际项目当然没有那么简单,我们需要规划整个app的状态,这里我们使用AppState这个类来管理
/// 这个类用来管理登录状态
class AuthState{
  bool isLogin;     //是否登录
  String account;   //用户名
  AuthState({this.isLogin:false,this.account});
}

/// 管理主页状态
class MainPageState{
  int counter;
  MainPageState({this.counter:0});
}

/// 应用程序状态
class AppState{
  AuthState auth;     //登录
  MainPageState main; //主页

  AppState({this.main,this.auth});
}
那么下面的程序要跟着将所有的int替换成AppState,并修改reducer的代码,这里就只贴重要的代码了:
AppState mainReducer(AppState state, dynamic action){

  if(Actions.Increase==action){
    state.main.counter += 1;
  }

  return state;
}

void main() {
  Store<AppState> store = new Store<AppState>(mainReducer,initialState: new AppState(
    main: new MainPageState(),
    auth: new AuthState(),
  ));
  runApp(new MyApp(store: store,));
}
增加登录逻辑
改造一下MyHomePage,新怎一些状态
 MyHomePage({Key key, this.title,this.counter,this.isLogin,this.account}) : super(key: key);
  final String title;
  final int counter;
  final bool isLogin;
  final String account;
新增登录ui的判断
    /// 有登录,展示你好:xxx,没登录,展示登录按钮
            isLogin ?  new RaisedButton(onPressed: (){

            },child: new Text("您好:$account,点击退出"),) :new RaisedButton(onPressed: (){

            },child: new Text("登录"),)
为了快速看到效果,这里将登录输入用户名省略掉。。
改造reducer
AppState mainReducer(AppState state, dynamic action){


  print("state charge :$action ");
  if(Actions.Increase==action){
    state.main.counter+=1;
  }

  if(Actions.LogoutSuccess == action){

    state.auth.isLogin = false;
    state.auth.account = null;
  }

  if(action is LoginSuccessAction){
    state.auth.isLogin = true;
    state.auth.account = action.account;
  }

  print("state changed:$state");

  return state;
}
改造build:
Widget loginPane;
    if(isLogin){
      loginPane = new StoreConnector(
          key:new ValueKey("login"),
          builder: (BuildContext context,VoidCallback logout){
        return new RaisedButton(onPressed: logout,child: new Text("您好:$account,点击退出"),);
      }, converter: (Store<AppState> store){
        return ()=>
            store.dispatch(
                Actions.LogoutSuccess
            );
      });
    }else{
      loginPane =  new StoreConnector<AppState,VoidCallback>(
          key:new ValueKey("logout"),
          builder: (BuildContext context,VoidCallback login){
        return new RaisedButton(onPressed:login,child: new Text("登录"),);
      }, converter: (Store<AppState> store){
        return ()=>
            store.dispatch(
                new LoginSuccessAction(account: "xxx account!")
            );
      });
    }
附件:
代码:
https://github.com/jzoom/flut...
如有疑问,请加qq群854192563讨论


**粗体** _斜体_ [链接](http://example.com) `代码` - 列表 > 引用。你还可以使用@来通知其他用户。